How to clear a blocked steam tip in under sixty seconds
Ever been mid-espresso pull, only to hear that dreaded gurgle from your steam wand? It’s like your machine just betrayed you. I’ve been there—frustration bubbling up as I watch steam sputter, instead of the creamy microfoam I crave. That moment of helplessness struck me hard because I realized it’s a common nightmare among home baristas and seasoned enthusiasts alike.
Why a Blocked Steam Tip Can Ruin Your Coffee Day
When your steam tip gets clogged, it’s not just a minor hiccup—it’s a signal that your machine isn’t operating at peak performance. A blocked tip restricts steam flow, making it impossible to achieve that silky, velvety milk texture that turns a good espresso into a stellar one. If you’re tired of wasting time and risking damage by overusing your machine trying to clear the clog, I’ve got good news: there’s a simple, lightning-fast method to resolve this, and I’ll show you how.
Is Clearing a Blocked Steam Tip Really Worth the Hype?
Early in my espresso journey, I made the mistake of ignoring those early warning signs—assuming the clog was just a minor annoyance. That was a mistake. Ignoring it can lead to more serious issues like internal corrosion or even damage to your boiler. Trust me, taking swift action not only salvages your milk frothing skills but extends the life of your machine. Curious how I discovered this? A bit of trial, error, and a lot of patience initially led me to perfect this quick fix—no more dismantling or costly repairs. Want to avoid the same pitfalls? Keep reading, and I’ll walk you through the exact steps.
Identify the Blockage Before Disassembly
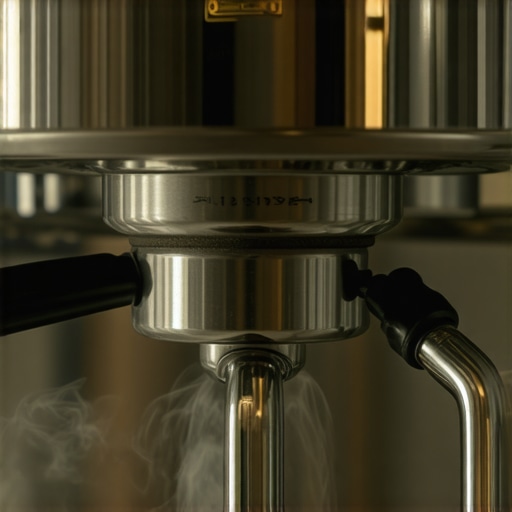
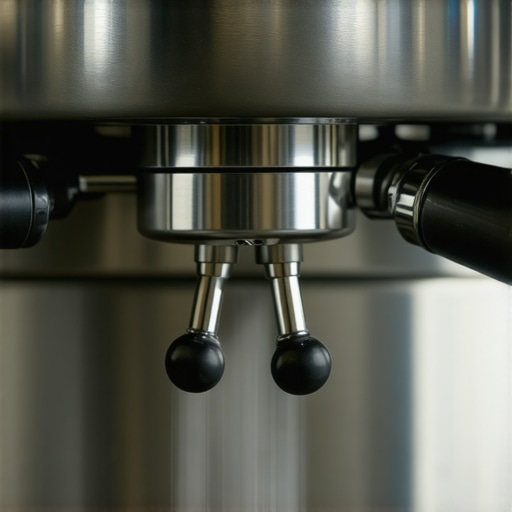
Start by inspecting your steam wand. Remove the tip by unscrewing it gently with a small adjustable wrench or pliers, ensuring you don’t strip the metal. Use a pin or needle to probe the tiny holes. Usually, a stubborn spot or a cluster of clogging residues will be evident. Remember, these tiny holes are the vital pathways for steam, much like the nozzles in high-end barista gear. In my experience, a clogged tip might look clean but can hide stubborn mineral deposits or milk residue that has baked in—especially if you’ve neglected regular cleaning. To confirm, give the tip a gentle shake; it should rattle slightly if debris is trapped inside.
Prepare Your Cleaning Solution
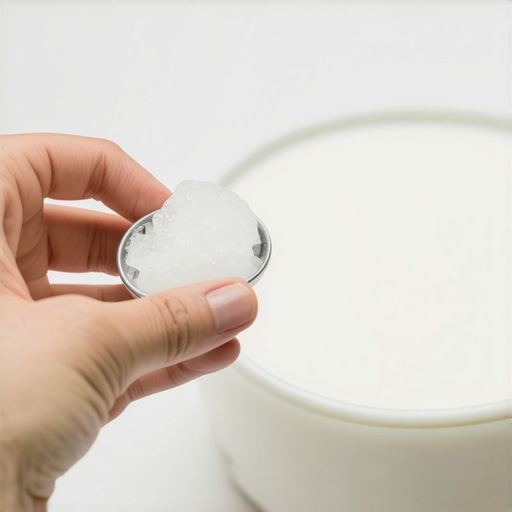
Next, pour a mixture of equal parts distilled white vinegar and warm water into a small bowl. The vinegar acts as a natural descaler, dissolving mineral buildup that causes blockages. Soak the steam tip for 15-20 minutes. This soaking loosens stubborn deposits, making it easier to clear the holes. I advise doing this weekly if you notice reduced steam flow, especially in areas with hard water. Remember, regular maintenance prevents tiny clogs from turning into big problems, much like aligning your grinder burrs using a dry-erase marker—small adjustments prevent big espresso disasters.
Use Fine Tools for Deep Cleaning
After soaking, take a fine sewing needle, or a dedicated pin, to gently poke each hole. Do it under a bright light with magnification if needed. Be cautious—applying excessive force can enlarge or damage the tiny openings. For more stubborn deposits, consider using a carbonated soda like club soda in combination with the needle. The effervescent bubbles help dislodge mineral deposits. Prior to reinsertion, rinse the tip thoroughly with clean water to remove any loosened debris. This process is akin to clearing a blocked basket with a paper clip—quick, effective, and requires attention to detail. Once cleaned, reassemble the tip onto the wand securely.
Test and Maintain Regularly
Now, reattach the steam tip and run steam for a few seconds over a damp cloth. You should notice a steady, uninterrupted spray. If the flow is still uneven, repeat the cleaning process or consider replacing the tip if damage is visible. Establish a routine: inspect and clean the tips weekly to prevent buildup. Maintaining clean steam pathways is essential—not just for microfoam quality but also to prolong your machine’s lifespan. Remember, these tiny parts are the unsung heroes of espresso artistry, deserving attention similar to calibrating your grinder burrs or aligning your portafilter ears for a proper seal. Regular care ensures your gear always performs at its best.Many enthusiasts believe that investing in high-end espresso machines or premium grinders guarantees perfect coffee every time. However, even the most advanced gear can undermine your efforts if you overlook subtle details. For instance, many assume that a larger grind size always results in better extraction, but neglecting to dial in your grinder properly can lead to inconsistent shots and wasted beans. Proper alignment of grinder burrs, verified through methods like using a dry-erase marker, ensures uniform grind consistency, which is crucial for optimal extraction. Moreover, common myths suggest that more expensive milk frothers produce superior microfoam, yet with the right technique, even budget models can yield excellent results. Don’t fall for the trap of thinking that hardware alone defines your barista skills; understanding nuanced differences and avoiding advanced mistakes makes all the difference.
Keep Your Espresso Gear in Top Shape with Precision Tools
When it comes to maintaining your espresso setup, having the right tools is non-negotiable. Personally, I swear by a high-quality precision calibration weight to ensure my grinder’s burrs are perfectly aligned. This isn’t just about consistency; it’s about extracting the best flavors from your beans every time. Regularly checking burr alignment with such tools helps me avoid uneven grinds, which can cause channeling and poor extraction. For detailed steps on this, I recommend reviewing this comprehensive guide.
How do I maintain my espresso equipment over time?
Long-term maintenance revolves around routine inspection and the right cleaners. I use a dedicated espresso machine cleaning brush to scrub hard-to-reach areas like the group head and steam wand. These tiny parts accumulate mineral deposits and milk residue, which can affect performance and flavor. Incorporating weekly descaling with vinegar or specialized descaling solutions prolongs the life of internal components. I also regularly inspect the water seals and replace worn parts proactively, avoiding costly repairs down the line.
Smart Tools for Consistent Milk Frothing
Perfect microfoam is an art—and having the right tools makes all the difference. I recommend investing in a digital milk temperature thermometer. Monitoring milk temperature ensures you don’t overheat or under-froth, which is crucial for aesthetic latte art and flavor. An example I personally use is the ThermoPro TP20, which provides instant readings and helps train your hand. For large-scale practice, a guide on steaming milk offers valuable insights to refine technique.
Scaling and Future-Proofing Your Setup
As your passion grows, scaling your gear becomes inevitable. Modular components, like upgradeable grinders and water filtration systems, save money and reduce waste. For example, switching to a calibrated scale can significantly improve shot timing accuracy. Investing in a quality water softener ensures your machine isn’t battling mineral buildup, extending its lifespan. Looking ahead, I see a trend towards smart automation—integrating app-controlled grinders and brewers that monitor and adjust parameters in real-time, making home espresso more consistent than ever before.
Stay Ahead with Regular Maintenance and the Right Gear
To keep everything running smoothly, I recommend establishing a weekly check-up routine. Clear your grinder of fine dust with a specialized vacuum tool, and verify your portafilter seals are tight to prevent leaks. Remember, small, consistent efforts yield long-term benefits. For an advanced tip, try using a disassembly kit to deep clean your brew head quarterly—this practice can prevent stubborn scale buildup and maintain perfect pressure. Don’t wait until equipment failure occurs. Get proactive, invest in these tools, and elevate your home barista game today!
Lessons That Took My Espresso Skills to the Next Level
- One of the most eye-opening lessons I learned was the importance of regular steam tip cleaning, which prevents stubborn clogs and keeps my microfoam consistently silky. Skipping this step made me realize that tiny deposits can silently undermine even the best machines, prompting me to integrate weekly inspections into my routine.
- Another breakthrough was discovering how a simple vinegar soak could dissolve mineral buildups effectively. This cheap, natural solution saved me from costly repairs and made me appreciate the value of proactive maintenance over reactive fixes.
- I also realized that investing in precision tools like a calibrated burr alignment weight dramatically improved my grind consistency. This small gadget helped me understand how minute misalignments can cause big flavor disparities in my shots, urging me to check my equipment more often.
- Finally, I learned that maintaining an organized cleaning schedule, from deep cleaning the brew head to checking seals, plays a crucial role in ensuring each espresso tastes as good as the first. This holistic approach fostered not just better coffee but also a deeper connection to my gear and craft.
Tools and Resources That Elevated My Coffee Game
- Dry-erase marker method for grinder calibration: It’s a game-changer for quick, accurate adjustments without disassembly. I trust this method because it’s simple and highly effective, often saving me from unnecessary guesswork. Find out more about how to get super consistent grinders with this guide.
- PID temperature controller: Upgrading my espresso machine with a PID allowed precise temperature management, resulting in more stable shots. I’ve experienced fewer variances and richer flavors—this is the edge every home barista should consider.
- Water filtration system: Using high-quality filtration has visibly improved my machine’s longevity and my coffee’s clarity. It’s a small investment that prevents scale buildup and keeps my gear clean.
- Essential cleaning brushes and descaling solutions: Routine use of these tools simplifies maintenance, saving time and ensuring optimal performance. They’re reliable, affordable, and have become staples in my coffee routine.
Seize the Moment: Your Espresso Journey Continues Here
Keeping your espresso equipment in tip-top shape unlocks new levels of flavor and satisfaction. Embrace these insights, trust your tools, and commit to regular care—your best coffee awaits. Remember, the pursuit of perfect espresso isn’t just about hardware but about understanding and nurturing your gear every step of the way.
What’s the one maintenance step you’ve been neglecting that could elevate your espresso game? Share your experience below—I’d love to hear your journey towards better coffee!
**Note:** For more expert tips, explore our guide on aligning grinder burrs using a dry-erase marker or check out [the article about deep cleaning your brew head](https://espressotechguide.com/the-10-second-flush-that-saves-your-group-head-gasket) to extend your machine’s lifespan.