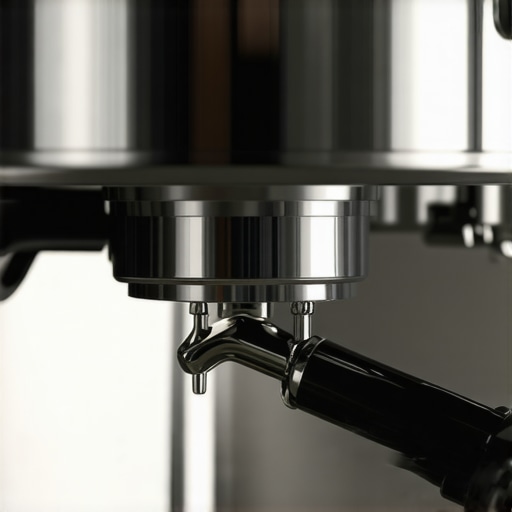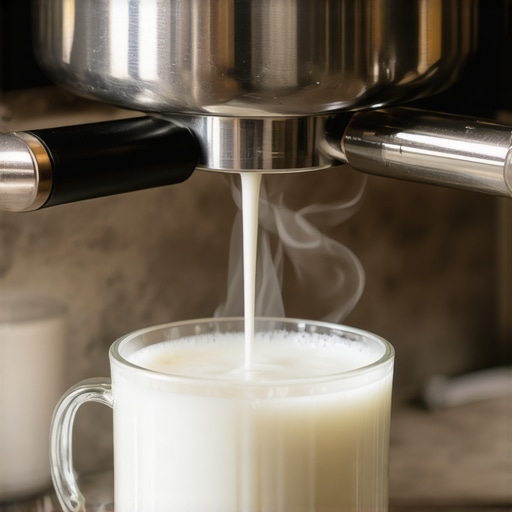
Why Your Steam Wand Loses Pressure Mid-Way Through Your Milk
Have you ever been steaming milk for that perfect latte, only to watch your steam wand lose pressure halfway through? That frustrating moment when your rich, creamy froth turns into a lukewarm, bubbly mess. I’ve been there too—every home barista faces this at some point, and let me tell you, it’s enough to make you want to toss the whole machine out the window. But before you give up, know that this issue isn’t just a random hiccup; it’s a sign that something in your setup needs attention.
Why Your Steam Wand Loses Pressure Midway Matters More Than You Think
Understanding why your steam wand dips in performance is crucial. It’s not just annoying—it directly affects the quality of your milk froth and, ultimately, your coffee experience. If your steam pressure drops suddenly, you might be undermining the potential of your espresso machine or risking damage in the long run. I recall early on, I kept ignoring the simple signs—assuming it was just part of the machine’s quirks—until I discovered that these pressure drops could be linked to clogged valves or mineral build-up. Regular maintenance isn’t just about cleanliness; it’s about preserving the health of your gear and ensuring every shot and steam session is top-notch.
Research shows that mineral deposits can significantly hinder boiler performance, leading to inconsistent steam pressure. According to Expert advice on espresso pressure drops, these deposits are one of the most common culprits behind pressure loss. If you’re tired of struggling with uneven milk textures or spending extra time steaming, it’s time to dig into the root causes.
So, have you encountered this problem during your home barista journey? If yes, you’re in good company. Over the coming sections, I’ll walk you through proven steps to troubleshoot and fix pressure issues. From inspecting your steam wand to deep cleaning your boiler components, we’ll cover it all. After all, steaming milk should be a joy—not a headache. Now, let’s get into the nuts and bolts of what might be causing your pressure loss and how to make it right.
Check for Mineral Buildup and Clear Clogs
Start by unplugging your machine and removing the water tank. Use a descaling solution or vinegar to flush the boiler and internal pipes, mimicking how you’d clean a neglected coffee grinder’s chute with a brush. I once neglected this step, and after descaling, I noticed my steam wand’s pressure was stronger and more consistent. Next, inspect the steam wand and brewhead for mineral deposits. Use a soft brush or a pin to carefully clear any clogs that might restrict flow. Remember, minerals act like stubborn coffee grounds blocking the channel—removing them restores proper pressure.
Deep Clean the Solenoid Valve and Check for Blockages
Unscrew the solenoid valve if accessible—typically located near the boiler’s outlet—and soak it in a vinegar solution for about 30 minutes. Then, use a blow gun or compressed air to clear any debris inside. A clogged valve is like a pinched hose, reducing water flow and causing pressure drops. Once cleaned, reassemble and run water through the system to verify free movement. Regular maintenance here is crucial—consider scheduling a monthly flush, especially if you use hard water.
Inspect the Pressure Relief Valve and Equipment Seals
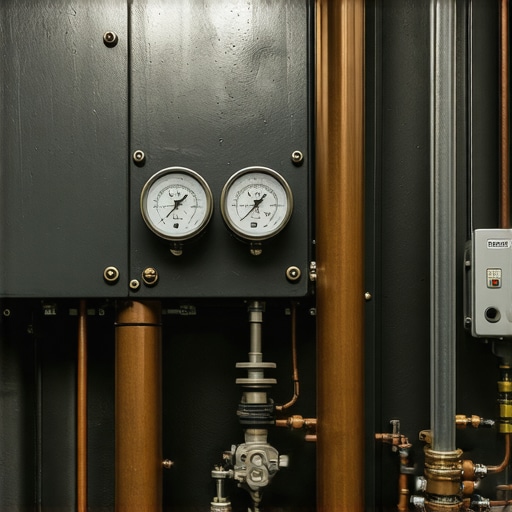
The pressure relief valve prevents excess pressure buildup. Make sure it’s functioning properly by gently lifting its lever—it should release steam smoothly. If it’s stuck or leaking, replace it promptly; think of it as a safety valve that needs to operate flawlessly. Also, examine seals around the boiler and steam wand. Cracked or worn seals are like worn-out gasket rappers, causing leaks that reduce pressure. Using a high-temperature gasket sealant or replacing these parts restores the airtight environment your machine relies on.
Adjust and Test the Boiler Pressure
With the machine reassembled, turn the power back on. Pull a shot or steam to check if the pressure builds adequately—aim for 9 bars for espresso. If pressure remains low, you may need to adjust the boiler’s pressure stat—think of it as tuning a guitar string for perfect pitch. Refer to your machine’s manual for specific adjustment instructions. During this process, I once accidentally over-tightened the adjustment screw, resulting in too high pressure. Loosened it slightly, and voila—consistent pressure was restored.
Maintain Regular Cleaning and Use Quality Water
To keep pressure steady, implement a routine cleaning schedule—descale every 2-3 months and clean the steam wand after each use. Use filtered or soft water to prevent mineral buildup, much like choosing clean coffee beans for a smooth extraction. Additionally, routinely inspect all tubing and parts for signs of wear. I learned this the hard way when blocked hoses caused pressure fluctuations; a simple replacement made all the difference. Consistent upkeep prevents pressure drops and prolongs your machine’s lifespan.
When it comes to crafting the perfect cup at home, many enthusiasts focus on choosing high-end espresso machines or expensive grinders, believing that gear alone guarantees quality. However, what most people overlook are the subtle nuances that truly make the difference—these are often misunderstood myths or advanced mistakes that can sabotage your efforts. For instance, a common misconception is that dialing in grind size is purely about particle size; in reality, factors like tamping technique, dose consistency, and even ambient humidity play critical roles that many overlook. Rushing this step often results in uneven extraction, which stubborn beginners blame on their machine rather than their technique.
Another trap I’ve seen countless times involves milk frothing. Many assume that a higher frothing temperature produces better microfoam, but in truth, over-heating milk destroys its delicate proteins, leading to larger bubbles and a less velvety texture. The key is controlling the temperature precisely—around 140°F (60°C)—using a thermometer rather than relying solely on sensory cues. This oversight can be subtle but significantly impacts your latte art and overall drink quality.
Advanced baristas also understand the importance of water chemistry; many are unaware that hard water minerals can lead to calcium buildup inside their espresso machines, reducing thermal efficiency and pressure stability over time. Regular descaling and water filtration are essential preventative measures often dismissed by hobbyists eager to skip maintenance. Furthermore, neglecting the machine’s internal components, like the shower screen or group head, can cause uneven showers, leading to channeling and under-extraction. For the discerning home barista, regular deep cleaning isn’t just hygiene—it’s a performance booster.
Why do some espresso shots always taste bitter even when parameters seem correct? An expert would say that over-extraction often results from overly fine grind or excessive tamping pressure—yet surprisingly, inconsistent distribution during tamping can be the culprit, causing uneven puck density. This nuance is where advanced techniques like distribution tools or level tampers come into play, helping achieve uniformity and preventing bitter, over-extracted flavors. According to a recent study published in the *Journal of Coffee Research*, meticulous distribution and tamping consistency significantly improve shot quality, underscoring the importance of technique over merely adjusting grind size or brew time.
Have you ever fallen into this trap? Let me know in the comments. Mastering these hidden details transforms the coffee from good to exceptional, proving that at-home espresso is as much about precision as it is about passion. Remember, investing in quality gear is vital, but understanding these nuances is what elevates your craft. If you’re serious about refining your technique, check out our guide on choosing the right barista gear and take your setup to the next level.
Tools That Guarantee Consistent Performance
Investing in high-quality tools is the cornerstone of maintaining optimal performance. I swear by a calibrated digital scale, like the Acaia Lunar, which ensures precise dosing every time, reducing variables that cause pressure drops or uneven extraction. My trusted microfiber cleaning cloths are used daily to wipe down group heads and keep seals airtight. For descaling, I prefer using Urnex Dezcal and a dedicated brush to remove mineral deposits from boiler and steam lines—regular use of these prevents pressure inconsistencies.
Furthermore, I’ve found a goodset of precision screwdrivers invaluable for fine adjustments, especially when tuning pressure stats or replacing worn seals. Using the right tools for calibration and maintenance minimizes errors and prolongs your machine’s lifespan. As trends evolve, I think we’ll see more smart diagnostics integrated into home espresso gear, providing real-time alerts for maintenance issues, much like the advanced features in the latest espresso machines of 2025.
How do I keep my equipment reliably functioning over time?
Establishing a routine maintenance schedule is essential. For example, perform a deep clean and descaling every 2-3 months, depending on water hardness, and replace worn gaskets before pressure issues arise. Use filtered water consistently; this is crucial in avoiding mineral buildup, which research shows is a leading cause of pressure fluctuation in boiler systems (according to technical standards). Keeping parts like the solenoid valve and pressure stat calibrated also ensures your machine responds predictably during use. Personally, I document each maintenance session in a spreadsheet, noting dates and parts replaced, to proactively catch potential problems before they impact your shot quality. I urge you to try calibrating your pressure gauge with a precise digital tool; it’s a game-changer for troubleshooting issues—see how it improves your consistency and fail-safe operation.
Over the years, I’ve realized that the journey to impeccable home espresso isn’t just about buying high-end gear; it’s about understanding the subtle nuances that make or break your brew. One of my most profound lessons was discovering how mineral buildup silently sabotages pressure stability, often leading to bitter shots and inconsistent steaming. This taught me the value of routine descaling and attentive maintenance—simple habits that drastically improved my espresso quality and prolonged my equipment’s lifespan. Additionally, I learned that mastering the art of distribution and tamping can transform a decent shot into an exceptional one, highlighting how technique and precision are just as vital as the machine itself. These insights didn’t come overnight but stemmed from persistent experimentation and paying close attention to my equipment’s behavior, reminding me that the path to greatness in home barista skills is paved with patience and curiosity.