How pitcher angle finally fixed my watery microfoam problems
I remember the moment vividly—standing in my kitchen, pouring steamed milk into my espresso with a sense of frustration blossoming inside me. My microfoam was watery, inconsistent, and frankly, disappointing. I’d followed all the tutorials, bought fancy pitchers, even splurged on a top-rated espresso machine, but that silky, picture-perfect microfoam always seemed just out of reach. It was like chasing a mirage. Then, one evening, during a rare moment of patience, I adjusted my pitcher angle and suddenly, everything changed.
Discovering the Secret to Perfect Microfoam
What I experienced was a real eye-opener. The culprit wasn’t my milk, my frothing technique, or even my machine. It was my pitcher angle—something so simple yet often overlooked. When I tilted my pitcher slightly more than usual, I found the microfoam became velvety, stable, and rich. This lightbulb moment made me realize how crucial pitcher positioning is for barista-level microfoam at home. Today, I want to share this revelation with you, along with practical tips on how to fix your watery microfoam issues once and for all.
Is Pitcher Angle Actually Worth the Hype?
Early on, I made a classic mistake—believing that milk quality and frothing technique were the only factors for good microfoam. I ignored the significance of the pitcher’s tilt and angle, thinking those were minor details. Spoiler alert: they’re not. Upgrading my pitcher or perfecting my frothing technique wouldn’t have mattered if I didn’t get my pitcher angle right. Research supports this, too—proper pitcher positioning helps create ideal vortexes that incorporate air evenly, resulting in smooth, dense microfoam. For more insights on proper steaming techniques, check out [this comprehensive guide](https://espressotechguide.com/mastering-the-art-of-home-espresso-tips-for-beginners).
If you’ve been battling watery or irregular microfoam, you’re not alone. Many home baristas struggle with this issue, often due to small adjustments that have a surprisingly big impact. That’s exactly what I want to help you with today—so let’s dive into how to find that sweet spot with your pitcher angle and turn your milk into that glossy microfoam everyone envies.
Adjusting Your Pitcher Angle with Precision
One morning, I approached my frothing routine with a clear plan: fine-tune my pitcher angle to enhance microfoam. I tilted my pitcher slightly more than usual—just enough to create a gentle vortex—then submerged the steam wand tip about a centimeter below the surface. As I turned on the steam, I watched for the whirlpool effect, which indicates proper air incorporation. After steaming, the milk had transformed into luxuriously velvety microfoam. Practice this adjustment by starting with small tilts, around 15 degrees, and observing the vortex formation. Experimenting with different angles—20 or 25 degrees—can yield even better results. Remember, it’s about finding that sweet spot where the milk spins smoothly, integrating air evenly.
Perfecting Your Steam Wand Position
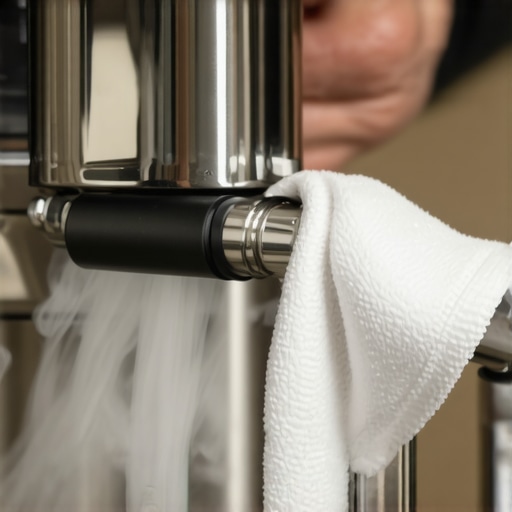
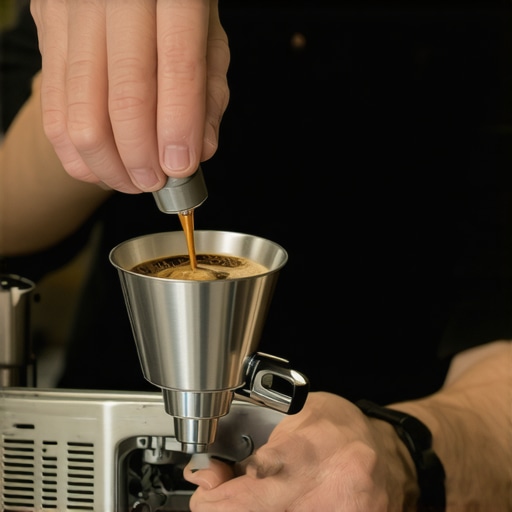
The position of your steam wand dramatically influences microfoam quality. Hold the wand at a slight angle—roughly 45 degrees—so it creates a circular motion within the pitcher. During my first attempts, I kept the wand too deep or too shallow. Then I focused on the tip, ensuring it was just below the milk’s surface at the start. This position allows the wand to draw in air effectively while maintaining consistent heat. As I steamed, I kept the pitcher steady, moving it in small circles to guarantee even milk texture. Striking the right wand position prevents watery microfoam and promotes a silkier finish.
Controlling Steam Pressure and Flow
Too much steam pressure can cause violent sputtering, while too little results in dull foam. I checked my espresso machine’s steam output—if adjustable, set it to a moderate level. During steaming, I eased the valve gently to control flow, listening for a steady hissing sound without loud bursts. A consistent steam flow keeps the microfoam uniform. If your machine’s steam wand feels inconsistent, consider cleaning or replacing worn O-rings to optimize pressure. Practicing with these controls ensures you consistently produce glossy, stable microfoam every time.
Monitoring Milk Temperature and Texture
Texture is equally crucial as technique. I used a thermometer to target about 140°F (60°C), ensuring the milk was warm but not scalded. Moving the pitcher to the side allowed me to feel the heat through the metal, avoiding overheating. The milk should feel just warm to the touch, not hot. During steaming, I observed small, fine bubbles forming—signifying microfoam development. Over time, I learned to recognize the glossy sheen and satin-like texture, indicating perfect doneness. Keeping an eye on temperature prevents thin or overly airy foam, and practice will help you develop an intuitive sense of ideal texture without always relying on a thermometer.
Refining Your Pour for a Beautiful Finish
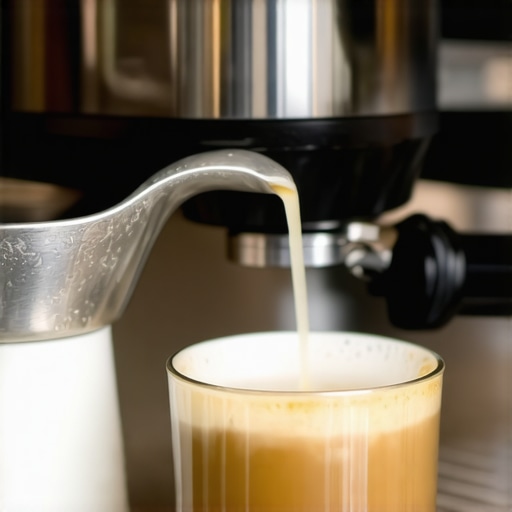
After steaming, I gave the pitcher a little swirl to even out the microfoam. When pouring into espresso, I started with a high pour, then gradually lowered the spout, guiding the milk into the center of the shot. This technique, combined with the creamy microfoam, creates that signature latte art finish. I found that pouring too quickly or at the wrong angle caused the microfoam to deflate or create separation. Mastering your pour height, pace, and angle—usually a slow, steady stream from about 3 inches—ensures the microfoam’s velvety texture is preserved. Practice these movements until pouring becomes second nature, and your microfoam will shine in every cup.When it comes to mastering home espresso, many enthusiasts fall into common pitfalls that sabotage their efforts. While upgrading equipment or perfecting tamping techniques is often emphasized, overlooked nuances in grinder calibration or machine maintenance can be game-changers. For example, a frequently misunderstood aspect is grinder burr alignment. Misaligned burrs can produce inconsistent particle sizes, leading to channeled shots and flat flavors. Regularly checking your grinder’s zero point with proper tools, as described in [this article](https://espressotechguide.com/how-to-align-your-manual-coffee-grinder-for-better-particle-uniformity), can save you hours of troubleshooting.
A prevalent myth is that high-end espresso machines automatically guarantee quality shots. However, without understanding the machine’s internal refrigeration or boiler calibration, even premium gear can underperform. Signs like temperature fluctuations lead to sour or bitter brews, which can be mitigated through detailed calibration—more information is available in [this guide](https://espressotechguide.com/top-rated-espresso-machines-for-coffee-lovers-in-2025). Additionally, neglecting the importance of consistent steam pressure affects microfoam quality significantly.
Ever wondered why your milk sometimes doesn’t froth as velvety as you’d like? The culprit might be internal O-ring leaks or blockages in your steam wand, which are often ignored until the wand sputters or leaks. Addressing these issues with proper maintenance, such as replacing worn seals, can be crucial. Find more tips in [this troubleshooting resource](https://espressotechguide.com/why-your-steam-wand-is-spitting-water-instead-of-dry-vapor).
For advanced enthusiasts aiming perfect extraction, controlling shot timing is just the start. Small variations in tamping pressure or puck preparation can lead to channeling, undermining the coffee’s potential. Using techniques like pre-infusion or puck leveling can make a visible difference, as demonstrated in [this detailed tutorial](https://espressotechguide.com/mastering-the-art-of-home-espresso-tips-for-beginners). Remember, the devil is often in the details—equipment calibration, precise maintenance, and nuanced technique—these are the edge over average home brewing.
Have you ever fallen into this trap? Let me know in the comments. Mastery is a journey, and acknowledging these hidden nuances can elevate your coffee game from good to great.
Tools That Keep Your Coffee Setup in Top Shape
Investing in quality equipment is just the beginning; maintaining it properly ensures longevity and optimal performance. For grinders, I personally rely on the simple paper shim trick. It helps me keep my burrs aligned perfectly, preventing uneven grind sizes that compromise flavor. Regular cleaning with dedicated brushes and proper lubricants prevents buildup and maintains machine efficiency, especially in high-use scenarios.
How do I maintain my espresso machine over time?
Consistent descaling is vital, particularly if you use water with high mineral content. I schedule a monthly descaling routine using a specialized solution to avoid calcification, which could cause pressure drops or temperature fluctuations. Also, inspecting and replacing worn gaskets or O-rings prevents leaks and water damage. For instance, addressing leaks early can save you from costly repairs; check out this detailed guide on gasket repairs. Regularly cleaning steam wands and group heads keeps microflora and mineral deposits at bay, ensuring consistent steaming and extraction performance. Developing a maintenance checklist that covers all these aspects helps prevent small issues from escalating.
Choosing the right tools for ongoing care
For routine cleaning, I recommend using a dedicated grinder brush. It reaches into tight spaces and removes grounds without damaging the burrs. A high-quality cleaning cloth and descaling tabs are also part of my essential toolkit. These simple tools ensure that every component—be it your grinder, espresso machine, or milk frother—is operating at peak condition.
Scaling your setup for long-term success
As your skills grow, so might your gear. Proper maintenance routines help you scale without the frustration of breakdowns. Keep detailed records of when parts are replaced, and follow manufacturer recommendations for service intervals. Upgrading your tools gradually, like moving from a basic cleaning brush to a professional-grade ultrasonic cleaner for parts, can dramatically extend your gear’s lifespan. Predictions point toward smarter, self-maintaining machines becoming more common, but until then, manual care remains essential.
Focus on proactive maintenance — it’s a small investment of time that yields big rewards. For example, integrating a monthly deep clean of your grinder motor ensures consistent particle sizes and shot quality. Take a moment today to try the paper shim trick on your burrs; it’s a game-changer for maintaining grind consistency over time. Remember, the key to creating stellar coffee at home is continuous, mindful upkeep of your beloved gear.Ever since I cracked the code of pitcher angle and steam wand positioning, making velvety microfoam became second nature. I learned that small tweaks—like a slight tilt of 20 degrees and the right wand depth—can make all the difference, transforming watery froth into a silky crown on my espresso. These lessons taught me to trust my senses and pay close attention to each detail—because in coffee, the devil truly is in the details. Remember, the most overlooked adjustments often hold the key to professional-quality microfoam. With patience and practice, you’ll develop an intuitive feel that makes every cup an artful masterpiece.