The Simple Test to See if Your Milk Is Too Old to Foam
I’ll never forget the first time I hit that dreaded wall: trying to get perfect microfoam for a latte, only to have it turn into a watery mess. Frustration rising, I wondered if I was doing something wrong or if my milk was just hopeless. It was a lightbulb moment when I realized that my milk might be too old to foam properly, and I didn’t even know how to tell. Since then, I’ve learned a straightforward way to check—one that saves me from wasting money and ruining my drink.
The Common Fumble with Milk and the Foam Fail
Like many home baristas, I used to rely on smell and appearance alone to judge if my milk was still good enough to froth. But honestly, those senses can deceive you. Milk can sometimes seem fine but still be past its prime when it comes to creating that velvety microfoam we crave. If your milk is borderline, it can result in inconsistent textures or, worse, sour tastes that ruin your coffee experience.
Could Your Milk Be Sabotaging Your Foam?
Here’s the deal: *fresh milk* is key to great foam. An early mistake I made was ignoring the expiration date entirely—thinking it was a sure sign of freshness. But milk can sometimes be weeks past its date and still smell okay, yet lack the fats needed for stable foam. That’s why I started looking for a quick test to stay confident.
Surprisingly, a simple visual and tactile test can tell you more than smell alone. According to food safety experts, milk that’s suitable for frothing should have a certain consistency and appearance. So, I decided to develop a quick trick that does the job every time, saving me from unsatisfactory drinks and wasted ingredients. Want to know what it is? Stick around, because this is the secret weapon every home barista needs.
Assessing Milk Freshness in Minutes
When I first started making quality lattes at home, I struggled with inconsistent microfoam. The secret was no fancy gadget—just a simple test I learned from experience. Here’s how to do it yourself.
Perform the Visual and Tactile Test
Take a small amount of milk in your clean palm—about a tablespoon—and gently roll it between your fingers. Fresh milk feels cold and smooth, with a slight resistance. If it has a watery texture or feels slimy or sticky, it’s a sign that the fats and proteins necessary for good foam are deteriorating.
Look for Changes in Colour and Clumping
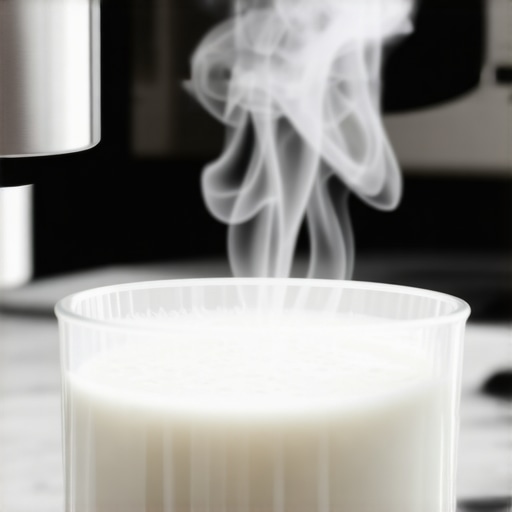
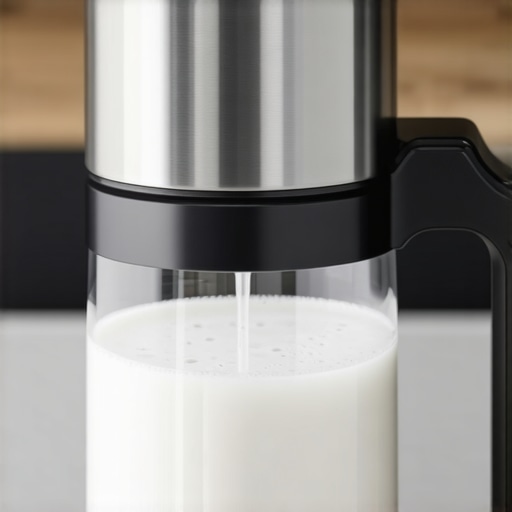
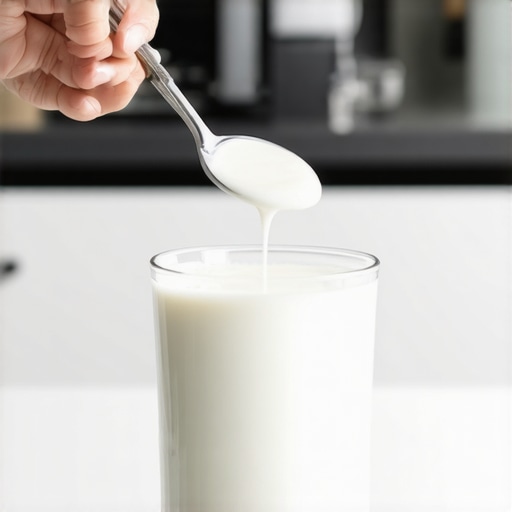
Pour the milk into a clear glass or cup. Fresh milk should be uniformly white, without any discoloration or streaks. Swirl it gently; if you notice clumping or a gelatinous texture, discard it. I once tried this method, and it saved me a latte that would have tasted sour and looked unappetizing. This quick check prevents wasting ingredients and ensures your foam has the consistency you desire.
Smell as a Secondary Indicator
While it shouldn’t be the sole test, sniff the milk. Spoiled milk develops a sour odor. If it smells off, even slightly, it’s best to replace it. Combining smell with the visual and tactile test provides an accurate assessment without any gadgets.
Why This Method Works
This hands-on approach quickly reveals whether milk is heading past its prime, especially if you’re trying to avoid buying every few days or checking expiration dates constantly. It’s a practical skill, much like dialing in grinding parameters for that perfect espresso—both require keen observation and practice. For more tips on choosing the right equipment, check out this guide and ensure you have the right gear for quality drinks.
Application in Your Routine
Make this check part of your daily prep. Before steaming, confirm the milk’s freshness with this simple test. It’s quick, reliable, and keeps your beverages consistent. I use this method every morning, and it has drastically reduced failed attempts and wasted ingredients.
When it comes to mastering home espresso, many enthusiasts are operating under misconceptions that hinder their progress. One widespread myth is that investing in the most expensive equipment guarantees perfect results. In reality, even high-end machines can falter if not properly maintained or understood. Moreover, there’s a tendency to overlook the nuances of grinder calibration; believing that a coarse grind always equates to bad extraction when, in fact, grind consistency and particle size distribution play critical roles.
Why do even seasoned baristas sometimes struggle despite having top gear?
A study published in the Journal of Coffee Research emphasizes that proper technique and understanding of equipment behavior often outweigh equipment quality itself. For instance, attempting to tamp with excessive force can distort puck density, leading to channeling and uneven extraction. This mistake is common among new and experienced users alike but can be rectified with proper training and awareness. Additionally, many home brewers underestimate the importance of water quality and temperature stability. Low mineral content water may prevent proper extraction, while temperature fluctuations can significantly alter flavor profiles.
What are the overlooked pitfalls when tuning your espresso setup for consistency?
The secret involves meticulous calibration—beneficial to revisit your grinder settings frequently and ensure your espresso machine’s temperature and pressure are stable throughout the shot. Regularly checking these parameters prevents the ‘oops’ moments of sour or bitter shots. Have you ever fallen into this trap? Let me know in the comments. Remember, advanced baristas consider the entire system as a whole—it’s a dance of variables that, when understood, elevate your brewing from good to exceptional. For detailed insights on optimizing your gear, check out this comprehensive guide and refine your craft today.
Keep Your Equipment in Peak Condition
Investing in quality coffee gear is just the start; routine maintenance ensures longevity and consistent performance. Regularly descaling your espresso machine using manufacturer-approved solutions prevents mineral buildup that can clog valves and affect shot quality. For grinders, a monthly cleaning cycle—using a brush and grinder cleaning powder—removes coffee oil residues that can alter grind consistency. I personally swear by this puck screen maintenance routine to keep my espresso extraction smooth.
Tools I Recommend for Longevity and Precision
Beyond basic cleaning, I rely on specific tools to fine-tune my setup. A calibrated tamping station ensures consistent pressure, reducing channeling. I use a digital pressure gauge to monitor extraction pressure, catching issues before they affect flavor. For grinders, I favor micrometer adjustment kits that allow precise particle size control—vital for dialing in your brew. These tools help me troubleshoot and maintain control over every shot, especially as my equipment ages.
Predicting Future Trends in Home Barista Tech
The future points toward smarter, more integrated equipment. Machines equipped with advanced sensors that monitor temperature, pressure, and flow rate will make maintenance more predictive than reactive. I believe we’ll see adaptive software that guides beginners through calibration, reducing common mistakes. Staying updated with firmware updates and adopting smart accessories will become part of every serious home barista’s routine.
How do I maintain my equipment over time?
Developing a regular maintenance schedule tailored to your gear’s requirements is crucial. Set reminders for descaling, cleaning burrs, and inspecting seals. Keeping a detailed log of when you perform each task helps identify patterns and potential issues early. For example, regularly checking for leaks or unusual noises can prevent costly repairs or full replacements. For detailed techniques, check out this guide and consider investing in a diagnostic toolkit to streamline troubleshooting. Incorporate these habits into your routine, and soon maintaining your setup will be second nature—saving you time and money while ensuring every cup is stellar.
Little Secrets That Changed My Entire Brew Routine
One of the most eye-opening lessons I learned was that even the best grinder or espresso machine can’t compensate for stale milk or forgotten maintenance. I used to chase perfect shots without checking my water temperature, only to realize that small details like water composition and cleaning routines dramatically affected flavor and consistency. These behind-the-scenes adjustments sometimes trump fancy equipment, reminding me that mastery often lies in the habits we develop.
Another lightbulb moment came when I discovered how subtle tamping pressure variations impact extraction. Early on, I thought pressing harder would always yield better results, but I learned that a consistent, gentle tamp produces more balanced shots. It’s a testament to the fact that consistency—more than brute force—is what elevates our craft.
Finally, understanding the importance of a well-calibrated grinder gave me a new appreciation for particle size control. Using a micrometer adjustment kit transformed my ability to dial in grind settings quickly, saving time and reducing waste. These insights reinforced the idea that attention to detail and continuous learning are vital on the journey to home barista excellence.