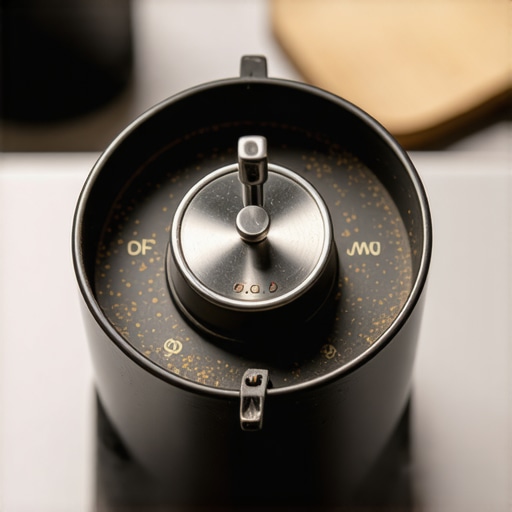
Why Your Grinder’s Adjustment Dial Feels Gritty or Hard to Turn
You know that frustrating moment when you’re trying to dial in your coffee grinder, and suddenly, the adjustment knob feels like it’s made of concrete? It turns stiff, gritty, and almost impossible to tweak smoothly. I vividly remember the first time this happened to me. I was eager to perfect that shot of espresso, only to be met with a dial that wouldn’t budge—like fighting a stubborn mule every morning. That lightbulb moment made me realize: it’s not just annoying; it’s a sign something needs attention.
How a Gritty Grinder Adjustment Dial Can Sabotage Your Coffee Routine
Anyone who’s passionate about their home brewing understands the importance of a precise grind setting. It’s the key to unlocking consistent flavor and aroma. But when your adjustment dial becomes difficult—feeling gritty or overly stiff—it can throw off your entire workflow. Beyond the inconvenience, it might cause uneven grinding or even damage your grinder if left unaddressed.
Most of us might assume this stiffness is just normal wear and tear or some dirt buildup. However, neglecting this issue can lead to more serious problems down the line. I made the mistake early on of ignoring the squeaky, gritty sensation, thinking it would go away on its own. Spoiler alert—things only got worse. The good news? With a little bit of know-how, you can restore smooth operation and extend the lifespan of your grinder.
Have you faced this stubborn, gritty feel yourself? If so, don’t worry—you’re not alone. Many coffee enthusiasts encounter this hiccup and think they need a new grinder or complicated repairs. The truth is, most of the time, it’s something simple you can fix yourself. Understanding what causes this gritty resistance and how to resolve it is the secret to maintaining a happy, well-tuned grinder.
But first, let’s explore why this problem occurs and whether it’s worth panicking about. A common mistake I made early on was assuming that tension springs or burrs were permanently misaligned. Turns out, a little maintenance can go a long way.
Did you know that dust, oil, and debris accumulation are among the top culprits behind gritty grinder adjustments? Regular cleaning and lubrication can often solve the issue, but there’s more than just cleaning to consider.
Now, let’s dive into the practical steps to get your grinder moving like new, ensuring consistent grind quality and saving you money and frustration in the process.
Applying Lubrication to Smoothen the Dial
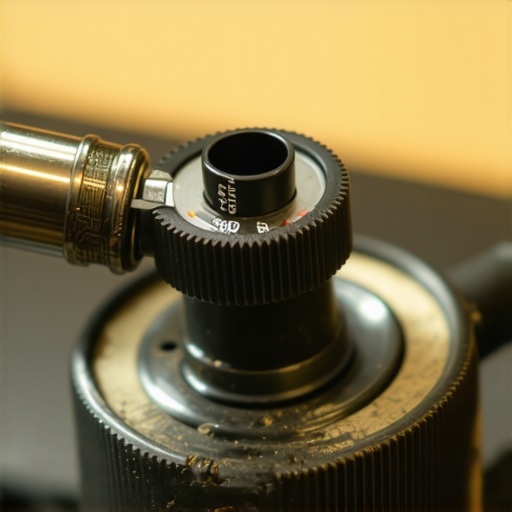
My first attempt was to lubricate the adjustment mechanism. I removed the hopper, exposing the adjustment screw and gear assembly. I used a food-grade lubricant to coat the spindle and gears, ensuring no dirt or old grease limited movement. As I turned the dial, it moved more freely, like sliding a knife through butter—a satisfying improvement after just a few minutes of work.
Cleaning the Adjustment Thread and Surrounding Components
Next, I cleaned accumulated dust, coffee oils, and debris from the thread. Using compressed air and a soft brush, I gently cleared buildup. If stubborn residues persist, a damp cloth with a mild solvent like isopropyl alcohol helps dissolve oils. Regular cleaning prevents grit from binding the parts, which is especially crucial if you notice gritty resistance during dial adjustments. Remember, a clean thread ensures your calibration remains precise and smooth.
Checking and Resetting the Spring Tension
Sometimes, the tension spring connected to the adjustment mechanism wears out or becomes misaligned. I inspected the spring’s position, gently re-tensioned it, and ensured it applied consistent pressure. A well-tensioned spring allows for easier turnability without becoming loose or overstressed. If your spring appears damaged or overstretched, replacing it can restore proper tension. For detailed guidance, I referenced this tutorial.
Reassembling and Testing the Grinder
After cleaning and lubricating, I reassembled the grinder carefully, ensuring all components aligned correctly. I tested the adjustment dial by turning it back and forth, noting smoother operation. I also made a small grind adjustment and brewed a test shot to see if the changes improved consistency. This process not only restored the smooth feeling but also improved the overall grind quality. For further insights on grinder maintenance, visit this comprehensive guide.
 When it comes to crafting the perfect cup at home, many enthusiasts fall into common traps that hinder their progress. A prevalent misconception is that all coffee grinders, espresso machines, and accessories are created equal, leading to oversimplified choices and subpar results. However, the reality is far more nuanced. For instance, many believe that high-cost equipment guarantees superior coffee, but in my experience, understanding the specific mechanics and maintenance needs of your gear can make a significant difference. One often overlooked detail is the importance of consistent burr alignment in grinders—misalignment can cause uneven extraction that no amount of tamping or bean freshness can fix. Additionally, there’s a widespread myth that more expensive steam wands always produce better microfoam; while quality matters, technique and grinder-dosed milk temperature play pivotal roles. Advanced enthusiasts should pay attention to the subtle differences in pump pressure stability, which can influence shot consistency more than just selecting a pricier machine. It’s also worth noting that neglecting regular cleaning of portafilter gaskets and group heads can lead to subtle flavor shifts over time, a trap many home brewers fall into. Make sure you’re not just upgrading gear but also mastering the underlying science—this is where true mastery begins. Curious about how to spot these less obvious issues before they ruin your brew? Visit https://espressotechguide.com/choosing-the-best-barista-gear-for-coffee-enthusiasts to deepen your knowledge. Don’t underestimate the impact of small, advanced adjustments—sometimes, the difference between decent and espresso perfection lies in the details. Have you ever fallen into this trap? Let me know in the comments.Maintaining your barista equipment is crucial for ensuring long-term performance and achieving consistently excellent brews. The right tools can make routine upkeep more efficient and help you troubleshoot issues before they escalate. For example, investing in a high-quality ultrasonic cleaner can significantly simplify the descaling process, especially for espresso machines with complex internal components, as highlighted by industry experts. Regularly inspecting and replacing worn gaskets, like the portafilter gasket, with genuine parts from reputable suppliers, ensures a tight seal, preventing leaks and maintaining optimal pressure. Additionally, a precision water test kit helps monitor water hardness, which is vital since mineral buildup can impair machine longevity and flavor quality—more details can be found in the comprehensive guide on choosing the best barista gear. For cleaning, a dedicated brush set designed specifically for group heads and steam wands offers precision and prevents damage, making routine cleaning quicker and more effective. Utilizing a calibrated digital scale during maintenance not only ensures you measure grind doses accurately but also helps track and improve consistency over time. Future trends suggest that smart, IoT-enabled maintenance devices are emerging, providing real-time alerts for service needs—embracing these innovations could keep your setup running smoothly with less manual effort. How do I maintain my espresso machine over time? Establish a weekly cleaning routine using specialized tools like an E61 group head brush, regularly replace worn gaskets, and keep a log of performance metrics to identify patterns early. For further insights, check out our detailed guide on mastering home espresso and exploring innovative tools that elevate your brewing experience. Don’t forget to test your water hardness periodically; this simple step can dramatically extend your machine’s lifespan and improve flavor clarity. Want to optimize your routine? Try incorporating a vibration pump pressure gauge to monitor performance more precisely—it’s an advanced step that yields measurable improvements and aligns with future tech trends in coffee maintenance.
Throughout this article, we’ve uncovered the often-overlooked nuances that can elevate your home brewing journey. But the real insight lies in the lessons learned from personal experience and the little adjustments that make a significant difference.
Lessons That Transformed My Espresso Routine
- Gritty adjustment dials are often a sign, not a problem: I once dismissed the stiffness of my grinder’s dial as normal wear, only to find that neglect leads to uneven grinds. Regular cleaning and lubrication are essential to keep things moving smoothly.
- Small tweaks can prevent big mishaps: Adjusting spring tension or re-aligning burrs might seem daunting, but with patience, it’s often enough to restore perfect flavor extraction without costly repairs.
- Consistent maintenance is the secret to consistency: Incorporating a weekly cleaning routine and using dedicated tools, like a quality grinder brush, drastically reduces the chances of flavor-shifting clogs or uneven grinds.
- Understanding your equipment deepens your craft: Knowing the ins and outs of your espresso machine and grinder, from water hardness to gasket health, transforms routine upkeep into a powerful tool for brewing perfection.
This Is How I Keep My Gear in Top Shape
Over the years, I’ve curated a toolkit that includes a high-quality ultrasonic cleaner for descaling, genuine replacement gaskets, and a calibrated digital scale for precise dosing. These tools, combined with trusted resources like this guide, help me stay ahead of potential issues and refine my technique regularly.
Your Coffee Journey Continues
Remember, every adjustment you make brings you closer to barista-level excellence. Embrace these maintenance habits, explore new tools, and most importantly, enjoy the process of perfecting your craft. If you’re ready to elevate your home espresso setup, head over to this resource to get started today.
What’s the one maintenance tip you wish you had learned earlier? Share your experiences below and let’s grow together in this coffee adventure!