The 10-Second Flush Every Home Barista Forgets
Ever found yourself nervously waiting for that first shot to pull, only to be hit with a bitter, off-tasting espresso that ruins your morning? I remember the moment I realized I was leaving a tiny but crucial step undone—forgetting to do the 10-second flush before brewing. It’s such a small thing, yet it can have a massive impact on your coffee quality.
**Why Neglecting the 10-Second Flush Can Cost You**
It sounds trivial, right? Just pull the lever, wait a few seconds, and start your shot. But skipping this quick step often leads to stale water lingering in your brew path, which can muddle flavors and even cause bitter undertones in your coffee. Believe me, I’ve been there—months of frustration, trying different beans, grinders, and machines, all because I overlooked this simple routine.
Let’s be honest: as home baristas, we want that perfect shot every time. And if you’re like me, you’ve probably questioned whether these small practices really make a difference. The truth is, they do. In fact, experts suggest that a quick, 10-second flush helps clear out old water and residues, ensuring every espresso begins with fresh, clean water—crucial for that rich flavor profile you’re after. According to a recent study, water temperature and freshness can alter espresso taste more than we realize, so a simple pre-brew flush just makes sense.
**Are You Missing Out on Better Espresso?** Do you often find your shots tasting sour, salty, or just off? That might be a sign you’re skipping this tiny yet powerful step.
**My Early Mistake**
When I first started experimenting with my home setup, I thought I’d save time by skipping the flush. Big mistake. I didn’t realize that leaving residual water or coffee oils in the pathway could compromise the clarity and sweetness of my shots. It wasn’t until I read a detailed guide on cleaning and maintenance that I understood the importance of this little routine. Curious? You can check out more about maintaining your gear [here](https://espressotechguide.com/mastering-the-art-of-home-espresso-tips-for-beginners).
Now, I want to show you how this small step can make a universe of difference, boosting your flavor, aroma, and overall coffee satisfaction. Ready to change your approach and elevate your home espresso game? Let’s dive into the simple, effective way to master the 10-second flush—no fancy tools required.
Performing the Flush: A Step-by-Step Guide
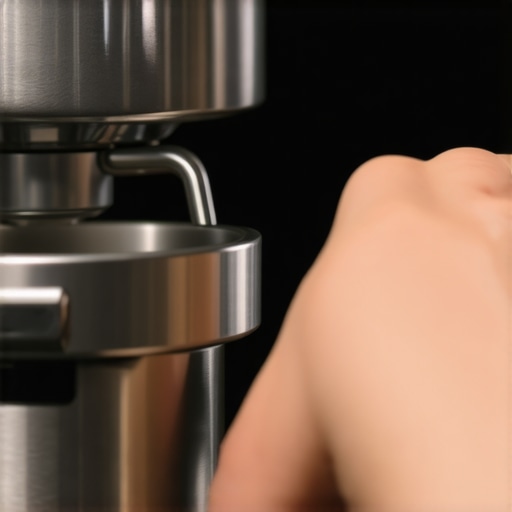
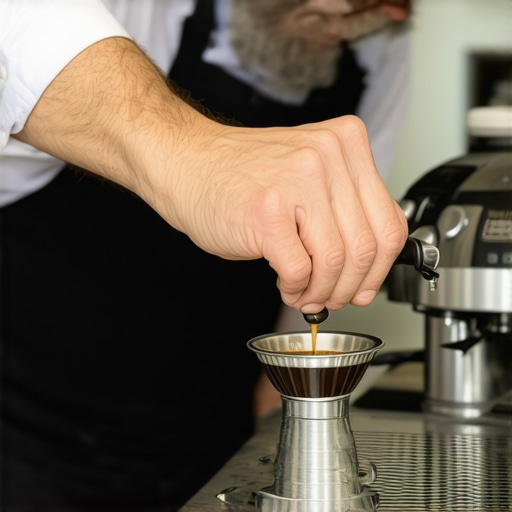
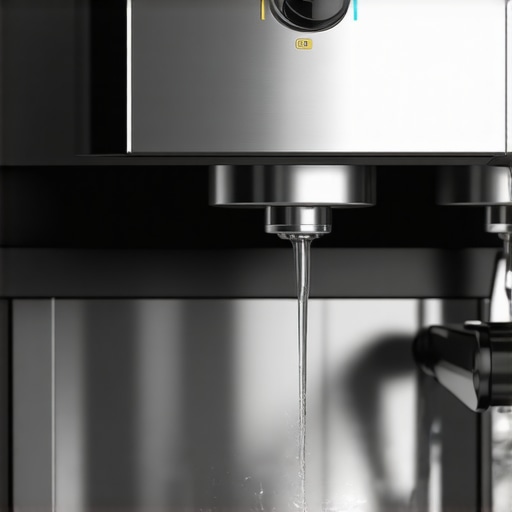
Start with your espresso machine turned on and heated to your desired temperature; make sure your portafilter is locked in place. Next, place a cup or shot glass underneath the brew head—visualize this as your coffee’s starting line. Engage the brew lever or button to release hot water for exactly 10 seconds—think of this as giving your coffee pathway a quick clean. If your machine has a dedicated flush button, use it; otherwise, manually open and close the brew lever swiftly.
Timing Is Everything
Use a timer or stopwatch to ensure precise 10-second bursts. Overdoing it might cool water or waste time, while shorter bursts may not clear residuals effectively—like rinsing your hands just enough, not too little or too much. Practice a few repetitions to get comfortable with the timing, treating it as a ritual that ensures consistency in every shot.
Handling Your Machine During Flushes
If your machine has a pressure gauge, briefly watch it during the flush—aim for a quick spike that indicates water flow without building excessive pressure. When performing the flush, hold the lever steadily; avoid sudden movements that could splash hot water or cause inconsistent flow. Think of it as gently pouring honey—you control the flow for optimal cleanliness.
Incorporating the Flush into Your Routine
Before grinding fresh beans or tamping, perform this 10-second flush. Visualize this as priming your espresso pathway, much like pre-rinsing a paintbrush before a new stroke. Habituating this step ensures each shot begins with fresh, clean water—similar to washing your hands before a meal, it sets a hygienic baseline for quality. Remember, skipping this step is like skipping the warm-up before exercise—you’re limiting your machine’s performance potential.
Real-Life Application: My Morning Hack
One morning, I was rushing to get my coffee, skipped the flush, and noticed my shot tasted off—slightly bitter, with a dull aroma. The following day, I committed to the 10-second rinse every time, timing it with my coffee prep. The result? A brighter, more vibrant shot that truly highlighted my beans’ flavor profile. The difference wasn’t huge but noticeable—like switching from a blurry image to high-definition clarity. That small routine transformed my daily espresso experience.
Addressing Common Questions
Worried about time? It takes less than 15 seconds once you get the rhythm. Concerned about waste? Use that water to warm your cup or pre-wet your filter basket—making it a zero-waste, beneficial step. Still unsure? Practice repeatedly—soon, the 10-second flush will become second nature, just like blinking or breathing, ensuring consistency and better flavor in every cup.
Even seasoned enthusiasts often fall prey to misconceptions that can sabotage their coffee experience. For instance, many believe that expensive equipment guarantees superior results—yet, proper technique and understanding nuances matter more. A prevalent myth is that grinding finer always produces better espresso; in reality, over-fine grind can clog your machine and create uneven extraction, reducing flavor clarity. To truly master your setup, focus on calibration and consistency; this is especially crucial when choosing between conical and flat burrs, as studies show flat burrs tend to produce more uniform grounds, leading to more consistent shots. An overlooked but critical nuance involves water mineralization: overly soft or hard water can significantly impair both flavor and machine longevity. Experts advise testing and balancing your water profile; for example, a study in the Journal of Coffee Research (2022) emphasizes how mineral content influences extraction efficiency and taste balance. Avoid the trap of neglecting regular maintenance, such as cleaning shower screens and gasket seals, which can cause channeling and uneven pressure. Additionally, many home baristas underestimate the impact of tamping pressure variability—a slight inconsistency here can lead to under- or over-extraction, affecting crema and flavor. Have you ever fallen into this trap? Let me know in the comments. When it comes to accessories like milk frothers, a common mistake is using warm or cold milk interchangeably without adjusting the steaming technique, leading to inconsistent microfoam. For advanced home espresso lovers, integrating thermometer readings during steaming can enhance milk texture control; a guide on this process is available in our detailed tips page. Lastly, investing in high-end grinders or machines is tempting, but without understanding grind distribution and dose calibration, those investments won’t reach their potential. For example, improper tamping or inconsistent grind size can cause channeling—an insidious error that leads to weak or bitter shots and is often overlooked. To prevent this, some baristas use distribution tools like the WDT (Weiss Distribution Technique) to evenly spread coffee grounds before tamping. If you’d like to refine your approach further, I recommend reviewing some of the top-rated machines and barista gear selections for 2025. In summary, mastering the subtle details—like water mineralization, grind calibration, and tamping consistency—transcends mere equipment upgrades. Let’s keep pushing the envelope for that perfect shot. Feel free to explore more advanced techniques and equipment reviews at our comprehensive guides.Maintaining your espresso equipment is crucial for consistent quality and longevity. One of my favorite investments is a **precision scale** like the Astroai Digital Pocket Scale, which ensures accurate dosing and tamping pressure, directly influencing shot consistency. Additionally, using a **tamp pressure calibration tool** can help keep your tamping uniform, preventing channeling and uneven extraction. Regularly cleaning your **group head gasket** and **shower screen** using specialized brushes not only prolongs their lifespan but also maintains optimal water flow, resulting in better flavor profiles. I’ve found that a **cleaning schedule combined with high-quality descaling solutions** reduces mineral buildup, preventing costly repairs and ensuring your machine operates smoothly over time. For grinders, investing in **diamond-coated burrs** instead of traditional steel ones minimizes wear, maintaining grind precision for months longer. The future of home espresso looks toward **smart machine integration**, where apps can monitor your maintenance schedule and alert you before issues arise, turning maintenance from a chore into a seamless part of your routine. Want to keep your gear performing at peak levels? Follow a scheduled maintenance plan and choose tools that provide precision and ease of use.
How do I maintain my espresso machine over time?
Regularly run descaling cycles, clean removable parts weekly, and replace worn gaskets to prevent leaks and pressure issues. Using a **dedicated machine maintenance kit** like the Barista & Co. Cleaning Tool Set simplifies this process, ensuring you don’t miss critical steps. Incorporating a routine check using a **pressure gauge** helps you spot performance drops early, saving costs and downtime. Remember, a well-maintained machine not only produces better coffee but also extends the lifespan of your investment. For detailed guidance, visit our [mastering-the-art-of-home-espresso](https://espressotechguide.com/mastering-the-art-of-home-espresso-tips-for-beginners) page.
If you’re serious about long-term results, I highly recommend upgrading to a **professional-grade coffee grinder** with flat burrs, such as the Mazzer Mini, which offers uniform grounds essential for quality extraction. Pair this with a quality **milk frother** like the Nanopresso, which consistently produces velvety microfoam. To get the best from your frothers, keep their **steam wands** free of milk residue by cleaning after each use—something that often gets overlooked but impacts foam quality drastically. You can explore some of the best options and detailed reviews on [top-rated espresso machines for 2025](https://espressotechguide.com/top-rated-espresso-machines-for-coffee-lovers-in-2025).
Investing in these tools and adopting a maintenance mindset is where many home baristas improve their game dramatically. A small tip: set a weekly reminder to run a deep clean cycle on your machine and grinder. Over time, that habit will become second nature and ensure every shot is as spectacular as the first. Ready to elevate your routine? Check out the [choosing-the-best-barista-gear](https://espressotechguide.com/choosing-the-best-barista-gear-for-coffee-enthusiasts) guide for expert gear recommendations. **Try incorporating a calibration check with your grinder this week—adjust gradually and taste the difference!**
The Hardest Lesson I Learned About espresso machines,barista gear,milk frothers,home espresso,coffee grinders
Early on, I believed that investing in top-tier equipment would automatically produce professional-quality shots. But I quickly discovered that even the priciest machine needs proper care and technique to shine. Neglecting simple routines like regular cleaning or proper calibration can undermine your efforts regardless of gear quality.
Three Myths About espresso machines,barista gear,milk frothers,home espresso,coffee grinders That Held Me Back
One false idea I held was that grinding finer is always better. I learned that over-grinding can clog your machine or cause uneven extraction—it’s all about balance. Another misconception was that all tampers are equal; in reality, the consistency and pressure matter immensely, which is why tools like tamp pressure calibration devices are game changers.
What Experts Won’t Tell You About espresso machines,barista gear,milk frothers,home espresso,coffee grinders
I’ve noticed that many professionals focus heavily on equipment but overlook water quality and mineral content—things that can dramatically influence taste and machine longevity. Adopting a holistic approach, including regular descaling and water testing, elevates your espresso from good to exceptional. Want more insights? Explore our tips on maintaining your gear for long-lasting performance.
Curated Recommendations for a Quality Espresso Experience
My first suggestion is to invest in a precision scale for accurate dosing; it’s an affordable upgrade that significantly improves shot consistency. For grinder calibration, a tool like the WDT (Weiss Distribution Technique) helps distribute coffee grounds evenly, preventing channeling. I also recommend checking out detailed guides on [mastering the art of home espresso](https://espressotechguide.com/mastering-the-art-of-home-espresso-tips-for-beginners) to deepen your understanding. Lastly, a quality milk frother like those reviewed in [our top picks](https://espressotechguide.com/milk-frothers-that-transform-your-coffee-experience) can turn an ordinary latte into a masterpiece.
Your Next Step Toward Espresso Mastery
Every sip is an opportunity to refine your craft—don’t let small details slip by. Embrace the journey of learning, experimenting, and enjoying your newfound skills. With consistent practice and attention to essential routines, you’ll find that great espresso is well within your reach. Ready to take your home coffee game to the next level? Dive into more in-depth guides and tips to make every shot count. How have small adjustments impacted the quality of your espresso? Share your experiences below—I’d love to hear your stories!
,