How to tell if your basket is too large for your dose
I remember the first time I over-packed my espresso basket, hoping to squeeze out a richer shot. Instead, I ended up with a puddle of mud where a beautiful coffee should have been. The bitter disappointment hit me like a shot of espresso—fast and jarring. It was only later I realized that my basket might have been too big for my dose of coffee, and that small miscalculation was ruining my brew. Have you ever faced a similar struggle, pouring shot after shot, yet something just doesn’t taste right? You’re not alone.
Why Getting the Size Right Can Make or Break Your Brew
Choosing the right basket size for your dose isn’t just a technicality; it’s the foundation of a perfect espresso. When your basket is too large for your dose, you risk channeling, uneven extraction, and a sour or bitter taste. Conversely, if it’s too small, you may end up under-extracting, resulting in weak and watery shots.
Early on, I made the mistake of assuming that bigger baskets were always better because they allowed for more coffee. That misconception led me down a rabbit hole of inconsistent results. According to expert baristas, the compatibility between your dose weight and basket volume is crucial for balanced extraction (source: Mastering the Art of Home Espresso). If you’re unsure whether your basket size matches your dose, this mismatch could be quietly sabotaging your brewing efforts.
Is Failing to Match Basket and Dose Actually Worth the Hype?
Honestly, I thought it was just about precision nerdiness—something only professional baristas cared about. But I learned that even a tiny mismatch can turn a good shot into a bitter nightmare. The truth is, investing in the correct basket size for your typical dose is a game-changer that can elevate your home espresso from average to exceptional. If you’ve been frustrated with inconsistent results, it might be time to take a hard look at your basket and dose compatibility. Ready to learn the simple signs that tell you if your basket is too big? Let’s dive into how you can identify and fix this common problem—no fancy equipment required.
Assess Your Current Setup
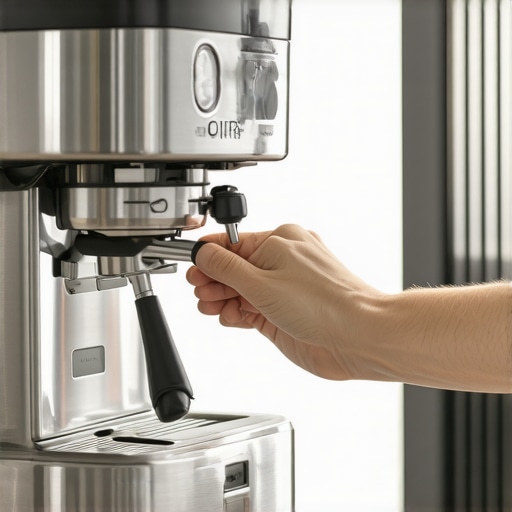
Start by measuring your typical coffee dose. Use a precise digital scale (preferably one that↵is accurate to 0.1 grams) to weigh your grounds. Next, examine your basket size—remove the portafilter and look for its volume markers or measure its capacity with graduated cups. Cross-reference your dose weight with the basket volume to see if they’re compatible. For example, a 20-gram dose generally fits well in a basket with a capacity of around 18-22 grams. I once found my basket was meant for 16 grams, but I was dosing 20 grams, leading to overstuffing and uneven extraction.
Select the Right Basket for Your Dose
Choose a basket designed for your typical dose. If you frequently pull shots with 18 grams, opt for a basket labeled for 18-20 grams. Manufacturers like top-rated espresso machines often include compatible baskets—double-check the specifications. When replacing or upgrading your basket, compare dimensions: a basket with an opening diameter around 58mm is standard, but internal depth and shape matter. I replaced a generic 20g basket with a calibrated one, which immediately improved shot consistency.
Adjust Your Dose or Grind Accordingly
If your basket capacity remains fixed, modify your dose to match it. Use your digital scale to weigh grounds before tamping. Adjust your grinder to produce a grind size suitable for your dose—finer for smaller doses, slightly coarser for larger ones—since grind size impacts extraction. A handy trick is to perform test pulls, adjusting grind size in small increments until you achieve the desired flow rate and shot timing. Remember, a slight adjustment in grind can compensate for minor mismatches. When I struggled with over-extraction, reducing my dose by 2 grams and refining my grind improved the flavor.
Use Consistent Dosing & Tamping Technique
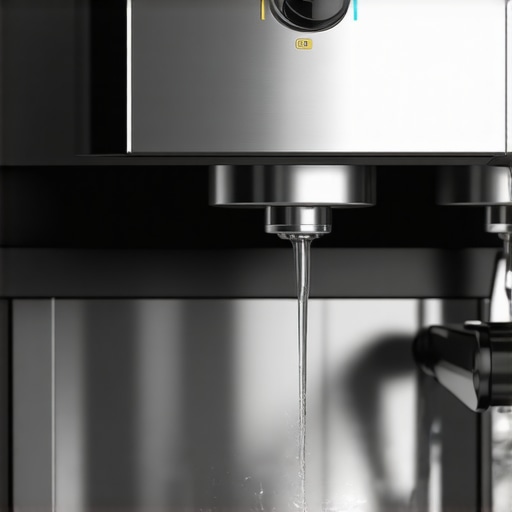
Consistency is key. Always dose and tamp with the same technique to avoid variations. Consider a tamping station or leveler to ensure uniform pressure, preventing channeling. For beginners, a calibration shot—pulling without coffee to check for water flow—can reveal if your basket is correctly matched; a fast flow indicates over-dosing or over-filled basket, while a sluggish shot hints at under-dosing. I once used a simple chalk trick to mark my portafilter and ensure tamp consistency across shots.
Test, Tweak, Repeat
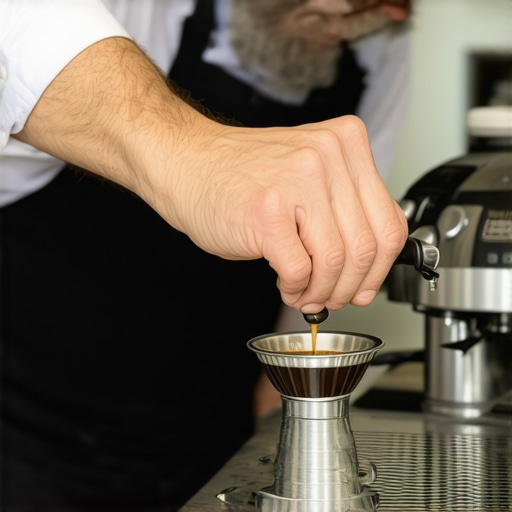
Once you’ve aligned your dose and basket size, test your setup. Pull a shot and observe the extraction—aim for a shot that lasts around 25-30 seconds with a rich, caramel-colored stream. If it’s too fast, consider lowering dose slightly or fine-tuning your grind. If too slow, increase dose or coarsen your grind. Record outcomes to develop a reliable baseline. I recommend keeping a brewing journal—note dose, grind setting, tamp pressure, and shot time—to fine-tune your process over time.
Recognize Signs of Mismatch
Look out for some clear indicators—such as water rushing through too quickly, which suggests overfilled or oversized baskets, or slow extraction, indicating underfilled baskets or coarse grind. Also, watch for puddles around the portafilter or uneven crema. When I experienced a watery shot despite correct dose, rechecking my basket’s capacity and switching to a better fitting one solved the problem immediately—similarly, you can explore signs of under-extraction to fine-tune your process.
Many coffee aficionados believe that owning the latest espresso machine or a high-end grinder guarantees perfect shots every time. However, this assumption overlooks the subtle yet crucial aspects that can make or break your brewing experience. In my years of practice, I’ve discovered that few realize how much nuance there is beyond just buying top-tier gear. Focusing solely on flashy machines or fancy accessories can lead you to overlook foundational details that truly impact espresso quality.
Why Believing More Coffee is Always Better Can Backfire
A common myth is that increasing dose size results in richer flavor. While it might seem logical, overpacking your basket or pushing your grinder beyond its optimal performance can cause channeling and uneven extraction. The key lies in understanding how grind size, tamping pressure, and dose interact intricately—an advanced concept many overlook. According to experts like Scott Rao, precise control over these factors is essential for consistent quality. Over-enthusiasm for larger doses without adjusting your grinder or tamp can result in over-extraction, leading to bitter or burnt flavors, making your brew less enjoyable.
Beware the Overlooked Impact of Grind Size and Distribution
Many home baristas focus on the machine and forget that grind distribution plays a pivotal role. Uneven grounds or inconsistent tamping can cause water to find the path of least resistance, leading to channeling and under-extraction. While a fine adjustment might seem minor, it impacts pressure and flow rate significantly. Using tools like a WDT (-Weiss Distribution Technique) tool or investing in calibrated tampers can help mitigate these issues. I once experienced espresso shots that varied wildly—until I started meticulously examining grind uniformity and tamp pressure. Proper distribution isn’t just fluff; it’s an advanced practice that elevates your shots.
How Can You Tell if Your Milk Frother Is Subpar?
Many assume that any milk frother will suffice, but the market is flooded with devices that underperform unless chosen carefully. A common trap is settling for a cheap, battery-operated frother, which often produces overly thick or uneven foam. High-quality steam wands or electric frothers with adjustable controls deliver more consistent microfoam essential for latte art. An advanced tip is to monitor the steam pressure—too low indicates inadequate boiler performance, while too high can scald the milk. Studies indicate that proper steam pressure sources—around 1-1.2 bar—are optimal for silky microfoam. Skimping here can compromise texture and flavor, so investing in a well-designed frother is crucial for nuanced milk textures.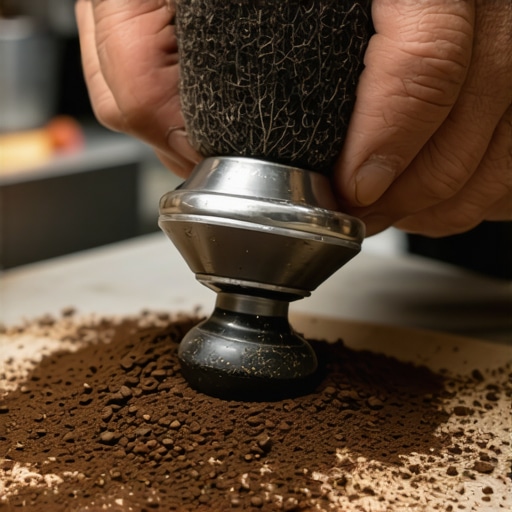
Remember, the devil is in the details, and understanding these nuanced factors can drastically improve your espresso quality. Avoid falling into the trap of relying solely on high-end gear; instead, focus on mastering the subtle techniques that differentiate good from exceptional. Have you ever fallen into this trap? Let me know in the comments, and share your experiences!
Keep Your Gear in Peak Shape: Why Maintenance Matters
The foundation of consistently great espresso is not just the initial setup, but ongoing maintenance. Regularly cleaning your grinder burrs, descaling your machine, and inspecting accessories prevent common issues like clogging, inconsistent grind sizes, or flavor deviations. For instance, I personally use a specialized descaling solution every three months to keep my boiler and pipes spotless, which significantly extends the lifespan of my machine.
Tools I Recommend for Effortless Upkeep
Investing in the right tools streamlines maintenance and preserves performance. I swear by a calibrated burr grinder adjustment tool—like the one discussed in this detailed guide—which allows me to fine-tune my grinder after replacing burrs or changing beans, ensuring consistent particle size. Additionally, a high-quality steam cleaner helps me clear milk residue inside wands and group heads, preventing build-up that can cause poor frothing or contamination.
Bookmark Key Resources and Keep Learning
Staying updated with the latest tools and techniques can seem daunting, but bookmarking expert resources makes it manageable. I regularly visit this contact page for personalized advice and to explore new gear options tailored for home baristas. Joining online forums or subscribing to newsletters from trusted sources keeps me informed about upcoming innovations and maintenance hacks—helping me make informed upgrades over the years.
How do I maintain my equipment for long-term reliability?
Establishing a routine is key. Schedule weekly cleans of your grinder and portafilter, monthly descale your espresso machine, and examine seals and gaskets for wear. Using tools like a burr alignment checker ensures your grinder performs optimally, which is particularly crucial if you’re serious about flavor consistency. Consider investing in a digital pressure gauge to monitor and adjust pump pressure over time, ensuring your machine functions at peak efficiency. Remember, small, consistent efforts total up to years of delicious coffee—so treat your tools like the investments they are and perform maintenance proactively.
Looking back, I realize that some of the most significant improvements in my espresso journey came from paying attention to what many ignore—the subtle adjustments and honest reflections on my process. The biggest lesson I learned? Small tweaks and honest assessments can transform a good shot into an exceptional one, especially when it comes to basket size and dose compatibility.
The Hardest Lesson I Learned About espresso machines,barista gear,home espresso,coffee grinders,milk frothers
- Oversized baskets aren’t always better. I believed that larger baskets meant more flexibility, but I discovered that mismatching basket size with my dose led to channeling and flavor loss. It pushed me to match each basket to the specific dose perfectly, which resulted in more consistent shots.
- The importance of grind distribution cannot be overstated. Uneven grounds leave room for water to carve unpredictable paths, wrecking your shot. Using a WDT tool or calibrated tampers made a profound difference for me, elevating my espresso’s uniformity.
- Regular maintenance beats fancy gadgets. Even the best espresso machine needs regular cleaning and calibration. My routine of descaling and burr adjustment keeps my equipment performing at its best and my espresso tasting pristine.
My Essential Toolkit for achieving espresso excellence
- Precision digital scale: For consistent dosing, I rely on a highly accurate digital scale I trust for every shot, guiding my adjustments with confidence. Find a good one here for reliable measurements.
- Calibrated burr grinder tools: Fine-tuning your grinder after changing beans or replacing burrs is critical. Use a calibration tool to ensure particle sizes are uniform, which is key for smooth extraction.
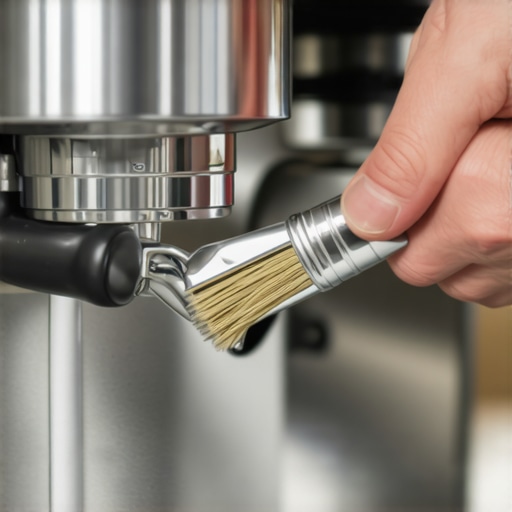
- Proper cleaning supplies: A quality group head brush and descaling solution keep your machine in top shape. I swear by regular cleaning to avoid flavor taints and mechanical hiccups.
- Steaming & frothing gadgets: The right milk frother can make or break your latte art. Check out trusted options that deliver microfoam, transforming your milk into silky perfection.
Embrace the Challenge and Keep Moving Forward
The path to espresso mastery isn’t a straight line. It’s a journey filled with trial, error, and invaluable lessons. Don’t be discouraged by initial setbacks—every misstep is a stepping stone toward better brewing. Whether you’re perfecting basket sizes or fine-tuning your grinder, remember that progress is all about persistence and curiosity.
So, what small change will you try today to improve your home espresso experience? Share your plans—I’d love to hear about your journey toward coffee perfection!