The Hidden Reason Your Milk Frother Is Making Large Bubbles Instead of Microfoam
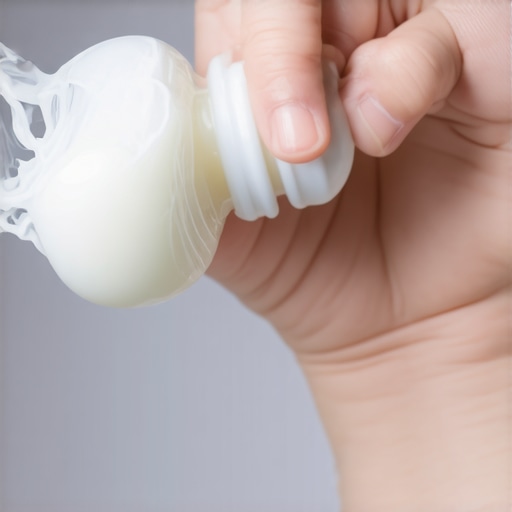
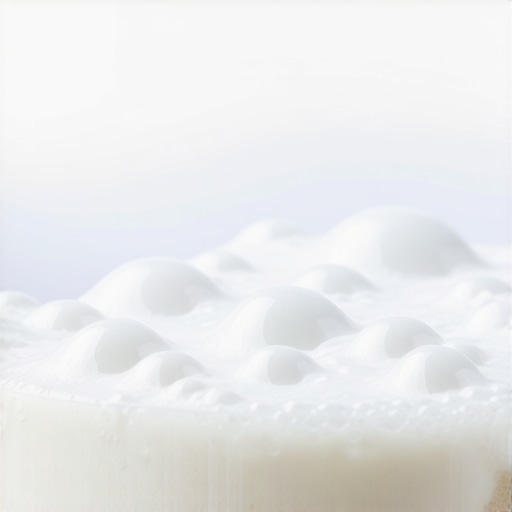
I remember the first time I attempted to craft my own microfoam. I eagerly poured milk into my frother, expecting that luxurious, velvety layer of microfoam that baristas rave about. Instead, what I got was a sea of large bubbles, almost like foam from a can. It was frustrating—I’d followed all the instructions, watched countless tutorials, yet my milk refused to cooperate, turning into frothy lace instead of silky smoothness.
If you’ve faced this same issue, you’re not alone. Many home baristas hit this bump in their journey. What’s often overlooked is the real reason behind those stubborn big bubbles. Today, I want to share my eye-opening discovery—something I missed early on—that transformed my understanding of milk frothing and significantly improved my results.
The Game-Changing Truth About Why Large Bubbles Form
Most people assume that the size of bubbles in your milk depends on the frother’s power or the milk’s temperature. While those factors matter, the crux of the problem is often a simple, overlooked mistake: improper steaming technique or equipment setup that prevents the milk’s proteins from forming the tiny, stable bubbles we associate with authentic microfoam.
This realization hit me when I stumbled upon a detailed guide on espresso machine maintenance and technique. It explained that air incorporation is crucial, but even more important is how the milk is introduced to hot steam, the angle of the steam wand, and the milk’s temperature. I recall early on, I’d often place the wand too deep or too shallow, or I’d just rush the process, leading to large, unruly bubbles.
Once I adjusted my steaming angle, kept the milk at the right temperature, and adopted a gentle, consistent motion, my milk transformed. The large bubbles broke down into tiny, silky microfoam. It’s like giving your frother and milk a proper handshake.
This small tweak made a world of difference, and I want you to experience the same. If you’re still struggling, don’t worry—there’s a set of easy-to-follow steps I’ll share. But first, let’s address a common worry that holds many back from trying these techniques.
Is it really worth the effort to perfect milk frothing?
I admit, I was skeptical at first. I wondered if all this fuss was just part of barista mystique. But as I delved deeper, I found that consistent microfoam isn’t just for show—it directly impacts the taste and texture of your espresso-based drinks. Plus, it makes your morning routine so much more satisfying.
Early in my journey, I also made the mistake of thinking that my basic frother was enough. That’s akin to relying solely on a knife for all cooking tasks. Sometimes, the right tools—like a quality steam wand—and proper technique are what truly make the difference. If you want to check your equipment, I recommend exploring options like this Top Home Espresso Setup, which includes tools specifically designed for better milk frothing.
Now, with a clearer understanding of the core issues, I’ll walk you through practical steps to troubleshoot and perfect your milk microfoam. Trust me, once you nail these, your latte art dreams will come true, and your coffee will taste even better.
The Spring Technique for a Seamless Froth
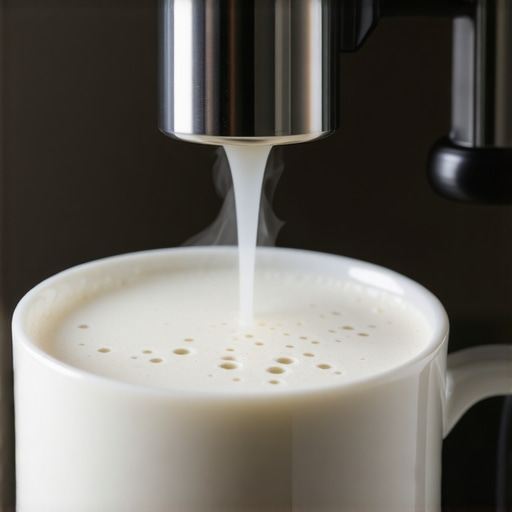
Start by introducing the steam wand just below the milk surface at a slight angle, similar to a gentle pinching motion, to incorporate air efficiently. Remember, patience is key; don’t rush this phase. I vividly recall my first attempt—initially, I plunged the wand deep, causing big bubbles. When I adjusted to a gentle, shallow pour, the microfoam started forming. Aim for a soft hissing sound, not a screech, as it indicates optimal airflow and pressure.
Find the Right Temperature and Maintain Control
Use a thermometer or your finger (carefully!) to monitor milk temperature. The sweet spot is around 140-150°F (60-65°C). Overheating destroys proteins necessary for microfoam. I once overheated milk by the time I realized—resulting in a thin, parchment-like foam. Keep the pitcher steady, angling slightly upward, and tilt it in small circles to promote even heat distribution. This technique fosters microbubbles that are tiny and dense, giving your drink that velvety texture.
Angle and Position Matter More Than Power
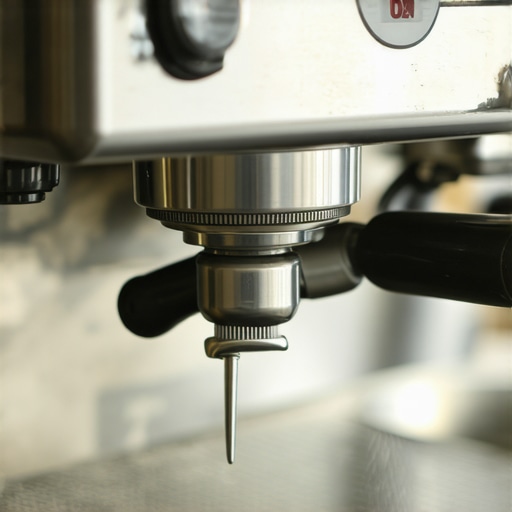
Think of the steam wand as a gentle massage rather than a jackhammer. Position it so the tip hovers just below the milk surface, with a slight tilt to create a whirlpool effect. During steaming, keep the pitcher at an angle that encourages circular motion—this ensures the microbubbles blend into a silky foam. I once used a heavy hand, and the result was a frothy mess; once I dialed down my pressure and focused on a smooth, consistent motion, results improved drastically. For optimal setup, consider checking your equipment to ensure the steam wand operates without leaks or blockages—see this steam wand maintenance guide.
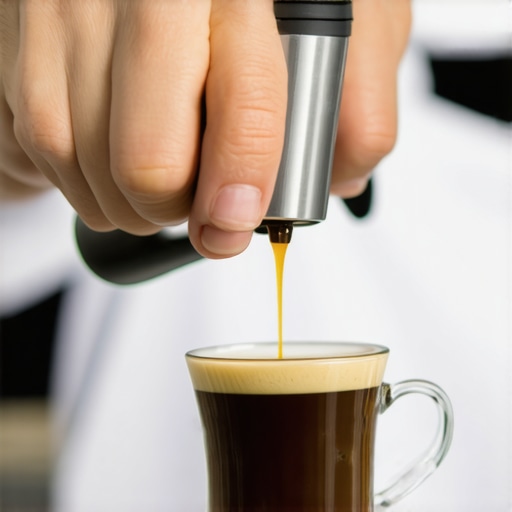
Insert an image showing the proper angle and position of the steam wand relative to the milk pitcher, highlighting the whirlpool motion for microfoam creation.
Use the Right Tools for Consistency
A quality stainless steel pitcher with measurement markings helps maintain control over milk volume and temperature. I recommend a 12oz or 20oz pitcher depending on your usual dose—this aids in handling small adjustments. Pair it with a decent milk frother that evenly distributes steam without uneven pressure skews. Avoid rushing; with practice, you’ll develop a feel akin to a barista’s intuition. For an upgrade, check this home espresso gear set that includes reliable tools perfect for mastering milk frothing.
Many enthusiasts jump into upgrading their coffee setup with high-end milk frothers, grinders, or espresso machines, but often misunderstand crucial details that can sabotage their efforts. A prevalent misconception is that more expensive equipment automatically produces better results. While premium gear offers advantages, many overlook the importance of fine-tuning the variables and understanding nuanced features. For instance, some believe that a powerful motor in a grinder guarantees perfect extraction, but without proper calibration—such as adjusting grind size or dosing—the results may still fall flat. An advanced mistake is assuming that all grind consistency is achieved by simply choosing a fine setting; however, burr alignment, chute cleanliness, and static control play significant roles in uniform coffee particles and extraction quality. Don’t forget that even the most sophisticated machines can produce subpar shots if maintenance routines are neglected. Regularly cleaning brew paths and descaling systems are often overlooked, yet they directly impact flavor and machine longevity. As per a recent study by the Specialty Coffee Association, precise calibration and maintenance are as critical as the investment in top-tier equipment. For example, the infamous vacuum breaker leaks in steam wands are often due to overlooked maintenance, not equipment failure. Avoid falling into these traps by prioritizing routine checkups and understanding each component’s role. For the advanced home barista eager to refine their craft, mastering the finer points like flow profiling and temperature stability can elevate their espresso game beyond basic expectations. If you’re struggling with achieving consistent crema or temperature stability, consider exploring sophisticated calibration techniques, such as flow rate adjustments or thermal stabilization, which are often underestimated in casual setups. Curious about optimizing your gear further? Check out resources like this smart scale calibration guide or this steam wand maintenance tips. Remember, understanding the hidden nuances of your equipment unlocks the full potential of your coffee. Have you ever fallen into this trap? Let me know in the comments.Maintaining your coffee equipment is essential to ensuring consistent, high-quality results over time. I personally rely on a few specific tools and routines that keep my setup running smoothly, even after countless espresso pulls. First, a high-quality cleaning brush like the detailed steam wand cleaning brush helps me keep the narrow nozzles free of milk residue that can block steam flow. Regular descaling with commercial descaler solution, especially in hard water areas, prevents mineral buildup that hampers boiler efficiency and flavor extraction. For this, I use a descaling kit recommended by industry experts because it thoroughly dissolves scale without harming sensitive internal parts.
For precision, I calibrate my smart scale monthly using the method outlined here. This ensures that my doses are accurate, which is vital when dialing in espresso and brewing consistency. Additionally, to keep the grinder in top shape, I perform routine RDT (Ross Droplet Technique) cleaning to mitigate static issues that can cause uneven dosing—check out this RDT cleaning hack that I swear by.
Predicted trends indicate that smart sensors and IoT integrations will become standard in home espresso gear, allowing for real-time diagnostics and maintenance alerts. Staying ahead means I schedule quarterly deep cleans and firmware updates, which can significantly extend gear lifespan and improve performance.
How do I maintain my espresso machine over time? I follow a strict routine: daily backflushing with a cleaning disc, weekly group head brushing, and monthly boiler flushes—steps that prevent clogs and corrosion. For example, regularly checking seals and replacing worn gaskets prevents leaks that can ruin your shot as detailed in this comprehensive leak fix guide. Using proper tools like a calibration screwdriver or a torque wrench for burr alignment ensures precision adjustments. Moreover, I recommend reviewing your owner’s manual periodically to update your maintenance routine based on the latest software updates or new components.
Investing in the right tools and adopting disciplined routines are what truly keep my equipment in prime condition. If you haven’t tried the technique of regular group head backflushing with a paperclip or the paperclip trick, I highly suggest giving it a shot—it’s simple but effective for preventing stubborn clogs. Pick one area today, like calibrating your scale or deep cleaning the steam wand, and see how it improves your barista experience. Consistent maintenance not only preserves your investment but ensures every cup is a masterpiece.
The Wildest Lessons I Learned About Milk Frothing and Home Espresso
One of the most surprising revelations in my journey has been realizing how often I underestimated the importance of technique over equipment. Initially, I believed that upgrading to the most expensive espresso machine or milk frother would instantly improve my results. However, I discovered that perfect microfoam is more about precision and understanding the subtle dance between milk, steam, and technique. For instance, I used to think that gentle steaming was sufficient, but it was the way I introduced air—at just the right angle and pressure—that truly made the difference. This insight transformed my approach and led to consistently silky microfoam that turned my everyday coffee into a craft.
My Gear Arsenal That Really Made the Difference
Over time, I learned that the right tools are a tremendous help but secondary to mastering the fundamentals. My stainless steel pitcher with measurement markings helps me control the milk volume precisely, ensuring consistent results. Investing in a quality thermometer simplified monitoring temperature, preventing overheats that can ruin microfoam. The digital scale I calibrate regularly ensures that my doses are spot-on, which is vital for reliable extraction and milk steaming. For those looking to upgrade or optimize, I highly recommend checking out the home espresso setup under $500. It combines affordability and quality, giving you the essential gear to perfect your craft without breaking the bank.
Why I’ll Never Stop Improving My Barista Skills
Mastering microfoam isn’t just about making pretty latte art; it’s about elevating the entire coffee experience. The process has become a mindful ritual—focusing on the angle of the steam wand, the temperature of the milk, and the gentle motion that creates tiny, dense bubbles. Each adjustment brings me closer to that velvety consistency I once thought was out of reach. Deepening my understanding of equipment maintenance, like keeping my steam wand free of milk crust or calibrating my grinder for ultra-light roasts, has also been essential. These small, consistent efforts pay dividends in flavor and texture, making every cup a moment of pride and connection with my craft.
Unlock Your Barista Potential Today
There’s always something new to learn or refine in the art of home espresso and milk frothing. Embrace the small tweaks, invest in meaningful tools, and stay curious. The journey toward perfect microfoam is as much about patience and passion as it is about technique. So, why not start today? Experiment with your milk temperature, adjust your pitcher angles, or revisit your cleaning routine—each step will bring you closer to that velvety microfoam you’ve been dreaming of. Remember, every great barista was once a beginner—your turn is now to elevate your coffee game.
Have you ever struggled with a specific step in milk frothing or espresso making? Share your experience below and let’s learn together!