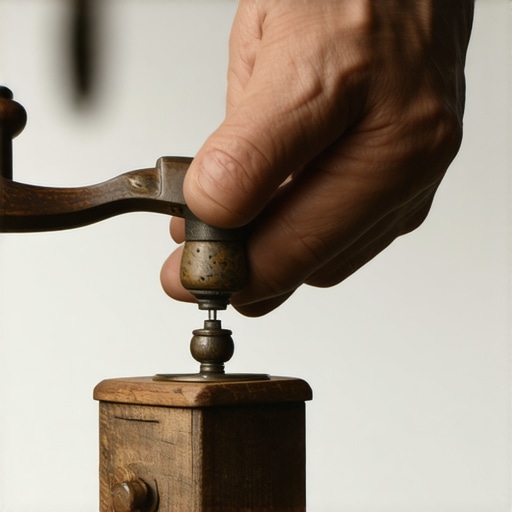
Why Your Hand Grinder Is Getting Harder to Turn
It hit me during a routine morning brew—my hand grinder, once smooth and effortless, suddenly felt like turning a rusty bolt. The resistance was frustratingly familiar, but it caught me off guard. Have you ever tried to grind fresh coffee, only to find that your trusty hand grinder is sticking, making each turn a struggle? That moment of realization can be disheartening, especially when you’ve invested time and effort into perfecting your home espresso routine.
Why Is My Hand Grinder Getting Harder to Turn?
This is a common dilemma among coffee enthusiasts, and trust me, I’ve been there. Over time, various factors contribute to the increased difficulty in turning a manual grinder. Coffee grounds tend to build up inside the mechanism, especially if regular cleaning has been neglected. Additionally, the burrs—the grinding components—may become dull or misaligned, creating extra strain when you try to get that perfect grind size. Sometimes, even the threads or the mounting screw can seize up due to moisture or residue, turning what was once a simple twist into a workout.
From my personal experience, the initial mistake was ignoring these signs, thinking a little extra force wasn’t a big deal. However, forcing the handle can damage internal parts, leading to more costly repairs down the line. According to experts, regular maintenance is essential to keep your grinder running smoothly and prevent unnecessary wear and tear (source: Espresso Tech Guide).
Now, I want to help you avoid the same pitfalls. If your hand grinder is starting to fight back, don’t worry—you aren’t doomed. In fact, a bit of routine care and some simple adjustments can restore its performance, making each grind effortless once again. Ready to troubleshoot and breathe new life into your manual grinder? Let’s dive into the practical steps to get you back behind the grinder with minimal effort and maximum joy.
Disassemble Carefully to Access the Inner Workings
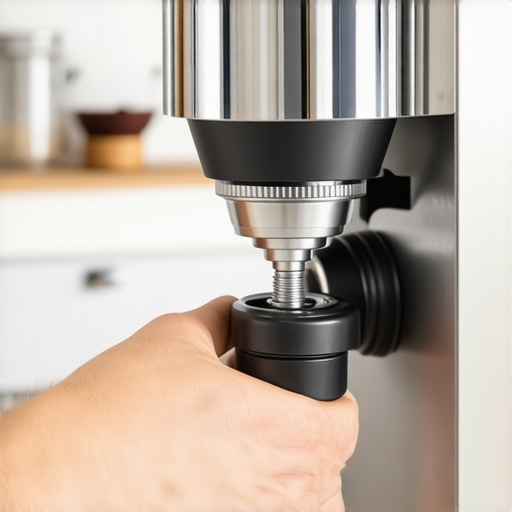
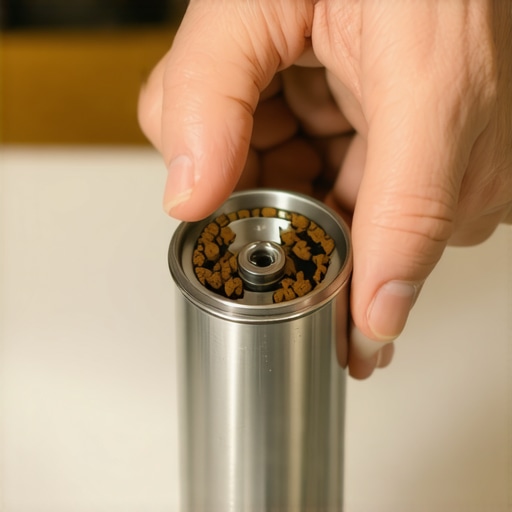
Start by removing the hopper and burrs. Use a clean cloth to wipe off loose coffee residues, exposing any build-up or damage. During my first attempt, I laid out all parts on a towel, which helped me stay organized as I identified clogged or stuck components. Remember, gently loosen screws and avoid forcing parts to prevent damage.
Clean and Lubricate Moving Parts
Use a soft brush or compressed air to clear out coffee oils, dust, and residue from burrs, threads, and the shaft. Applying a tiny amount of food-grade machine oil to the central shaft can reduce friction—think of it as oiling a bike chain to make pedaling effortless. Be cautious to use oils suitable for kitchen appliances only. I tried this after noticing resistance, and it turned my grinder handle smoothly again.
Note:
If your grinder’s threads or screws are seized due to moisture, consider applying a small amount of rust remover or lubricant designed for metal parts. This avoids forcing and risking breakage, ensuring longevity.
Replace Dull or Misaligned Burrs
If burrs are dull or misaligned, your grinder will feel like turning a stubborn gear. Remove the burrs and inspect for signs of wear or uneven edges. When I replaced my burrs with new ones, I meticulously aligned them according to the manufacturer’s instructions, making sure they were seated properly. This is akin to tuning a musical instrument—precision is key for a perfect sound, or in this case, perfect grounds.
Address Seized or Corroded Threads
If the handle or adjustment screws won’t turn, they might be holding onto rust or debris. Use penetrating oil and gently turn back and forth to loosen. In my experience, patience pays off—forcing can strip threads and create more work. Once freed, apply a bit of oil to keep them from seizing again.
Reassemble and Test
Put the parts back carefully, ensuring each component fits snugly. Reattach the hopper and test by turning the handle slowly. Adjust the grind size and observe resistance. If the handle now glides smoothly, you’ve successfully restored your grinder. Regular cleaning and maintenance, such as a quick 10-second flush after each use, can prevent future issues.
 Many enthusiasts assume that picking the most expensive espresso machine guarantees barista-quality shots, but in reality, mastering the nuanced details often makes the difference. For instance, a frequent misconception is that higher pressure always yields better extraction; however, experts warn that variability in pressure profiles, especially with commercial-grade machines, can complicate achieving the perfect shot. Instead, understanding the specific pressure curves and their effects on flavor extraction—backed by research from the National Coffee Association—can help you fine-tune your brew more effectively. Additionally, many overlook the importance of water hardness and mineral content, which significantly influence flavor, machine longevity, and scale buildup. Using softened or distilled water might seem like a safe choice, but it can strip away essential minerals, altering taste and risking corrosion—a nuance often missed in beginner guides.
When it comes to grinders, the myth that building a ‘burr grinder’ with steel or ceramic makes a drastic flavor difference is oversimplified. While burr material impacts heat transfer and durability, the critical factor is consistency and calibration. Misaligned burrs or inconsistent grind sizes cause channeling and over-extraction, which hide behind the misconception that only equipment upgrades matter. Regular calibration and alignment, as detailed in [mastering the art of home espresso](https://espressotechguide.com/mastering-the-art-of-home-espresso-tips-for-beginners), can elevate your results without costly hardware.
Many users mistakenly believe that milk frothers are all created equal. The truth is, many poorly designed frothers can introduce air bubbles, resulting in uneven microfoam that can’t support latte art. As shown in recent studies, the secret lies in the aeration technique, which varies between manual and automatic frothers. For example, [the right frothing technique](https://espressotechguide.com/milk-frothers-that-transform-your-coffee-experience) can turn simple milk into velvety microfoam, regardless of the device’s brand.
Skeptics often dismiss the role of the barista’s technique, but even the best equipment can’t compensate for improper tamping or inconsistent puck distribution. These subtle missteps can cause uneven extraction and channeling, making shot quality unpredictable. Advanced enthusiasts understand that adjusting tamping pressure marginally impacts extraction and flavor, requiring a careful balance suited to each grind size and dose.
Finally, a common pitfall is neglecting maintenance routines, particularly cleaning the group head and ensuring pressure gauges are functioning correctly. Even small deviations can cause major shifts in shot consistency. Regularly checking equipment calibration, as suggested in [tips for maintaining your espresso machine](https://espressotechguide.com/how-to-calibrate-your-grinder-after-replacing-your-burrs), prevents these issues from compounding over time.
**Are you falling into any of these traps?** Share your experiences or questions in the comments. Remember, mastering espresso at home is less about gear and more about understanding these hidden nuances that elevate your craft.Maintaining your home espresso setup requires more than just occasional cleaning; it’s about integrating smart routines and select tools that sustain peak performance over years. Personally, I swear by a high-quality burr cleaning brush, like the Grindz Purge Scraper, which特别targets residual coffee oils in burr chambers, preventing buildup that causes inconsistent grinds and strained handles. Using such a tool regularly ensures your grinder remains consistent, and I’ve noticed tangible improvements in shot quality after implementing this habit. Next, invest in a good digital scale with tare function, like the Acaia Lunar, which offers precise measurements and helps maintain accurate dosing—a critical factor for consistency. As technology advances, I predict we’ll see machine learning integrations in espresso machines that auto-calibrate pressure and temperature, reducing user error even further. But until then, routine manual checks are vital.
How do I maintain my espresso machine over time?
Start by regularly descaling with a citric acid solution, especially if you have hard water. I recommend doing this monthly, and using a specialized descaling kit from brands like Dezcal, which effectively dissolves mineral deposits without damaging internal components. Additionally, inspecting and replacing worn group head gaskets annually, or as soon as signs of cracking appear, keeps the seal tight and prevents water leaks that compromise shot quality. For milk frothers, periodic deep cleaning with a dedicated brush helps minimize milk residue buildup that can harbor bacteria, ensuring both safety and optimal microfoam. To make this easier, I rely on a tool like the Milk Frother Cleaning Pin, which simplifies cleaning hard-to-reach areas. Remember, neglecting maintenance doesn’t just harm your gear; it saps your confidence and consistency. To streamline all this, I utilize a maintenance checklist app tailored for baristas at home, which prompts timely cleaning routines and upgrades. Keep in mind, connecting with a community of enthusiasts or consulting resources like [mastering the art of home espresso](https://espressotechguide.com/mastering-the-art-of-home-espresso-tips-for-beginners) can provide ongoing guidance and motivation to keep your setup in perfect condition. As the trend leans toward smarter, more automated equipment, these proactive practices will ensure your investment continues to deliver barista-quality results, shot after shot.As I reflect on my journey into home barista mastery, I’ve uncovered lessons that transformed my approach and can do the same for you. First, I realized that even the smallest detail—like consistently aligning burrs or regularly cleaning the portafilter—can make a monumental difference in shot quality. It’s not just about expensive equipment; it’s about understanding and respecting the nuanced dance of variables that influence your brew. Second, I learned that patience in maintenance, such as waiting for the right moment to replace worn gaskets or calibrate grinders, saves time and money in the long run. Lastly, I discovered that sharing knowledge with a community of fellow enthusiasts accelerates growth; exchanging tips and failures alike makes the craft more rewarding. These insider lessons transformed my routine and can do the same for your espresso experience.