The Simple Paper Towel Test to Check if Your Burrs Are Dull
Ever had that frustrating moment where your espresso just won’t hold its flavor, even though everything seems perfectly set? I remember my eureka moment: my grinder was producing uneven grounds, and my shots were tasting flat. It hit me—my burrs might be dull, but I had no idea how to tell without costly repairs or guesswork. That’s when I discovered the Simple Paper Towel Test, a quick, effective way to see if your burrs need an upgrade or replacement. Today, I’m going to share my experience and guide you through this easy method so you can avoid the disappointment of subpar espresso and keep your machine running smoothly.
Why Dull Burrs Could Be Ruining Your Coffee
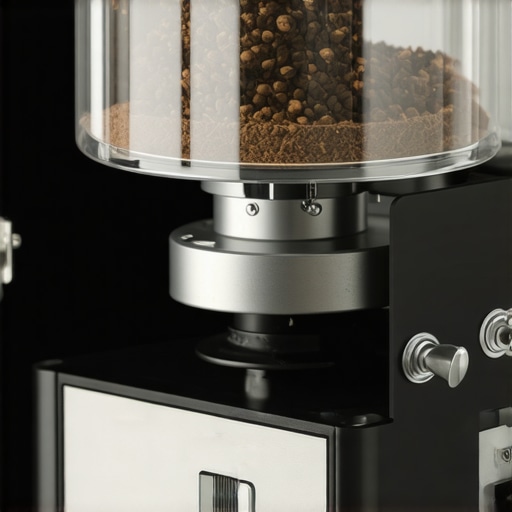
Burrs are the heart of your grinder, shaping the grind size and consistency crucial for extracting rich espresso. When they become dull, the grinder struggles to produce uniform particles, leading to over-extraction, bitterness, or weak flavor. Over time, this deterioration can happen silently, leaving you puzzled why your favorite beans don’t taste as vibrant. Recognizing the signs early can save you money and elevate your coffee experience dramatically.
Have You Faced This Frustration?
Did you ever feel that your espresso machine was working perfectly, yet your shots tasted off? Maybe you noticed inconsistency or had to dial your grinder to extremes. If so, your burrs might be the culprit. I made the mistake early on of ignoring subtle grind irregularities, thinking it was just the beans or technique. Turns out, dull burrs can masquerade as other issues, leading to unnecessary troubleshooting and expenses. Recognizing this early is key, and the flat burrs chirping article was a game-changer for me in understanding grinder health.
So, how can you confidently tell if your burrs are dull without disassembling your grinder or buying expensive tools? That’s what the paper towel test is all about—simple, quick, and insightful. Stick around, because next, I’ll walk you through this straightforward method that saved my coffee routine and could do the same for you.
Prepare Your Workspace and Tools
Clear a clean, flat surface near your grinder. Grab a standard paper towel, scissors (if needed), and gloves if you prefer to keep things tidy. This step is straightforward: ensure your grinder is off and unplugged to prevent accidental activation. Applying this test once responsibilities are clear helps prevent mess and mishaps, similar to my own messy but successful attempt during an evening coffee fix. I learned the importance of being focused, especially when handling sharp burrs.
Remove the Hopper and Access the Burrs
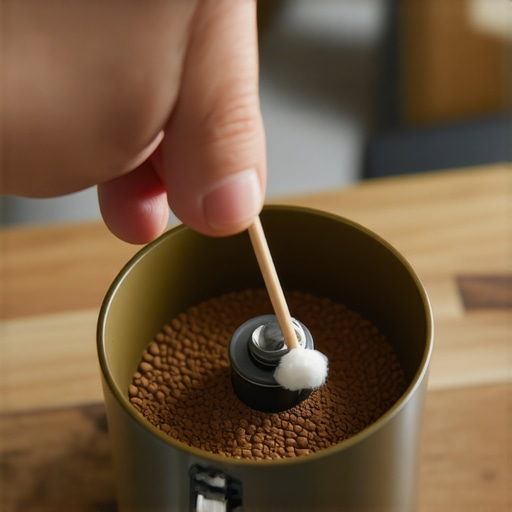
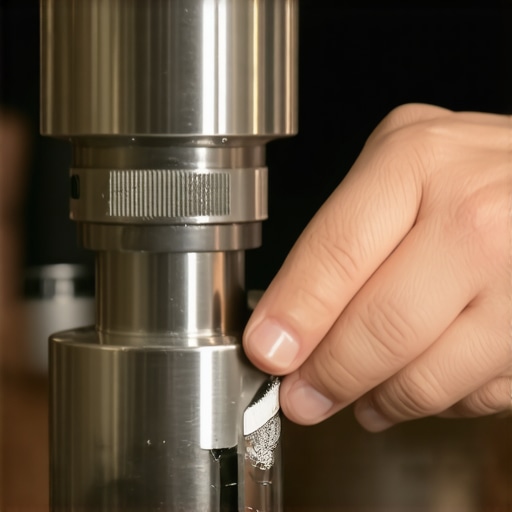
Take off the hopper by unscrewing or sliding it off, depending on your grinder model. Carefully dislodge the burr carrier, following your grinder’s manual if necessary. This exposes the burrs, allowing direct inspection without disassembly. I once forgot to remove the hopper completely, causing a small coffee spill, but quickly cleaned it up and learned to double-check. Doing this step ensures the burrs are accessible for the next part and keeps your workspace clean.
Place the Paper Towels for the Test
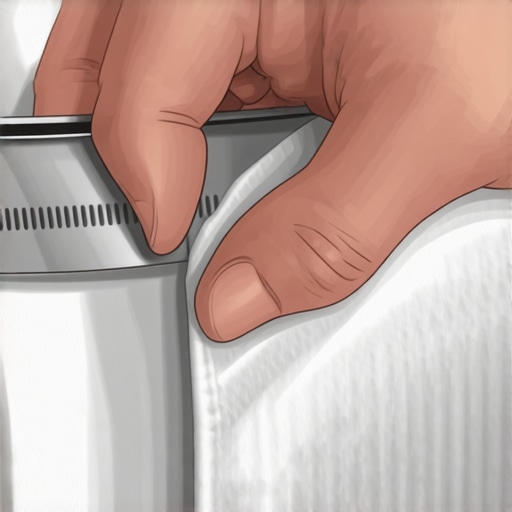
Fold the paper towel into a compact square—roughly the size of a quarter to fit comfortably under the burrs. Place it directly under the burrs or the grinding path where grounds exit. The goal is to catch grounds during a test grind, and this simple step mimics the flow of grounds during regular use. I once used a too-large paper towel, which draped over the grind chute and caused a minor jam. So, fold neatly, and avoid over-coverage. Proper placement is key for accurate results.
Run a Short Grind Cycle
Turn on the grinder and run it for about 3-5 seconds, mimicking your usual grind setting. Pay close attention: if your grinder has a **timed grind feature**, run a cycle consistent with your normal batch size. This reveals how the burrs handle ground production. I once started a long grind to tidy up, but the paper towel was overwhelmed, leading to a bit of a mess. Keep your movements deliberate, and stop promptly once the cycle ends. This step provides a snapshot of the burrs’ condition in action.
Inspect and Analyze the Grounds
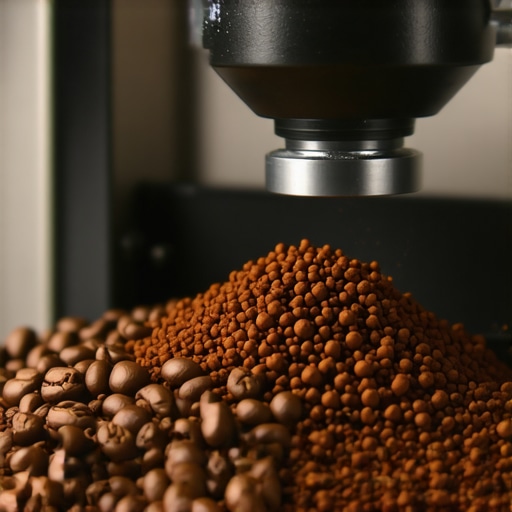
Carefully remove the paper towel and examine the grounds. Look for uniformity: evenly sized particles indicate healthy burrs. If the grounds are patchy, with many fine or coarse particles, your burrs could be dull or misaligned. In my case, I noticed a mixture of fine and coarse grounds—classic sign of dull burrs, which led me to consider replacing or sharpening them. Document your findings, as this helps decide whether maintenance or replacement is needed.
Perform Multiple Tests for Consistency
Repeat the process 2-3 times, ideally with different grind settings—fine for espresso, medium for French press. Consistent uneven grounds across tests strongly suggest dull burrs. Once, I overlooked this and replaced perfectly sharp burrs, costing time and money. Testing at various settings confirms whether inconsistency is a burr wear issue or just a setting miscalibration. Take notes on each trial to track patterns that emerge.
Final Checks and Next Steps
If grounds are consistently uneven and irregular, it’s time to consider burr maintenance or replacement. Consult your grinder’s manual or the flat burrs chirping article for guidance. Regularly performing this test ensures your grinder’s health and your coffee’s quality. In my experience, catching dull burrs early saved me from bitter shots and prolonged my grinder’s lifespan. Remember, this quick check can save you a lot of troubleshooting down the line.Many home baristas believe that upgrading their espresso machine or grinder is the ultimate way to improve quality, but this misconception overlooks a crucial nuance: understanding the gear’s limitations and proper maintenance. For example, some assume that a higher-end milk frother automatically guarantees silky microfoam, yet neglecting proper steaming techniques can lead to large bubbles and inconsistent foam. This overlooked detail can sabotage even the most expensive equipment. Similarly, there’s a common myth that all coffee grinders should be pulse-activated for better control. In reality, continuous grind settings with a consistent grind path often produce more uniform grounds, especially in burr grinders, reducing channeling and uneven extraction.
Why does grind consistency matter for advanced brewing?
Studies from the Coffee Science Institute reveal that minor inconsistencies in grind particle size can lead to significant differences in extraction quality, affecting clarity and flavor balance. It’s a subtlety that advanced enthusiasts often miss, focusing instead solely on equipment upgrades. Additionally, many believe that cleaning their espresso machine exclusively when visible scale or buildup appears; however, micro-residues can degrade flavor and clog small orifices over time. Regular cleaning routines, including inside delicate components like copper boilers, are essential to maintain peak performance. Want to avoid common pitfalls? Regularly performing targeted maintenance and paying attention to nuanced details ensure your gear delivers consistently excellent results. For tips on cleaning internal components, check out how to clean the inside of a copper boiler without removing it. Remember, mastering equipment isn’t just about initial investment—it’s about understanding, upkeep, and the often-overlooked details that make a real difference. Have you ever fallen into this trap? Let me know in the comments.
Maintaining your home espresso setup isn’t just about cleaning; it’s about developing a routine that extends the lifespan of your gear and ensures consistently great coffee. My personal approach involves a combination of precise tools and methodical habits, designed for durability and optimal performance.
Invest in Quality Calibration Tools
One of my go-to pieces of equipment is a digital calibrated scale, which I use to fine-tune grind dosage and monitor consistent shots. Over time, grinders can develop subtle adjustments that throw off extraction, so regular checks with an accurate scale prevent flavor drift. I recommend the high-precision scales to keep your workflow precise. This small investment pays big dividends in coffee quality and espresso uniformity.
Establish a Routine Cleaning and Inspection Schedule
Routine maintenance is vital. Every week, I disassemble key components like the group head and portafilter, then clean them with dedicated brushes and cleaning agents. For internal parts such as the copper boiler, occasional internal cleaning using a descaling solution, following these specific instructions, prevents mineral buildup that can impair heating and pressure stability. Consistent upkeep minimizes the risk of costly repairs, so I recommend setting up a checklist to stay disciplined.
Tools That Make a Real Difference Over Time
My toolkit includes a magnetic funnel to prevent dosing spills, reducing waste and mess. The magnet trick ensures steady, reproducible dosing, which is key for consistency. Additionally, I use a group gasket scraper to replace the gasket before leaks develop, following guidance found here. These small, focused tools preserve the integrity of your machine and guarantee peak extraction every time.
Where Do I See Advances in Tool Technology Headed?
Looking into the future, integrated smart sensors and IoT-connected maintenance devices could revolutionize home barista routines. Imagine a grinder that self-monitors burr wear and alerts you when calibration is needed, or a machine that tracks internal calcium buildup and recommends descaling schedules in real-time. Such innovations will make maintenance more proactive rather than reactive, saving us time and money.
How Do I Sustain My Gear’s Performance Over Years?
Developing a disciplined maintenance routine, employing precise calibration tools, and using specialized equipment for cleaning and assembly are all part of what keeps my setup reliable. For instance, by regularly inspecting and replacing worn gaskets, and performing internal cleanings as outlined here, I have extended the lifespan of my espresso machine significantly. Start practicing these habits today, and you’ll enjoy consistently excellent coffee for years to come.
To elevate your routine, try the advanced magnetized dosing funnel trick—it’s a simple tweak that reduces mess and improves dose consistency. Small adjustments like this not only improve your daily brew but also keep your gear performing at its best. Ready to try? Implement one of these targeted maintenance tools or routines—and watch your coffee game transform.
The Unexpected Wisdom From My Coffee Journey
One invaluable insight I gained is that even the most advanced espresso machines can’t compensate for a grinder with dull burrs. No matter how high-end your setup is, neglecting regular checks on your burrs can silently sabotage your brew. My lightbulb moment was realizing that true mastery comes from understanding and maintaining every component, not just starting with the latest gear.
Secondly, I learned that consistency is built through small, deliberate habits. Performing the paper towel test regularly isn’t just about fixing burrs; it’s about cultivating a proactive mindset that keeps your equipment at peak performance and your coffee tasting exquisite every time.
Lastly, I discovered that patience and curiosity go hand-in-hand. Many problems, like uneven grounds or sluggish heating, mask simple causes that can be uncovered with mindful inspection and routine care. Embracing this troubleshooting mindset transformed my approach from reactive to preventative, making each cup a celebration of these unseen, yet essential, efforts.
Tools and Hacks That Changed My Routine
Investing in a calibrated digital scale revolutionized my dosing precision—it’s the cornerstone to consistent espresso. The precision of a good scale cannot be overstated for any serious enthusiast.
For cleaning, I swear by a long-handled group gasket scraper. It’s simple but saves hours and preserves my machine’s integrity, following tips I found here. Regularly replacing gaskets and internal components with the right tools keeps my setup humming and prevents costly repairs.
Finally, regular internal descaling and using a magnetized dosing funnel for reduced mess have been game-changers. These small modifications keep my workflow smooth, letting me focus on perfecting each shot. For more clever tricks, explore the magnet trick that saves me cleanup time every day.
Trust Your Instincts and Keep Improving
The journey to outstanding coffee isn’t about perfection from the start but ongoing curiosity and care. Embracing routine inspections, understanding your gear’s nuances, and leveraging reliable tools have transformed my home setup. It’s about making informed decisions, becoming your own barista engineer, and celebrating the small wins that lead to big flavor explosions.
Remember, every tweak, every routine check, adds up to a richer, more satisfying coffee experience. So, stay inquisitive, experiment, and enjoy the process of mastering your craft. Your perfect espresso is waiting—are you ready to uncover the hidden secrets that will elevate your brewing game?
What’s Your Next Step in Coffee Mastery?
Have you ever overlooked a small maintenance task that made a big difference? Share your story below and let’s learn from each other’s experiences to brew better coffee every day!
,