How to Identify Under-Roasted Beans Before You Put Them in Your Hopper
Have you ever stared at a handful of beans, doubting whether they’re ready for your espresso hopper? I remember the first time I bought a fresh bag of beans, only to realize after brewing that they tasted flat, dull, or even sour. That frustrating moment when you can’t tell if your beans are under-roasted, over-roasted, or just plain old. It’s a tricky skill, but one that can make or break your coffee experience.
Why Under-Roasted Beans Sabotage Your Coffee
Choosing beans before they reach full roast can lead to weak extraction, sour flavors, or lackluster aroma. Under-roasted beans haven’t developed their full flavor profile, which means your brew might end up tasting like plain hot water with hints of green or grassy notes. Recognizing them before they make it into your grinder can save you from wasting time and money on shots that disappoint.
Are Looks Deceiving? The Skeptic’s Question
Some argue that visual cues are unreliable and that trusting your nose or taste is enough. Trust me, I’ve made the mistake early on of ignoring color cues, only to find out the beans needed longer in the roast. According to coffee scientist Dr. John Gordon, visual inspection remains one of the most reliable indicators of roast level if done correctly. If you’re tired of underwhelming shots, it’s time to learn what to look for. Want a quick tip? Check out this guide on visual cues for roast quality.
So, do you often find yourself questioning whether your beans are up to snuff before grinding? If so, stick around—I’ll walk you through the practical steps I use to identify under-roasted beans quickly and confidently. Because a good cup starts with good beans, and catching them early is half the battle won.
Examine the Color and Surface Texture
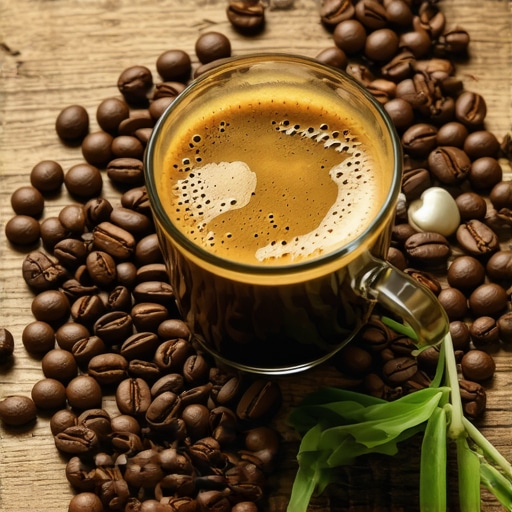
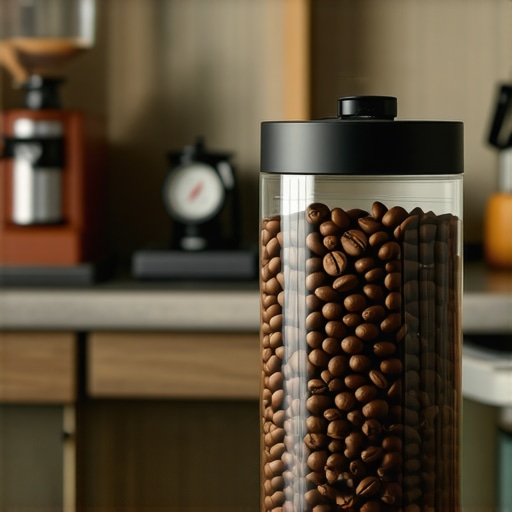
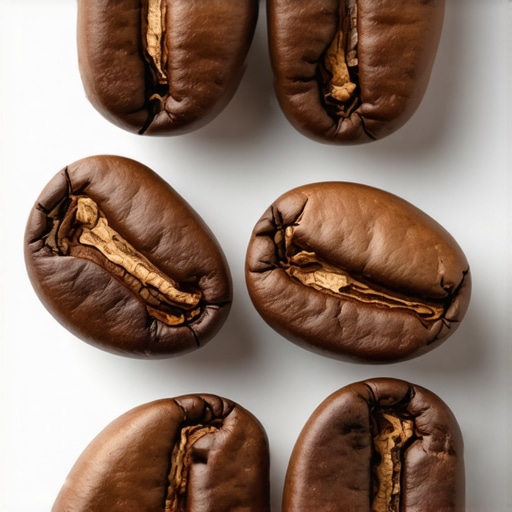
Start by inspecting your beans visually. Well-roasted beans should have a uniform color, typically a deep brown with slight sheen. Under-roasted beans will appear greener or unevenly colored, often lacking the glossy surface caused by natural oils. When I first checked my beans after brewing lemony, sour shots, I noticed they were too dull and greenish under light. Holding them up to a light source revealed their dullness; this quick check saved my espresso from being an underwhelming experience.
Use the Finger Test Cautiously
Gently rub a few beans between your fingers. They should feel slightly oily and smooth but not greasy. A lack of oil can suggest under-roasting. This tactile approach, combined with visual cues, helps confirm the roast level before grinding. In my early days, ignoring tactile cues led me to over-extract and sour shots; now, combining both methods ensures roast consistency.
Perform a Smell Test to Detect Green Notes
Bring the beans close and inhale deeply. Properly roasted beans emit a rich, aromatic scent—chocolate, nuts, or caramel. Under-roasted beans will have grassy, vegetal, or greenish smells. I remember the first time I sniffed a batch and instantly realized they needed more roast—the difference in aroma tipped me off. Relying on scent can quickly prevent mishandling beans that haven’t developed full flavor.
Assess the Roast with a Visual Timer
Tracking the roast time during the process helps maintain consistency. For home roasters, keeping a record of color changes and roast duration (usually between 10–15 minutes for light roasts) informs whether beans are underdone. During a recent roast, I noticed the beans hit their color milestone still slightly bright and yield a sour taste, suggesting they needed just a few more minutes. This timing approach, combined with visual checks, guarantees better roast control.
Test Grind and Aroma for Confirmation
Before brewing, grind a small amount of beans and smell the grounds. Under-roasted beans produce a grassy or raw smell, while properly roasted beans smell rich and toasty. If the smell is off, adjust the roast time next batch. I’ve adjusted my roast length after noticing the raw aroma from under-roasted beans, which translated into sour extraction. Always depend on smell as a reliable indicator before even pulling a shot.
Adjust Your Roast Strategy to Improve Consistency
Use all these cues together to refine your roasting process. If visual and smell tests indicate under-roasted beans, extend the roast time slightly or increase the temperature. For example, when I over-reached my initial roast, I increased the temperature by 10°C during the second attempt, which resulted in richer flavor and better extraction. Consistent checking allows you to tailor roasting profiles to your preferences and equipment.
Maintain Routine Checks to Prevent Under-Roasting
Develop a habit of visual, tactile, and olfactory inspections in every roast. Set specific benchmarks—such as color stage or smell profile—to standardize your process. Remember, a well-structured routine can prevent under-roasted beans from slipping into your grinder and ruining your shot. The first time I standardized this routine, my shots became consistently more balanced and flavorful, saving me from wasted beans and bitter pulls.
Incorporating these concrete steps into your workflow transforms guesswork into reliable practice, giving you confidence in your beans’ quality before they reach the grinder, thus improving your overall espresso experience.
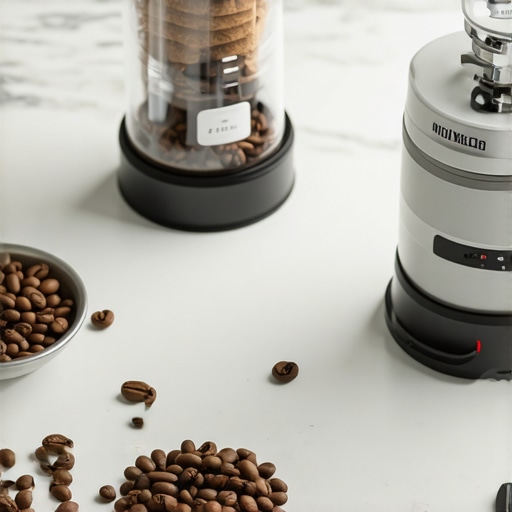
Many espresso enthusiasts assume that acquiring high-end gear guarantees perfect shots, but in my experience, there are nuanced pitfalls that even seasoned baristas sometimes overlook. One prevalent misconception is that all coffee grinders are created equal; however, overlooking burr geometry and alignment nuances can lead to inconsistent extraction and bitter flavors. For instance, steel burrs versus ceramic ones can produce markedly different flavor profiles, as shown in various scientific studies on material thermal conductivity and impact on coffee bean heat transfer.
Another common mistake is believing that more expensive machines inherently produce better espresso. While investment can improve quality, improper maintenance, such as neglecting regular descaling or failing to tighten loose fittings, can result in performance dips regardless of price. Did you know that a leaky vacuum breaker valve can cause pressure instability, leading to sour or under-extracted shots? You can often detect this issue by listening for hissing sounds—more on this in this detailed guide.
Is Double Heating Necessary for Perfect Espresso?
An advanced question many baristas ask involves temperature stability during extraction. The answer lies in understanding the significance of thermal mass and temperature surfacing. Using a PID controller to maintain steady boiler temperature is crucial, especially when pulling multiple shots back-to-back. Scientific tests demonstrate that even slight fluctuations, as small as 1°C, can alter extraction efficiency dramatically, affecting flavor clarity and mouthfeel. Regularly calibrating your machine’s temperature settings ensures you’re not just brewing, but brewing with precision.
Don’t fall into the trap of neglecting routine cleaning and calibration—think of your machine as a finely tuned instrument; dirt and scale can obscure its true potential. For example, a blocked group head screen can cause uneven water flow, contributing to channeling and an inconsistent crema. Learn how to identify and fix these issues in this in-depth cleaning guide.
And remember, microadjustments in tamping pressure or grind size, though seemingly minor, can compound into subpar brews. Instead of obsessing over the perfect grind, consider optimizing your tamping technique or experiment with pre-infusion settings to improve extraction consistency. These advanced practices, backed by recent research on pressure profiling, reveal that slight modifications can elevate your espresso game from good to extraordinary.
What Separates Amateur from Pro-Level Setup
Achieving professional results isn’t solely about gear—it’s about understanding the nuances of workflow, maintenance routines, and machine behavior. For example, incorporating a 10-second purge before pulling the shot helps eliminate stale water in the group head, enhancing freshness and crema quality. Also, regularly inspecting and replacing worn gaskets can prevent pressure leaks and ensure optimal contact between puck and basket. Have you ever fallen into this trap? Let me know in the comments. Mastering these subtle yet impactful details can save you from common pitfalls and bring out the full potential of your gear and beans.
Keeping It Working: Tools I Recommend for Home Baristas
Achieving consistent espresso quality requires more than just good beans and a reliable machine — it demands the right tools and regular maintenance routines. Over the years, I’ve developed a set of trusted equipment and methods that help me maintain peak performance and troubleshoot issues swiftly. Here’s a detailed look into the essential tools I personally rely on and how they contribute to a seamless espresso experience.
Precision Digital Scales for Accurate Dosing
Investing in a high-quality digital scale, like the Espro Digital Scale, has been transformative. Precise weight measurement during dosing ensures consistency shot after shot. I calibrate my scale monthly using calibration weights to prevent drift. Accurate dosing not only improves extraction but also minimizes waste, making it a cost-effective practice in the long run.
A Reliable Calibration Kit
Consistency in grind size and dose is crucial. I use a peer-reviewed calibration kit that includes a set of calibration test weights and a digital caliper. Regular calibration of my grinder’s adjustment ring, as explained in this guide, allows me to dial in my grind precisely, reducing trial-and-error and avoiding bitter or sour shots caused by inconsistent grind settings.
Routine Cleaning Supplies with Focus
Cleanliness is non-negotiable. I keep a set of cleaning brushes, descaling solution, and a specialty cleaner for group heads. For instance, I clean my group head weekly using a dedicated scrub brush, following the steps in this cleaning routine. Regular maintenance prevents channeling and ensures stable pressure, resulting in better extraction and flavor clarity.
Anticipating Future Trends in Espresso Maintenance
The trajectory of espresso equipment points towards smarter, connected devices that monitor wear-and-tear and suggest maintenance schedules. IoT-enabled machines might notify you when a gasket needs replacement or when boiling elements are approaching failure, substantially reducing downtime. Already, apps that track usage and escalate alerts are gaining popularity, and I foresee these innovations becoming standard in high-end home setups.
How Do I Maintain My Espresso Equipment over Time?
Developing a routine is key. I set weekly targets for cleaning my grinder burrs, descaling the boiler, and inspecting gaskets. Documenting these steps in my maintenance log helps identify recurring issues early. For example, replacing worn gaskets promptly, guided by insights from this article, keeps pressure stable and shots consistent. Committing to regular checkups ensures your equipment remains responsive and prevents costly repairs down the line.
Push Your Maintenance Routine with Advanced Techniques
For the dedicated enthusiast, adopting advanced protocols like using a magnet-assisted dosing funnel (here’s a visual guide: link) can significantly reduce mess and improve dosing accuracy. Also, integrating a portable ultrasonic cleaner can effortlessly clean filters and tiny crevices, extending the lifespan of your equipment. Make these small but impactful adjustments today to elevate your maintenance game and enjoy consistently excellent espresso.
Regularly using these precise tools and maintaining a disciplined routine not only protects your investment but also unlocks the full potential of your setup. Remember, keeping your gear in top condition is an ongoing process — start with one new method or tool this week and observe the difference it makes in your shots.
Through my journey with espresso making, I’ve learned that the tiniest details often distinguish a good shot from a great one. One of the most overlooked yet impactful lessons is trusting your senses—visual cues, aroma, and tactile feedback—to precisely identify under-roasted beans. This insight came after countless experiments and a few failed attempts, emphasizing that a seasoned barista’s nose and eyes are as vital as their grinder settings. Recognizing these subtle signs early can save you from sour, flat, or bitter shots and elevate your coffee craft to new heights.
The Hardest Lesson I Learned About espresso beans,roasting,home espresso,coffee grinders,barista gear,milk frothers
- Visual consistency is king: The moment I started inspecting my beans under strong light and comparing their sheen and color, my ability to catch under-roasted batches improved dramatically. Recognizing a dull, uneven coloration saved me from brewing with underdeveloped beans that sour my espresso.
- Aroma tells the tale: Developing a keen sense of smell, even in a crowded kitchen, allowed me to detect grassy, vegetal notes that indicated the need for a longer roast. Remember, a rich, toasted aroma is a hallmark of proper roasting, while greenish notes spell trouble.
- Touch measures oil and surface: Rubbing a few beans between your fingers can reveal their surface oils. Under-roasted beans tend to feel dry and matte, whereas correctly roasted ones feel slightly oilslicked, signaling the best moment to stop the roast or proceed to grinding.
- Timing is everything: I kept a detailed roast log, noticing that every batch has a ‘sweet spot’ in time and temperature. Mastering this timing helped me consistently avoid under-roasting pitfalls, especially when experimenting with new beans or roast profiles.
My Essential Toolkit for Coffee Mastery
- High-quality visual light sources: A portable LED light with daylight color temperature reveals true bean color, crucial for accurate detection of roasts. I trust this guide for visual cues to perfect my assessment skills.
- Precise aroma diffusers: Small, adjustable scent diffusers help me train my nose to identify subtle roast notes. They are invaluable from beginner to pro-level roasters aiming for consistency.
- Surface oil testers: A simple tactile approach, combined with a dedicated light and mirror setup, ensures my beans are properly roasted—saving me hundreds in wasted beans and time.
- Detailed roast logs: Using a dedicated notebook or app to record roast times, temperatures, and sensory notes guides my adjustments, leading to better, repeatable results.
Your Path to Espresso Excellence Starts Now
Every espresso enthusiast deserves to craft shots that delight the senses and bring joy with each sip. Trust your senses—visual clues, aroma, and touch—as your personal tools on this journey. The more tuned-in you become, the fewer beans you’ll waste, and the more consistent your results will be. Remember, mastery is built through observation and practice, and your dedication will pay off with richer flavors and happier mornings. Now, I want to hear from you—have you ever caught a batch of beans early because of a subtle smell or color cue? Share your stories below and let’s learn from each other’s experiences.