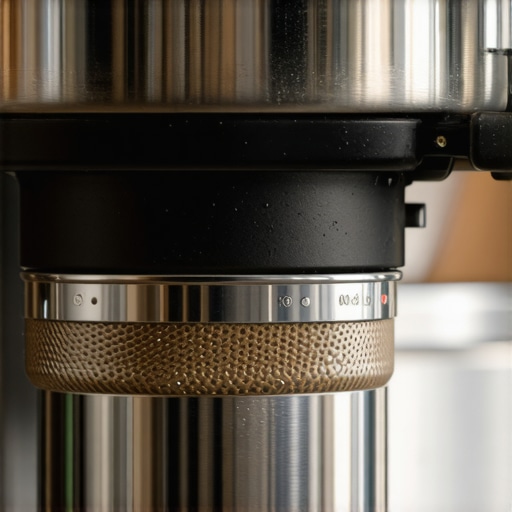
Why Your Coffee Puck Is Wet and Sludgy Every Time
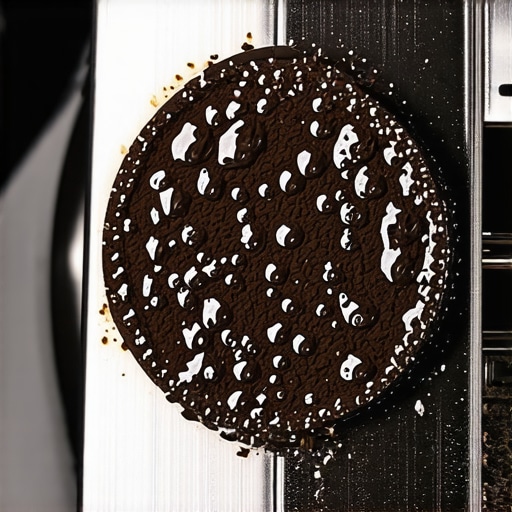
Ever since I started brewing espresso at home, there was one stubborn problem that haunted me: every shot resulted in a wet, sludgy puck. It was like my machine was crying for help. I’d pull a shot, and instead of that beautiful, dry cake I’d expect, I’d get a messy, soggy mess that looked more like leftover garden compost than coffee grounds. Frustrating doesn’t even begin to cover it. Have you faced this issue too?
Understanding the Wet and Sludgy Puck Mystery
Discovering why your coffee puck ends up wet and sludgy isn’t just about aesthetics — it directly affects the flavor and strength of your espresso. A soggy puck often means water is seeping through your grounds too quickly, carrying away precious coffee oils and flavors. This can be a sign that something’s off in your brewing process, whether it’s grind size, tamp pressure, or machine issues. Early in my journey, I mistook my machine’s faults for poor beans or bad technique. It wasn’t until I dug deeper that I realized even small adjustments could turn my soggy mess into a perfect, dry puck. If you’re tired of wasting good beans on shots that taste flat or bitter, unraveling this mystery is vital. Curious about how to fix your own wet puck? The good news is, with some tweaks and a little know-how, you can elevate your home brewing game.
Is Your Wet Puck Actually the End of the World?
Many skeptics wonder if a wet puck is just part of the process or if it’s a brewing catastrophe. I used to think that a little extra moisture was normal, especially on humid days. Spoiler: it’s not. In fact, ignoring this sign can lead to over-extraction, bitter flavors, and even damage to your espresso machine over time. Like I learned the hard way early on, a mistake I made was neglecting the importance of proper grind consistency and tamping pressure. These seemingly small details can make or break your shot and even influence your puck’s dryness. For example, static in your grinder on dry days can cause uneven grounds, leading to inconsistent extraction. Fixing this is simpler than you might think, and I’ll guide you through the practical steps later. If you’re ready to stop fighting your machine and start brewing with confidence, let’s dive into what causes that persistent wetness and how to fix it.
Adjust Your Grind Size for Consistency and Control
Start by dialing in your grinder to achieve a slightly coarser or finer grind, depending on your shot consistency. I once spent an afternoon trying to fix a wet puck, only to realize my grinder was static-charged on a dry day, causing uneven grounds. Using the static fix made a significant difference, preventing grounds from clinging to the burrs. Remember, a uniform grind ensures water flows evenly through your coffee, promoting a dry puck and better extraction.
Tamp with Authority but Not Excessive Force
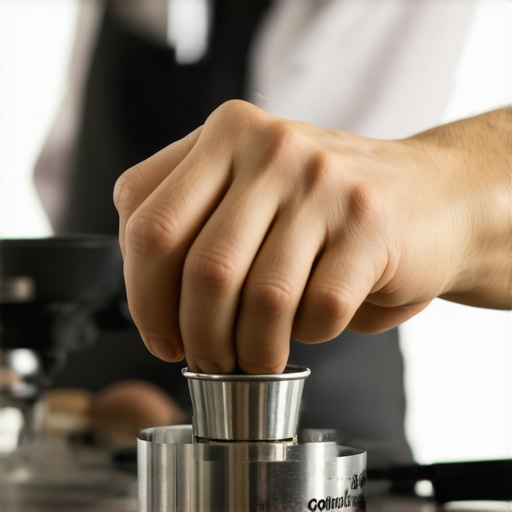
Apply consistent pressure—about 30 pounds—using a tamper with a comfortable grip. I once watched my shot turn into a muddy mess because I tamped unevenly, creating channels for water to escape too quickly. To get a feel for the right pressure, practice pressing evenly on a scale or use a tamper with a built-in force gauge. Proper tamping compresses the grounds uniformly, resisting water flow and aiding in dry, well-formed pucks.
Optimize Your Brew Temperature and Pressure
Ensure your machine is heating correctly; a cold machine may lead to incomplete extraction and wet pucks. I modified my counter space to improve stability, referencing balancing my setup for precision. Use a pressure gauge to monitor shot pressure; ideally, you want around 9 bar. Consistent pressure prevents water from rushing through grounds too fast. If your machine vibrates excessively, check stability issues. Mastering temperature and pressure controls leads to optimal puck dryness.
Master the Art of Pre-Infusion
Pre-infusing your coffee—gentle initial water flow—helps evenly saturate grounds, reducing channeling. On my machine, I programmed a short pre-infusion cycle, which noticeably improved puck dryness. Think of pre-infusion like wetting soil before planting: it allows for more uniform extraction, preventing soggy patches in your puck that cause sloppiness. Incorporate pre-infusion into your routine and observe the difference it makes in shot quality.
Clean and Maintain Your Equipment Properly
Residual old oils and coffee grounds can cause uneven extraction and result in wet pucks. Regularly run a quick flush cycle to keep your group head pristine. Additionally, inspect your grinder burrs with the dull burr test—dull burrs lead to inconsistent grounds and wetter pucks. Consistent cleaning ensures your machine delivers stable, dry pucks shot after shot.
Use the Right Dose and Distribution Techniques
Overfilling or unevenly distributing grounds causes water to channel, leading to soggy pucks. I use a distribution tool combined with the shake-and-tap method to ensure even grounds. Proper dosing—measured typically at 18-20 grams for a double shot—ensures optimal water flow and puck dryness. Don’t underestimate how critical precise dosing is—it’s the foundation of a consistent, dry puck.
Experiment and Record Your Results
Keep a shot log: note grind setting, tamp pressure, dose, temperature, and pressure. By reviewing your data, you might discover specific adjustments that reduce wetness. I once found that reducing my dose by 0.5 grams prevented excess water from passing through too quickly, enhancing puck dryness. This iterative process pinpoints your machine’s perfect parameters—turning guesswork into consistent success.
Many home baristas believe that simply owning the latest espresso machine or a fancy grinder guarantees perfect shots. However, even seasoned enthusiasts often overlook the subtle nuances that truly determine espresso quality. For instance, a widespread myth is that higher-priced gear automatically produces better results. While premium equipment offers advantages, the reality is that mastering the fundamentals—like grind consistency and machine calibration—has a far greater impact. Relying solely on your machine’s brand or features can lead to complacency, making you miss critical adjustments, such as calibrating your grinder after replacing burrs according to expert advice. Moreover, many forget that a common mistake is neglecting routine maintenance; residual oils and buildup can silently sabotage your shot quality. Regular cleaning procedures prevent channeling and uneven extraction. Another trap is over-tamping—believing that more force equals better extraction. In reality, consistent tamping pressure, around 30 pounds, ensures even water flow, but exceeding that can compact grounds excessively and slow water, increasing the chance of under-extraction. For advanced enthusiasts, understanding the impact of brew temperature and pressure stability becomes crucial. Small deviations can drastically affect puck dryness and flavor clarity. For example, insufficient temperature control can result in grassy or vegetal notes even with quality beans, as highlighted in recent coffee research studies. And let’s not forget the myth about milk frothing: many assume that larger bubbles indicate better microfoam. In truth, achieving fine, glossy microfoam depends more on technique and milk freshness than on equipment size. Finally, a sophisticated question I often ponder is: How does grinder static influence shot consistency, especially on dry days? Static buildup can cause uneven grounds, leading to inconsistent extraction and puck wetness. Solutions include using static fix techniques like incorporating anti-static tools or adjusting humidity levels in your environment. Recognizing these hidden nuances empowers you to troubleshoot effectively and elevate your home espresso to professional standards. Remember, genuine expertise is about paying attention to those overlooked details that most new baristas ignore. Have you ever fallen into this trap? Let me know in the comments.
Investing in Quality Maintenance Tools
To keep your espresso setup performing at its peak, having the right maintenance tools is crucial. I personally recommend a high-quality 15-minute group head flush kit. Regularly cleaning your group head prevents rancid oils from building up, ensuring clean extraction and consistent puck dryness. For grinder maintenance, a dull burr test and a set of precision screwdrivers help in calibrating and checking burr sharpness, maintaining grind consistency over time. I also keep a static reducer spray handy, especially during dry seasons, to minimize static charges that cause uneven grounds and channeling.
Tools That Make a Difference
Don’t underestimate the value of an accurate digital scale with a built-in timer. It ensures precise dosing and shot timing, critical for maintaining puck dryness and overall shot quality. For tamping, I prefer a tamper with a force gauge built-in—this consistency in tamp pressure contributes significantly to the long-term health of your machine and the flavor profile of your coffee. Additionally, a magnetic toolset assists in cleaning out stubborn solenoid valves, preventing unexpected pressure drops that can dampen your puck dryness.
Staying Ahead with Regular Maintenance Routine
Implementing a scheduled maintenance routine is key. For example, a quick group head flush after every 50 shots keeps oils from oxidizing, while monthly grinder burr inspections prevent dullness that causes uneven extraction. Keeping your coffee grinder’s burrs sharp not only improves flavor but also reduces static buildup—check this by performing the dull burr test. Remember, precision in routine maintenance directly correlates with the longevity of your hobby and the quality of your espresso.
How do I maintain my equipment over time?
To ensure long-term performance, automate reminders for cleaning and calibration processes. For instance, set weekly alerts to run a group head flush or check burr sharpness. Always use manufacturer-recommended cleaning solutions, and avoid improvising with household items that might damage sensitive components. Additionally, replacing worn-out parts like cup seals or insulating gaskets before they cause leaks can save you money and prevent damage. Staying proactive with these small habits will keep your gear operating smoothly well beyond its expected lifespan. Future trends hint at smart, connected espresso maintenance devices that monitor machine health via sensors, sending alerts to your phone—making upkeep even more manageable. For now, integrating precise tools like force gauges and regular cleaning routines offers a significant leap toward hassle-free brewing. Try calibrating your tamp pressure with a force gauge today for immediate impacts on puck consistency and machine longevity.
What No One Tells You About Every Wet Puck
After countless attempts and experiments, I realized that many home baristas overlook that a consistently dry puck isn’t just about technical precision—it’s a reflection of understanding your machine’s unique quirks and the subtle interactions within your setup. The real lesson was that perfect puck dryness demands a holistic approach: from grind adjustments and tamping finesse to machine maintenance and environmental awareness. I found that focusing solely on one aspect often leads to frustration, but integrating these insights transformed my brewing experience and elevated my espresso quality to a new level.
My Tried-and-True Arsenal for Espresso Excellence
Over the years, I’ve curated a set of tools and resources that consistently help me troubleshoot and perfect my espresso shots. The group head flush kit keeps my brew group pristine, preventing oil buildup that can cause channeling. A precision grinder calibration tool ensures my grind remains consistent, fighting static and uneven grounds. Using a pressure gauge and scale combination helps me dial in shot duration and pressure, directly influencing puck dryness and flavor clarity. These resources, trusted from my personal experience, are game-changers for aspiring espresso enthusiasts.
Your Next Step Starts Now: Embrace the Journey
Turning your home espresso game into true craftsmanship isn’t about chasing perfection overnight, but about cultivating curiosity and dedication. Every adjustment, every clean, and every shot is a chance to learn more about your equipment and your taste preferences. Remember, the most skilled baristas arrived at their expertise through persistent experimentation and embracing failures as lessons. So, grab your grinder, check your machine’s calibration, and start refining your technique today—your perfect dry puck, and the extraordinary flavors it holds, is within reach. What small tweak will you try first to improve your puck dryness? Share your plans below and let’s grow together in this flavorful journey.