How to Calibrate Your Grinder After Replacing the Burrs
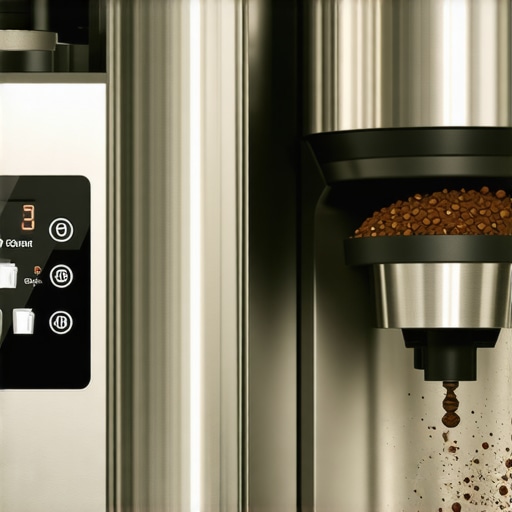
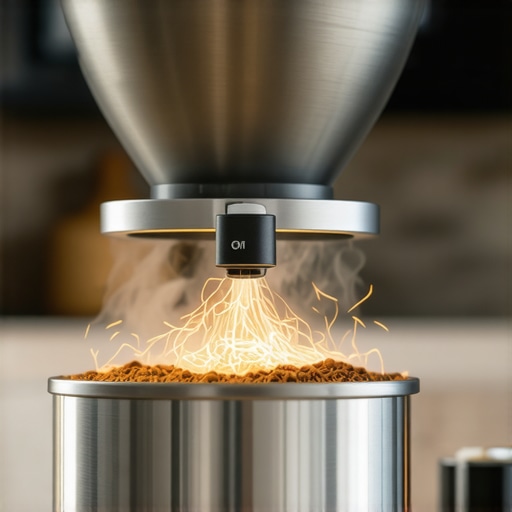
Ever had that frustrating moment when you swap out your grinder’s burrs, only to find your shots taste off, or your brew timing is all over the place? I’ve been there. It’s a true lightbulb moment — realizing that replacing burrs is only half the battle. The real challenge is how to get your grinder dialed back in, so each cup is as exceptional as the last.
Why Proper Calibration After Burr Replacement Matters More Than You Think
When I first replaced my burrs, I thought I’d just pop the new ones in and be ready to go. But within a few pulls, I noticed my espresso was inconsistent — sometimes too bitter, sometimes sour, and always messing with my timing. Turns out, new burrs need a proper tune-up to perform their best. Skipping calibration can lead to uneven grind sizes, which directly impacts extraction quality. According to coffee tech expert James Hoffman, even minor adjustments post-burr replacement can dramatically improve shot clarity and flavor (source: Espresso Tech Guide).
Think of it like tuning a musical instrument — replacing the strings doesn’t mean it sounds perfect right away. Without calibration, your espresso will never reach its full potential. Have you ever faced this problem yourself? It’s surprisingly common, and the good news is — you can fix it with a few easy steps. Today, I’m walking you through the essential process to calibrate your grinder after changing burrs, so that your coffee is consistently top-notch.
Is Over-Calibration Worth All the Fuss?
Many skeptics worry that calibrating grinders is overly complicated or not worth the effort. I’ve made that mistake early on, thinking that a simple adjustment wouldn’t make much difference. Spoiler alert: It does. Over time, I realized that a well-calibrated grind setting makes a noticeable difference in flavor, crema, and brew consistency. Don’t let doubt hold you back — proper calibration can unlock your grinder’s potential and save you money on bad brews.
Next, let’s get into the practical steps to bring your grinder back to happy, brewing life!
Adjusting Your Grind Settings Precisely
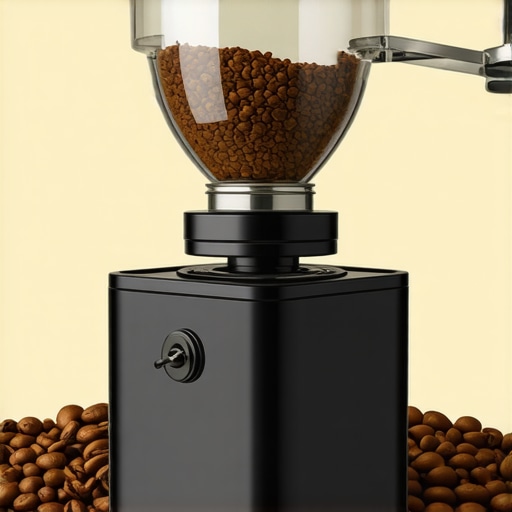
Start by setting your grinder to the same grind size you used before replacing the burrs. Turn the adjustment ring clockwise to make the grind finer or counterclockwise for a coarser grind. Then, pull a test shot and observe the extraction time — aim for around 25-30 seconds. If it’s too quick, tighten the grind; if too slow, loosen it. Remember, small adjustments matter — a quarter turn can make a big difference. I once replaced my burrs during a busy morning and immediately performed this step, resulting in a shot with a balanced flavor profile after just a few tweaks.
Dialing in Dose and Consistency
Next, ensure your dose remains consistent. Use a scale to weigh your coffee grounds after each adjustment. A common mistake is to ignore dosing, which can skew your calibration. Once your grind size is dialed in, grind the same amount (e.g., 18 grams) repeatedly and observe the shot quality. Consistency here reduces variables and speeds up calibration. I found that using a dedicated measuring spoon made my initial adjustments quicker and more repeatable, especially when switching between different bean roasts.
Fine-Tuning for Better Flavor
After setting the grind and dose, focus on tamping pressure. Aim for 30 pounds of force — an easy way is to use a bathroom scale under your tamper. Uneven tamping can cause channeling, leading to sour or bitter shots. During my calibration, I kept tamping pressure consistent and adjusted only the grind size. When shots began to taste balanced with good crema, I knew I was ready. For further refinement, consider testing different brew temperatures, as light roasts may need a slightly higher temperature — learn more about this in this guide.
Simplify Maintenance to Prevent Future Calibration Woes
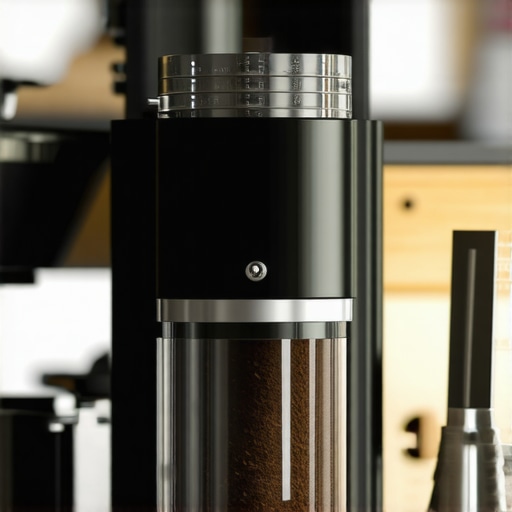
Routine cleaning of your grinder burrs and chute keeps particle distribution even and ensures calibration stays accurate. Clear any clogging or old grounds that might cause inconsistent grind size. Also, check the grinder motor’s performance — a stalling motor could skew calibration or indicate a deeper issue. For tips on cleaning techniques, see this article. Handling your grinder with care preserves the calibration for longer.
Test and Adjust Methodically
After initial calibration, run several pulls and document the flow rate, shot timing, and flavor. Make small, incremental adjustments, and record results to track your progress. For example, if your shot pulls too quickly, tighten the grind by a quarter turn, then test again. Over time, these small tweaks will fine-tune your setup. Remember, patience and systematic testing yield the best results — I once spent an entire afternoon tweaking before getting a shot that truly sang.
Keep the Habit Alive
Once you achieve your perfect grind, mark your adjustment ring position or create a reference using tape or a marker. This helps restore your settings after cleaning or bean changes. Regular calibration ensures your espresso remains consistent and delicious. When I dedicated a few minutes after each burr change or every few weeks to recalibrate, I noticed my overall espresso quality improved significantly, making each morning brew more satisfying.
Many coffee enthusiasts embarking on the journey of home brewing are often misled by common myths and oversimplified advice about barista gear, espresso machines, grinders, and milk frothers. Let’s dig deeper into some nuanced realities that can elevate your coffee game beyond basic knowledge.
Why Bigger or More Expensive Equipment Isn’t Always Better
It’s a widespread misconception that upgrading to a pricier espresso machine or a larger grinder automatically improves your brew quality. In reality, the nuance lies in proper calibration and maintenance. An expensive machine is useless if you ignore routine cleaning or calibration. For instance, many overlook the importance of routinely cleaning the coffee chute and burrs, which can lead to stale or uneven grounds, despite the high-end gear. Keep in mind, the real value comes from how well you understand and maintain your equipment, rather than its price tag. For tip on maintaining your grinder, check out this guide on static and dust reduction.
Another myth is that bigger boilers or higher wattage always equate to better espresso. While these features can help, they often lead to unnecessary complexity and cost. Instead, focus on proper calibration of your machine’s temperature stability and pressure profiling, which are critical for nuanced control over extraction. As detailed by espresso expert James Hoffman, understanding the electrical and thermal nuances of your setup can mean the difference between a good shot and a mediocre one.
The Pitfalls of Ignoring the Nuance in Milk Frothing
Many home baristas believe that all milk frothing techniques are interchangeable, but this couldn’t be further from the truth. The texture and microfoam quality depend on factors like milk temperature, pitcher shape, and steam wand design — details often overlooked by beginners. Also, the myth that fancy tools or expensive milk frothers automatically produce better foam is not entirely accurate. Mastering basics, such as proper steam wand positioning and consistent technique, yields superior results over time. Want to avoid lumpy microfoam? Learn more about proper steaming techniques at this in-depth tutorial.
Beware of the trap of over-reliance on gadgets. Many believe that expensive milk frothers can compensate for less-than-perfect milk temperature control. Instead, focus on maintaining the right milk temperature and consistent steaming angle. These nuances can significantly impact the creaminess and stability of your microfoam.
What Advanced Home Baristas Struggle With and How to Master Them
One common mistake among advanced enthusiasts is neglecting the calibration of their grinder’s distribution process. Uneven distribution of grounds in the basket leads to channeling and inconsistent extraction, regardless of how fine your grind is set. Precision in dosing and distributing grounds evenly can make an incredible difference. An effective method is to use drain line hacks or distribution tools designed for this purpose.
Another subtle point is temperature stability during extraction. Even small fluctuations can cause taste variability, especially with light roasts. To truly optimize flavor, consider implementing a PID control system or regularly testing your espresso machine’s heating element performance using procedures detailed at this guide. Regular testing and fine-tuning can prevent under-extracted or over-extracted shots, ensuring consistent flavor profiles.
Finally, a common oversight is ignoring the significance of water quality. Even the most advanced equipment can underperform if water minerals and pH aren’t optimal. Use filters or water testing kits to prevent scale buildup and flavor taints. For more on effective cleaning routines, see this article.
Have you ever fallen into this trap of misconceptions? Let me know in the comments. Remember, true mastery of your gear comes from understanding the nuanced details—small adjustments that elevate your daily coffee ritual into an art form.
,
Tools That Keep Your Setup in Top Shape
Investing in quality tools makes all the difference in maintaining your espresso equipment. I highly recommend a dedicated precision screwdriver set and digital calipers—these allow you to conduct accurate adjustments on grinders and machines, ensuring consistent performance over time. For cleaning, a ultrasound cleaner can effectively remove stubborn coffee oils and residue from parts like portafilter screens and gasket seals, extending their lifespan and preserving flavor clarity. I personally use a static reduction brush for grinders, which helps prevent static buildup and fine grounds adhesion, leading to more consistent grinding results.
Automating Long-Term Care
Establishing a routine with specific tools can streamline maintenance. For example, scheduling weekly cleanings with a descaling solution and inspecting seals with a flashlight and mirror can prevent costly repairs. To monitor your espresso machine’s health, I use a pressure gauge tester to ensure consistent extraction pressure, preventing under- or over-extraction. Regular calibration of electronic components, like your PID controller, via software updates or manual checks—as detailed in this guide—can save time and improve shot quality in the long run.
Scaling Up Without Sacrificing Quality
When expanding your setup, choose equipment that scales gracefully. Invest in a modular griding system—like a commercial-grade grinder with stepless adjustment—so you can fine-tune for different beans and brew styles. For espresso machines, opting for models with dual boilers and PID control enables simultaneous brewing and steaming, streamlining operations and maintaining stability. Additionally, integrating a cleaning schedule tailored for larger equipment prevents downtime and preserves performance as your setup grows.
How do I maintain high performance over time?
Consistent upkeep hinges on disciplined routines and quality tools. Regularly cleaning with industry-grade brushes and descalers, inspecting seals, and calibrating electronically controlled components are vital. Advanced users often automate routine checks—like monitoring machine temperature with a smart thermometer—to catch issues before they escalate. As James Hoffman notes, “Preventive maintenance is your best defense against costly repairs and flavor compromise” (source: Espresso Tech Guide). Try implementing a weekly calibration with your digital calipers to keep grind settings precise—your taste buds will thank you.
Over the years, I’ve learned that the journey to exceptional home espresso isn’t just about replacing burrs or upgrading equipment — it’s about the mastery of calibration and maintenance. The real breakthrough came when I understood that each tweak in my grinder or machine could elevate my coffee from good to extraordinary. This awareness transformed my daily ritual into a consistent art form, driven by deep understanding rather than guesswork.
Lessons That Changed How I Approach My Coffee Setup
- Don’t underestimate the power of micro-adjustments: Small turns on your grinder’s adjustment ring can dramatically refine extraction. I once spent an afternoon tinkering, and that patience led me to a shot with perfect balance and crema — a moment I cherish.
- Routine calibration beats quick fixes: Regularly checking and adjusting your grind and dose ensures stability over time. Using tools like digital calipers consistently keeps my settings precise, preventing flavor drift.
- Understanding equipment nuances enhances flavor: Knowing how tamping pressure or brew temperature influences extraction allows me to tailor each shot. With insights from experts like James Hoffman, I avoid the trap of relying solely on expensive gear and focus on technique, which truly makes the difference.
- Maintenance is your best friend: Routine cleaning and careful component checks preserve calibration. A static reduction brush helps prevent static buildup, making grinding more consistent and reducing frustration.
- Patience and systematic testing are key: After each adjustment, I taste, record, and analyze. This methodical approach ensures I don’t skip steps and unlock the full potential of my setup, turning each brewing session into a mini-investment in my barista skills.
Tools That Elevate My Coffee Game
- Precision screwdriver set — For fine-tuning grinders and machines with confidence.
- Digital calipers — To measure and replicate perfect grind sizes reliably.
- Ultrasound cleaner — Keeping parts like portafilter screens spotless preserves flavor clarity.
- Pressure gauge tester — Ensuring consistent extraction pressure, vital for high-quality shots.
Your Next Step in Coffee Excellence
Remember, each small adjustment and routine check is an investment in your craft. The road to barista-level home espresso is paved with curiosity, patience, and a willingness to learn from every shot. Embrace the nuanced details—your perfect espresso awaits, and each brew becomes a testament to your growing expertise.
What’s been the most eye-opening calibration tip you’ve discovered on your journey? Share your experiences in the comments below — I’d love to hear your story!
**