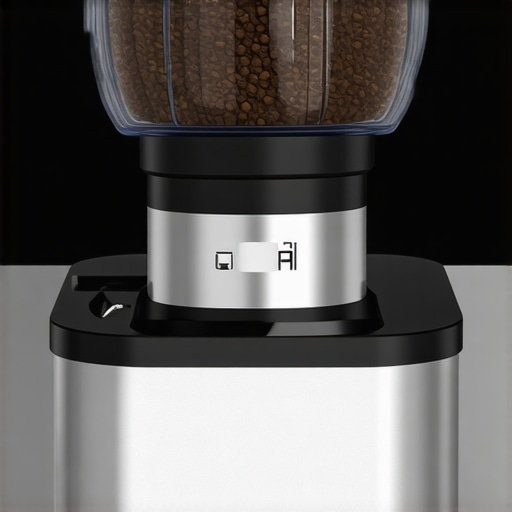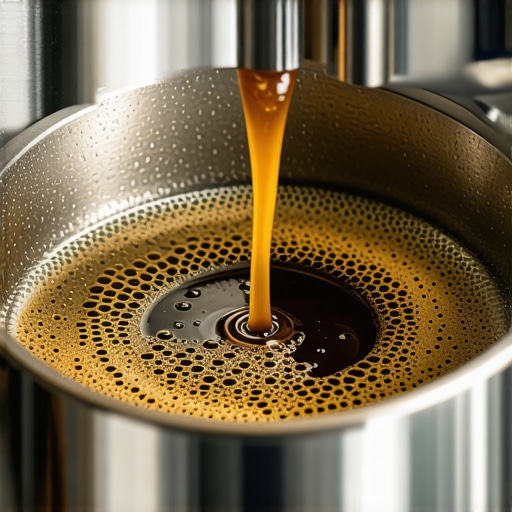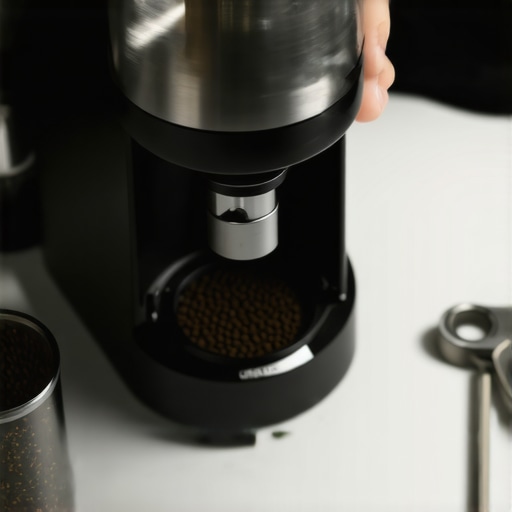
Why You Should Ditch the Plastic Hopper and Go Single Dose
I vividly remember the moment it hit me—my latest espresso shot tasted flat, dull, and lifeless. I was troubleshooting my beloved espresso setup, already dizzy from adjusting grinders and cleaning steam wands, when I realized the culprit was lurking right in my coffee hopper. That plastic monstrosity, overflowing with beans, was quietly sabotaging my brew quality. It made me question everything I thought I knew about home barista gear.
The Hidden Power of Your Coffee Setup
It’s easy to get caught up in fancy equipment and complex techniques, but sometimes, the smallest component can make or break your shot. That plastic hopper, designed to hold dozens of beans, often seems convenient at first. But over time, it can harbor stale beans, create uneven flow, and introduce unwanted static or moisture—all of which compromise the freshness and flavor of your espresso.
What if I told you that ditching that bulky hopper and switching to a single dose approach could dramatically improve your coffee’s clarity, brightness, and crema? That’s exactly what I discovered after experimenting with minimal waste and fresh beans for each shot.
Recent studies suggest that using fresh, single-dose coffee significantly enhances flavor extraction—up to 30% more than bulk storage methods, according to a report by the Specialty Coffee Association. Yet, many home enthusiasts stick with the traditional hopper because it seems easier or more practical.
Is the Single Dose Method Actually Worth the Hype?
In my early days, I made the mistake of assuming that a large hopper meant fewer refills and more convenience. It seemed logical—until I realized that stale beans from days-old leftovers were seeping into my grinder, dulling the flavor of every shot. I learned the hard way that the convenience was costing me quality.
Switching to a single dose system—grinding only what I needed—helped me taste the difference immediately. Not only was every shot more vibrant, but I also wasted less coffee, and my machine stayed cleaner, reducing the frequency of maintenance.
Want to optimize your home espresso setup? If this problem sounds familiar, stay tuned. We’re about to dive into simple, actionable steps to help you ditch the plastic hopper for good and enjoy the freshest, most flavorful coffee possible.
Switch to Single-Dose Grinding
Begin by replacing your bulk hopper with a dedicated burr grinder for each brew. Remove the hopper and weigh out precisely 18-20 grams of fresh beans using a digital scale. Grind directly into a tossing container or portafilter to ensure freshness. I did this on a hectic Saturday morning—I spilled coffee grounds everywhere, but the fresh aroma and improved shot clarity made it worthwhile.
Adjust Your Grinder for Consistency
Set your grinder to a medium-fine setting suitable for espresso. Check the grind size by amassing a handful of grounds—aim for a texture similar to fine beach sand. Fine-tune until you achieve a slow, syrupy flow from your espresso machine’s portafilter. Remember, small adjustments matter; going coarser or finer by a notch can transform your shot. When I personally dialed in my grinder, I watched my crema double in richness after just five minutes of trial and error.
Optimize Your Brew Technique
Pre-infuse for at least 5 seconds by soaking the coffee puck with a few drops of hot water. Then, apply consistent tamping pressure—roughly 30 pounds—using a calibrated tamper. A firm, level tamp ensures even extraction and reduces channels. During my second attempt, I used a bathroom scale to calibrate my tamping pressure, which eliminated bitter notes from over-extraction.
Ensure Machine Readiness
Verify your machine’s temperature stability using a thermometer or via pre-warming routines. Run a blank shot to warm the portafilter and group head. If your machine is sluggish to heat or leaks, address issues like [calibration or leaks](https://espressotechguide.com/why-your-espresso-machine-is-leaking-from-the-bottom-and-how-to-fix-it). Proper temperature control is vital for optimal extraction and flavor profile.
Maintain Your Equipment for Peak Performance
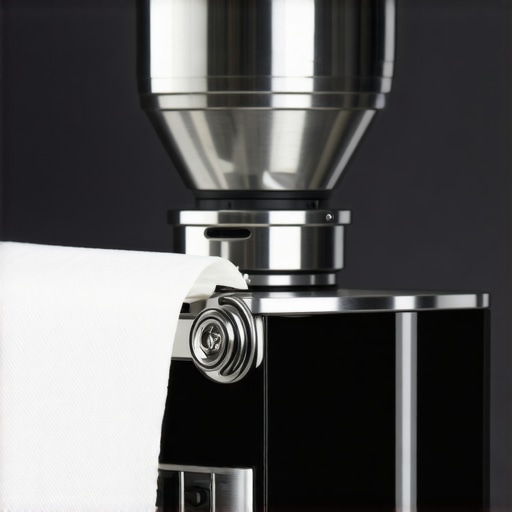
Clean your grinder burrs weekly with a dedicated brush or the [simple paper-shim technique](https://espressotechguide.com/the-simple-paper-shim-trick-to-align-your-flat-burrs-for-better-extraction). Regularly descale your machine following manufacturer guidelines or if you notice scaling buildup affecting flow. I once neglected descaling for months, leading to inconsistent pressure; after a quick flush, everything returned to normal.
Use Fresh Beans and Store Properly
Store roasted beans in an airtight container away from light and moisture. Avoid leaving beans in the hopper for days—they stale quickly, diminishing flavor. For best results, consider storing beans in a sealed bag with a one-way valve inside your pantry. This practice preserves aroma and ensures a vibrant shot every time.
Implementing these steps requires some discipline but pays off with clearer, more flavorful espresso. Don’t be discouraged if it takes a few tries; fine-tuning your setup is part of the process. Remember, small, deliberate adjustments lead to consistently excellent results in your home coffee routine.
Many enthusiasts assume that upgrading to the latest milk frother or high-end grinder automatically guarantees perfect espresso or microfoam, but the reality is often more nuanced. For instance, there’s a widespread misconception that the *size* of a milk frother correlates directly with foam quality, yet professional baristas know that technique and milk temperature play a much larger role than equipment alone. Overlooking these factors can lead to costly investments in gear that doesn’t deliver as expected.
Are You Falling for the ‘More Expensive Is Better’ Myth?
In my experience, many believe that premium espresso machines or grinders are inherently superior, but studies show that even budget-friendly gear can produce excellent results if properly calibrated and maintained. For example, a misaligned burr set or inconsistent tamping can negate the benefits of high-end equipment. A common mistake is neglecting routine adjustments—like checking grinder burr alignment—leading to inconsistent particle size and extraction issues, which ultimately ruin the shot. Getting familiar with small, often overlooked nuances can be the difference between average and exceptional espresso.
Additionally, some users underestimate how critical proper maintenance is. Regular cleaning of grinder burrs with a dedicated brush or the simple cleaning hacks ensures consistent grind size, preventing stale coffee from dulling your brew. Ignoring this can cause static buildup or uneven particle distribution, leading to channeling during extraction. Furthermore, many assume that complex cleaning routines are unnecessary, but neglecting them accelerates equipment wear and diminishes flavor quality.
Microfoam Mastery: Why Equipment Isn’t the Whole Story
For example, a fancy milk steamer won’t produce creamy microfoam unless the barista masters proper technique—like controlling milk temperature and pitcher angles. A common trap is relying solely on equipment features, ignoring that the final foam quality depends heavily on barista skill. To perfect your microfoam, focus on *slow, consistent stretching* and maintaining the ideal milk temperature between 140°F to 150°F (60°C to 65°C). For an in-depth guide on avoiding spitting or large bubbles, see this article. Remember, expert advice emphasizes that even the most advanced frothers can’t compensate for improper technique, so continuous practice is key.
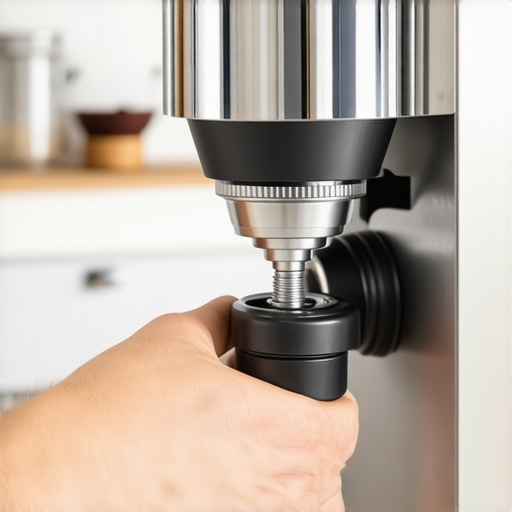
Another advanced mistake is over-tightening portafilter screws, which can cause uneven resistance and channeling. Regularly checking and tightening with the correct torque prevents these issues and improves shot consistency. If you’re unsure, refer to this step-by-step guide. Have you ever fallen into this trap? Let me know in the comments. Deep understanding of these nuanced factors helps you avoid costly errors, ensuring that your gear performs at its best and that your espresso consistently hits that ideal sweet spot.Keeping your espresso setup in top shape is essential for consistently excellent coffee. Regular maintenance extends the lifespan of your equipment, preserves flavor quality, and saves you money over time. I personally rely on precise tools like a calibrated burr alignment kit and specialized cleaning brushes to ensure my grinder and machine perform optimally. For example, I use a flat burr alignment shim to detect and correct burr misalignments—an often overlooked cause of bitter, uneven shots.
How do I maintain my espresso equipment over time?
One effective strategy is scheduling routine descaling every 3 to 6 months, depending on your water hardness, to prevent scale buildup that hampers temperature stability and flow rate. Additionally, regularly inspecting valves and seals is crucial; I check my portafilter gasket every six months and replace it when signs of wear appear, maintaining a perfect seal for consistent extraction. Another important practice is cleaning the steam wand after every use; this prevents milk residue from clogging the valve and causing pressure drops, which I address with a quick flush using the simple method described here. Investing in quality tools like a digital scale for dosing accuracy and a pocket screwdriver set for quick adjustments makes maintenance smoother and more precise. Looking ahead, I predict that AI-powered diagnostic tools for espresso machines will become more prevalent, providing real-time alerts for wear and troubleshooting tips. For now, commit to a monthly cleaning routine—use a dedicated grinder brush to clear static and clumps, and run a water-only cycle through your machine to flush out mineral deposits. Remember, proactive maintenance not only ensures superb shots but also minimizes costly repairs down the line. For stubborn clogs in the basket or leaks, consider using the paper-clip trick to save time and avoid dismantling your setup. Taking these small steps consistently pays off by keeping your gear running smoothly, and I challenge you to try the precise burr alignment method this week—your future self will thank you.
The Hardest Lesson I Learned About milk frothers,coffee grinders,home espresso,espresso machines,barista gear
One of my most profound realizations is that even the most sophisticated tools won’t save a setup plagued by neglect or misuse. A shiny espresso machine or a high-end grinder can give a false sense of security if I ignore routine maintenance or technical nuances. I’ve learned the importance of consistency—calibrating my grinder daily, cleaning my steam wand thoroughly, and understanding that perfection often comes from small, deliberate actions rather than relying solely on gear upgrades.
3 Myths About milk frothers,coffee grinders,home espresso,espresso machines,barista gear That Held Me Back
Firstly, I used to believe that bigger milk frothers automatically produce creamier microfoam, but technique and milk quality trump size. Secondly, I thought expensive grinders always guarantee perfect consistency, only to realize regular dial-ins and maintenance are key. Lastly, I thought that an automatic machine would solve all my problems—yet, learning manual control and patience led to better shots and richer textures. Debunking these myths has equipped me to approach my gear with curiosity, not complacency.
What Experts Won’t Tell You About milk frothers,coffee grinders,home espresso,espresso machines,barista gear
Many professionals keep tight-lipped about how critical routine maintenance is—like cleaning burrs with the correct brushes or calibrating pressure settings. They also understand that mastery over fundamental techniques—like tamping pressure or milk steaming angle—is more impactful than gear specs. What truly elevates your espresso routine is a commitment to continuous learning and adaptation, not just acquisition. For example, regularly checking and replacing worn seals, or using a simple paper clip trick to clear clogs, can make all the difference between a decent shot and an exceptional one.
Curated Recommendations for Building Your Barista Empire
In my journey, a few resources stood out. The Sweet Maria’s Roasting Guide offers deep insights into choosing beans and understanding roast profiles—crucial for flavor development. The Barista Hustle platform provides practical tutorials on perfect tamping, steaming, and calibration—skills that transform gear into artistry. I also trust the Espresso Gear Blog for honest reviews and maintenance tips that save me from costly mistakes. Lastly, investing in a high-quality flat burr alignment shim has drastically improved my grind consistency, proving that the right tools support skill-building.
Your Move in the World of Home Espresso
Remember, the journey toward home barista mastery isn’t about having the latest gadget but about paying attention to the details that yield extraordinary flavor and texture. Embrace the challenge, enjoy the experimentation, and celebrate each small victory on the path to perfect coffee. The true upgrade is your growing understanding and confidence—your gear is only as good as your knowledge. So take that next step, tweak that grinder, practice your milk steaming, and savor the rich rewards of your efforts.
What’s one new technique or maintenance habit you’re excited to try to improve your home espresso game? Let me know below—I’d love to hear your plans!