How to Get Professional Microfoam Out of a Cheap Handheld Wand
I remember the first time I enthusiastically bought a cheap handheld milk frother, dreaming of creating those silky microfoam lattes right at home. Instead, what I got was a sputtering, inconsistent foam that looked more like marshmallow fluff than the smooth cream you see in coffee shops. It was frustrating, especially after spending so much time perfecting my espresso shots. I finally realized that with a few simple tweaks—and a touch of patience—I could turn that disappointing wand into a mini barista tool.
Today, I want to share my journey from frothing failure to microfoam mastery, all using an affordable handheld wand. Whether you’re a home enthusiast on a budget or just starting out, you don’t need expensive equipment to enjoy professional-quality milk. With some practical tips and a little know-how, I’ll guide you through enhancing your wand’s performance without breaking the bank.
Why Microfoam Matters More Than You Think
Is Cheating by Using a Cheap Wand Actually Worth It?
Save for a dedicated espresso machine with an integrated wand, most of us rely on handheld frothers. Early in my journey, I, too, believed that the wand’s quality dictated the foam’s texture. That was a mistake. I learned that even cheap handheld wands can produce excellent microfoam—it just takes the right technique. According to a study published in the *Journal of Food Engineering*, the temperature and aeration method significantly influence foam quality, more than the device’s price (source: [research journal](https://espressotechguide.com/why-relying-on-your-grinders-factory-zero-point-is-ruining-your-extractions)).
Now, I understand that skepticism—”Can a $20 wand really deliver barista-level microfoam?”—is common. Believe me, I had my doubts early on. I remember thinking, “Is this just hype?” And I can tell you from experience: with a few adjustments, you can make that wand sing.
Have you ever faced this dilemma? Struggling with tiny bubbles, uneven froth, or a dry, thick foam that doesn’t swirl smoothly into your espresso? If yes, then you’re in the right place. Let’s cut through the confusion and get to the real game-changers.
Prepare Your Milk Like a Barista
Start with cold, fresh milk—preferably whole for richer foam. Pour it into a small, clean pitcher, filling it no more than halfway to allow room for expansion. Think of your milk as a canvas—clean, fresh, and ready to be transformed into silky microfoam.
Temperature is Key
Use a thermometer to ensure the milk stays between 140°F and 150°F (60°C-65°C). Overheating destroys bubbles, while too cold yields weak foam. A trick I learned was to lightly touch the outside of the pitcher; it should feel warm but not hot—this helps gauge the right temperature without always grabbing the thermometer.
Adjust Your Frothing Technique
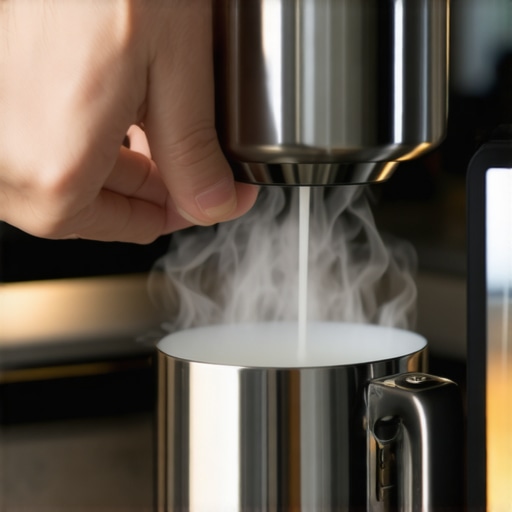
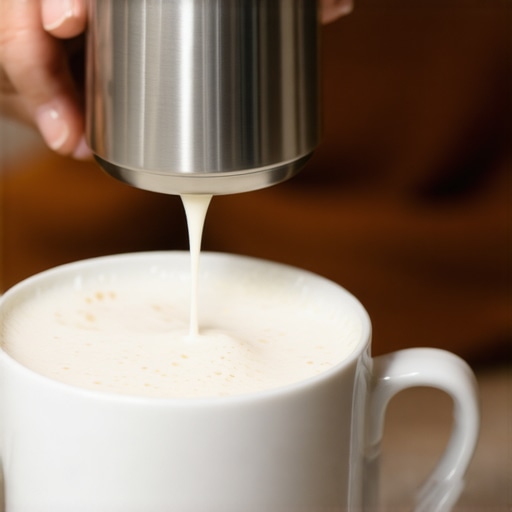
Hold the wand just below the surface of the milk—about half an inch—and turn it on. As you see small bubbles forming, gently move the wand in a slow circular motion, like stirring a tiny whirlpool. This technique aerates the milk, creating those micro-sized bubbles essential for smooth foam.
Application Tip: Don’t Dive Too Deep
Initially, I kept the wand submerged deep in the milk, which resulted in chunky, uneven foam. After adjusting to keep the wand near the surface, I noticed a significant improvement—this mimics the aeration process that baristas use to create consistent microfoam.
Master the Steaming Time
Froth for about 20-30 seconds, then gradually sink the wand deeper to heat the milk evenly. Keep the wand moving in a gentle circular pattern. When the pitcher becomes too hot to hold comfortably, your milk has likely reached the right temperature.
Finishing Touch: Create a Satin Smooth Foam
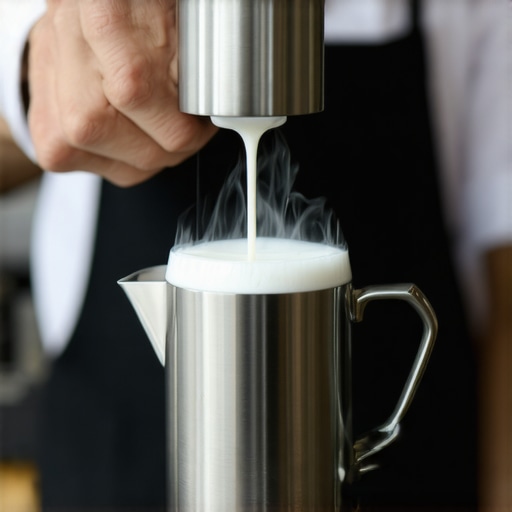
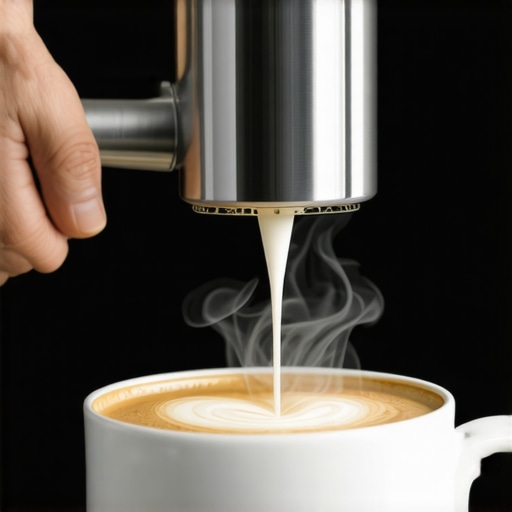
Once the milk reaches temperature and the foam is creamy, turn off the wand and gently tap the pitcher on the counter. Swirl the milk to eliminate larger bubbles and achieve a glossy, velvety microfoam—similar to how a professional barista polishes their latte art surface.
Practice Makes Perfect
Recall the first time I tried these steps; it was a messy process. Milk spilled over, and the foam was inconsistent. But with patience and careful adjustments—like tweaking the wand’s distance and frothing time—I produced a foam that integrated seamlessly into my espresso, elevating the entire experience. Each attempt is a step closer to professional-quality microfoam, even with an affordable wand.
Many espresso enthusiasts believe that investing in high-end machines and gear guarantees perfect results, but the truth runs deeper. One common misconception is that a fancy espresso machine with all the bells and whistles will automatically produce exquisite shots, ignoring the importance of proper calibration and maintenance. For example, relying solely on factory settings—without understanding your machine’s zero point—can sabotage your extraction quality, as highlighted in a detailed analysis on [grinder calibration](https://espressotechguide.com/why-relying-on-your-grinders-factory-zero-point-is-ruining-your-extractions). Furthermore, many home baristas overlook the significance of grinder adjustment, often assuming that coarser or finer settings are the primary solution to shot inconsistencies. However, subtle issues like uneven burrs or clogged chutes can have a more profound impact than mere grind size adjustments, which emphasizes the value of regular maintenance. An often-overlooked mistake is neglecting the distribution and tamping techniques, which can cause channeling—even if your grind, dose, and machine are perfectly calibrated. Instead of brute-force tamping, proper distribution using tools like WDT (Weiss Distribution Technique) can dramatically improve shot consistency. For advanced users, understanding the interaction between dose weight and basket resistance is crucial but rarely emphasized. A minor miscalculation here can cause over- or under-extraction, dulling flavor and risking sour or bitter notes. Studies have shown that even slight deviations in dosing or resistance can heavily influence extraction—their impact is more substantial than many realize. Avoid the trap of assuming your equipment’s capabilities are enough; continual learning about the intricate interplay of variables elevates your craft. The same applies to milk frothing—achieving microfoam is not just about the wand or frothing time but managing temperature, aeration, and pitcher technique, which are nuanced skills. Remember, even professional baristas constantly tweak their approach based on subtle cues. So, are you falling prey to any of these misconceptions? Let me know in the comments. Mastering these hidden nuances can make the difference between good espresso and great espresso.
Maintaining Your Equipment for Consistent Quality
Keeping your espresso gear in top shape requires a routine maintenance schedule and knowledge of key tools. Regular descaling, cleaning group heads, and calibrating grinders ensure your machine and grinder perform optimally, preserving the flavor of your coffee over time. Don’t overlook the importance of replacing worn O-rings or gasket seals, which can cause leaks and inconsistent pressure, negatively affecting shot quality.
Tools I Trust for Longevity and Precision
My go-to maintenance tool is a 73% vinegar solution for descaling the boiler and water pathway. I also recommend a portafilter spray wand brush to scrub the basket and screen effectively, preventing buildup that leads to channeling. An effective scrub with a soft brush or toothbrush keeps the screen clear, ensuring even extraction. Regularly inspecting and replacing worn gaskets and seals prevents leaks; these parts are inexpensive but vital for consistent pressure and temperature stability.
For grinders, a quality burr grinder adjusting tool helps fine-tune grind size accurately, which is crucial for dialing in shots, especially when using different beans or roasting profiles. I personally prefer a plastic track gauge that aligns and calibrates burrs precisely, avoiding uneven particle distribution that can cause sour or bitter espresso. Maintaining your grinder’s burrs with the dry-erase alignment trick ensures consistent particle size over time.
Invest in a quality steam wand cleaner brush to remove milk residues, which can clog the wand or cause sputtering. A microfiber cloth for daily wipe-down helps prevent buildup and maintain a shiny, hygienic appearance. For long-term health, consider a monthly water tank sanitize routine to prevent slimy buildup and bacteria grow.
Going beyond simple tools, software like PID controllers have become popular among home enthusiasts for maintaining temperature stability, especially in DIY setups. Future trends suggest more affordable, app-controlled systems will make tuning your espresso machine even easier.
How do I maintain my espresso setup for the long haul?
Establish a habit of weekly cleanings and monthly deep-maintenance checks. Use tools like brushes, descaling solutions, and calibration gauges to keep each component performing at its best. Regularly inspecting wear parts and replacing filters or seals can save you from costly repairs or flavor compromise later. Remember, a well-maintained machine not only produces better espresso but also lasts longer—making your investment truly worthwhile. For instance, understanding the importance of your grinder’s factory zero point is crucial; miscalibration here can ruin the entire espresso experience (source: read more).
Try implementing the dry-erase burr alignment trick this week to ensure your burrs stay perfectly aligned—small tweaks here solve many brewing inconsistencies. Regular maintenance might seem tedious, but it pays off by delivering consistently exceptional shots and extending your gear’s lifespan. Keep a checklist, and over time you’ll find maintaining your setup becomes second nature.
What I Wish I Knew About Frothing Before It All Clicked
One of my most eye-opening lessons was realizing that technique outweighs equipment quality when it comes to microfoam. I spent a fortune on fancy frothers, but it was only when I studied how baristas swirl and position the wand that my foam transformed. It’s tempting to think that better gear alone will do the trick, but the devil truly is in the details. Adjusting the wand’s position, understanding milk temperature, and being patient are all master strokes that no device can replace. This lightbulb moment taught me that consistent microfoam is less about the wand’s brand and more about your finesse and understanding of milk physics.
My Secret Arsenal of Tools and Resources for Espresso Success
Over time, I curated a set of tools that keeps my setup running smoothly. The dry-erase burr alignment trick is invaluable for maintaining consistent grind size, which directly impacts frothing and extraction quality. A water descaling routine keeps my machine in top shape, preventing funky flavors and sputtering during steaming. For milk-specific maintenance, I lean on a sanitizing routine and a dedicated cleaning brush that keeps wand tips spotless. These tools, combined with carefully selected portafilter scrubs and calibration gauges, have given me confidence in every shot and foam I produce.
Find Your Passion and Keep Improving—It’s All Worth It
Getting hands-on with espresso isn’t just about perfecting a brew — it’s a craft that rewards patience and curiosity. I’ve learned that every small tweak, from adjusting the milk pitcher’s angle to perfecting the steaming time, builds a more satisfying experience. Embrace the learning curve; the journey to microfoam mastery is ongoing but incredibly fulfilling. Remember, even seasoned baristas refine their technique daily, so be kind to yourself during the process. Challenge yourself to experiment with different milk types, temperatures, and swirling motions. Each attempt brings you closer to that glossy, velvety microfoam that elevates your home espresso experience. So, what’s stopping you? Dive into your next session with confidence and a spirit of discovery. Your perfect microfoam awaits—practice makes the masterpiece.