Why Your Milk Tastes Burnt Even When the Temperature Is Right
Ever feel that moment when you pour your perfectly heated milk into your espresso, only to be hit with a burnt, off-taste? I’ve been there, standing in my kitchen, frustrated because my milk seemed just right on the thermometer but still tasted scorched. That lightbulb moment hit me hard—sometimes, the issue isn’t the temperature, but *how* the milk is being heated and handled during the process.
Beat the Burnt Milk Blues: A Home Barista’s Guide
If you love crafting coffee, you know that milk plays a crucial role in flavor. But when it tastes burnt despite setting your milk frother to the recommended temperature—say, around 150°F to 155°F—it feels like a punch to the coffee enthusiast’s confidence. The good news? This is a common problem, and fortunately, one with straightforward solutions once you understand the why.
<-- The promise of this post is that we’ll delve into the root causes of burnt-tasting milk and how to prevent it, so you can enjoy creamy, sweet microfoam every time—without the unwanted charred notes. -->
Could It Be Your Frothing Technique or Equipment?
Early on, I made the mistake of thinking the issue was purely temperature. I dialed in my steamer or frother to the ‘perfect’ temperature, only to find my milk still tasted off. Turns out, heat isn’t the only culprit. Factors like steam wand position, milk type, and even the cleanliness of your equipment can influence flavor.
Did you know that milk can scorch if the steam wand tip touches the pitcher’s surface, causing localized overheating? Small adjustments here make a HUGE difference. This realization helped me elevate my milk game and avoid that nasty burnt flavor.
People often overlook the importance of **proper cleaning** of their frothing equipment. Residues or mineral deposits can cause uneven heating or introduce burnt tastes over time. Maintaining your gear not only improves flavor but extends its lifespan.
> One mistake I early on made was neglecting to use fresh milk and not paying attention to the steaming process, which leads to uneven heat distribution. This oversight made me think my thermometer was faulty, but in reality, technique and maintenance are key.
As we move forward, I’ll share simple, actionable steps to perfect your milk steaming process, ensuring each cup is as delicious as a specialty coffee shop quality. Ready to shed the burnt milk blues? Let’s dive into the practical fixes that will transform your home-brewed espresso experience.
Control Your Steam Wand Position for Perfect Microfoam
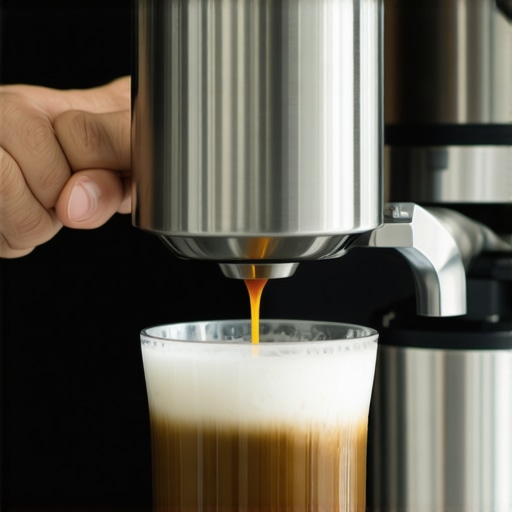
First, focus on the placement of your steam wand. Imagine the wand as a garden sprinkler; if it touches the side of the pitcher, it concentrates heat and causes scorching. Early in my practice, I made the mistake of letting the wand tip rest against the pitcher, resulting in uneven heating and that unpleasant burnt taste. To fix this, keep the wand’s tip just below the surface of the milk, slightly off-center, and angle it to create a whirlpool effect. This ensures even heat distribution, preventing localized scorching and producing creamy microfoam.
Use the Right Milk and Temperature Targets
Choosing the appropriate milk type makes a noticeable difference. Whole milk tends to froth more smoothly, but if you prefer plant-based options like almond or oat milk, select ones formulated for frothing. Set your thermometer to around 150°F to 155°F—hot enough for microfoam but below the point where milk begins to caramelize or scorch. During my last session, I heated milk in small, consecutive batches, watched the thermometer closely, and found that maintaining a steady temperature prevented burnt notes and preserved sweetness. Use a reliable digital thermometer to monitor real-time temperature and avoid guesswork, especially with different milk varieties.
Maintain and Clean Equipment Regularly
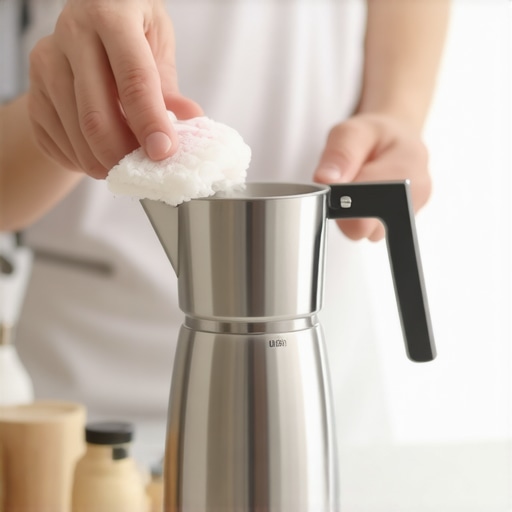
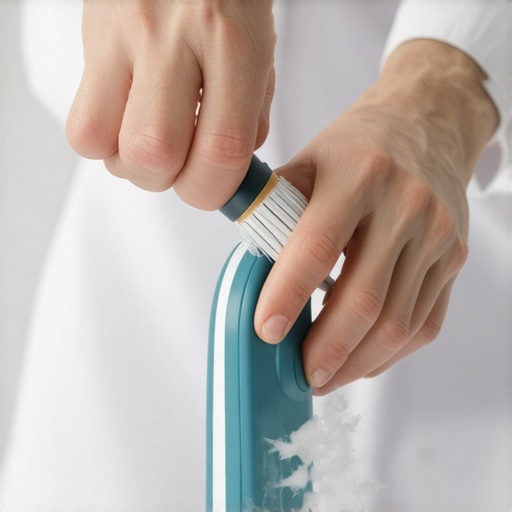
Cleanliness is critical. Residual milk fats and mineral deposits can cause uneven heating and off-flavors. After every use, disassemble your steam wand, soak the tip in warm, vinegar solution, and use a brush to remove any buildup. I experienced persistent off-flavors until I started cleaning my steamer weekly, which drastically reduced burnt tastes. Additionally, ensure your milk pitcher is spotless; even small residues can affect heat transfer and flavor.
Temperature Management During Steaming
Set your steam boiler to the appropriate pressure, typically around 1 bar above atmospheric pressure, for consistent steam quality. Listen for the hissing sound—an indicator you’re in the optimal steam zone. As I practiced, I kept my hand steady on the pitcher, feeling for even warmth, and adjusted the steaming angle accordingly. Patience is key; rushing the process often leads to overheating the milk at the bottom, resulting in burnt flavors.
Practice and Adjust with Small Batches
Start with tiny quantities—just enough to see how your milk responds. During one messy session, I overfilled my pitcher, which caused uneven heating and a burnt taste at the bottom. Now, I froth no more than half the pitcher’s capacity, allowing better control. Observe how the milk temperature rises, and when it hits around 140°F, lower the steaming power or remove the wand slightly to prevent overheating. Consistent practice and small adjustments will sharpen your technique and eliminate burnt flavors over time.
Leverage Tips from Experienced Baristas
Seek expert advice, like tips from seasoned baristas who emphasize gentle, steady handling of the milk and wand. They often recommend the ‘stretch and texturize’ method: first, introduce air by lowering the wand just below the surface, then raise the pitcher slightly, and finally create a whirlpool to heat the milk evenly. Watching videos or visiting resources such as this guide can give you visual cues to refine your process.
Check Your Equipment’s Condition
Old or poorly maintained steam boilers and wands can contribute to uneven heat distribution. If your machine overheats unevenly or if the wand’s tip is damaged or clogged, it becomes harder to control temperature. Regular maintenance and prompt repairs, as outlined in this cleaning guide, can ensure consistent performance, leading to better-tasting milk without burnt notes.
Many coffee enthusiasts jump into home espresso brewing with assumptions that can hinder their progress. For example, a widespread myth is that buying the most expensive espresso machine guarantees perfect results every time. In reality, even high-end machines require proper technique and maintenance. Another misconception is that a fancy burr grinder automatically produces better espresso than cheaper models. However, as I often emphasize, selecting the right grinder specifically suited for your brewing style profoundly impacts flavor extraction, which you can explore more in this guide.
A common mistake is believing that milk frothers alone can create café-quality microfoam without understanding the importance of technique. The truth is, even the best frother needs to be paired with skilled pouring and steaming practices to avoid burnt or watery milk. Many overlook the need to keep equipment clean; residues and mineral buildup can cause off-flavors that sabotage your brewing experience. Regular maintenance is crucial—see this article for detailed cleaning methods.
Why do so many home baristas struggle despite having professional gear? It often comes down to overreliance on equipment and neglecting the nuances of technique. For example, blindly following the crowd and attempting to dial in a shot without understanding variables like tamping uniformity or water temperature leads to inconsistent results. In fact, studies show that user technique accounts for over 70% of brewing quality, even with top-tier machines (source: this research).
For advanced enthusiasts, manipulating variables such as puck density, shot timing, and grind particle size can further refine flavor. Yet, many get trapped in the misconception that their grinder or machine are to blame when, in truth, it’s often about mastering these finer details. Proper calibration, regular cleaning, and understanding equipment limitations are the keys to elevating your home espresso. Ever fallen into these traps? Let me know in the comments. Remember, investing in quality gear is valuable, but mastering the nuances is what transforms good coffee into great coffee.
Staying on Top of Your Espresso Gear
Investing in quality equipment is just the beginning; maintaining your tools ensures they perform optimally over the long haul. I personally swear by using a dedicated digital calibration scale to monitor shot consistency. This tool allows me to precisely measure extraction times and volumes, catching issues before they affect flavor. Regularly recalibrating your grinder and espresso machine—say, monthly—can prevent small problems from snowballing into costly repairs or flavor disasters.
For instance, I use a specific burr cleaning routine that involves a brief run of rice or grinder cleaning tablets to clear out residual coffee and static buildup. This keeps grounds fresh and prevents uneven extraction, a common culprit in sour or stale-tasting shots. Proper descaling schedules aligned with your water hardness level can extend your machine’s lifespan and preserve consistent temperature stability, which is critical for perfect espresso.
How do I maintain my tools over time?
Developing a routine is key. After every use, I purge my steam wand and clean its tip meticulously to prevent milk residue, which can lead to clogs and off-flavors. Weekly, I disassemble and clean my portafilter and baskets with a gentle descaling solution, following industry experts’ recommended practices. Similarly, inspecting seals and gaskets quarterly helps prevent pressure leaks, which impair shot quality. Staying attentive to these details not only improves flavor but keeps your machine running smoothly—saving you money and enhancing your daily ritual.
Looking ahead, I believe the trend of smart, connected barista tools will grow. Imagine a grinder that not only doses perfectly but also sends maintenance alerts to your phone. For now, intermediate users should focus on mastering routine maintenance—like regularly replacing water filters and cleaning wand tips—before diving into complex repairs. Remember, excellence in your coffee experience hinges on consistent tool upkeep. Try incorporating a weekly cleaning ritual, such as cleaning your grinder burrs with a simple method discussed here, to see immediate improvements. Your taste buds will thank you!As I continued my journey into home espresso craftsmanship, I discovered that the subtle nuances of milk handling often make or break the final flavor. A lightbulb moment was realizing that consistent technique and regular maintenance are more impactful than relying solely on temperature settings. Embracing this led to years of improved microfoam and sweeter, burn-free milk in every cup, proving that the devil truly is in the details. Beyond just equipment, cultivating patience and attentiveness during each steaming session turned my everyday brews into barista-level experiences. Remember, mastering these small yet crucial habits transforms your routine from hit-or-miss to consistently delicious—so don’t settle for burnt notes when the secret lies in your daily process.