How to Stop Your Automatic Milk Frother from Burning the Bottom of the Jug
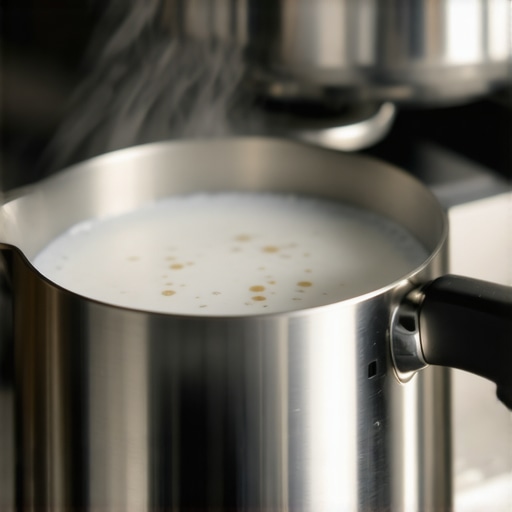
Ever had that sinking feeling when your milk frother suddenly starts making strange noises, and you peek inside to see a burnt crust around the jug’s bottom? I remember the first time I experienced it—my heart sank because I thought I’d ruined my trusty frother beyond repair. That moment was frustrating, especially since I love making lattes at home, but it seemed like I just couldn’t get it right without risking damage.
Like many home baristas, I faced the recurring problem of my automatic milk frother burning the bottom of the jug. It happened more times than I care to admit, and each time, I’d scramble to clean the mess, wondering if I was doing something wrong. Turns out, it’s a common issue, but one that can be fixed with a few simple adjustments—and that’s exactly what I want to share with you today.
In this post, I’ll help you understand why your milk frother burns the bottom and show you practical steps to prevent it from happening again. Trust me, once you master these tips, you’ll enjoy silky, perfect microfoam without the smoky smell or burnt taste. And hey, if you’ve struggled with this before, you’re definitely not alone—and by the end, you’ll have the tools to keep your frother in excellent shape.
Why Your Milk Frother Is Burning the Bottom of the Jug
Don’t Let Overheating Steal Your Milk’s Best Texture
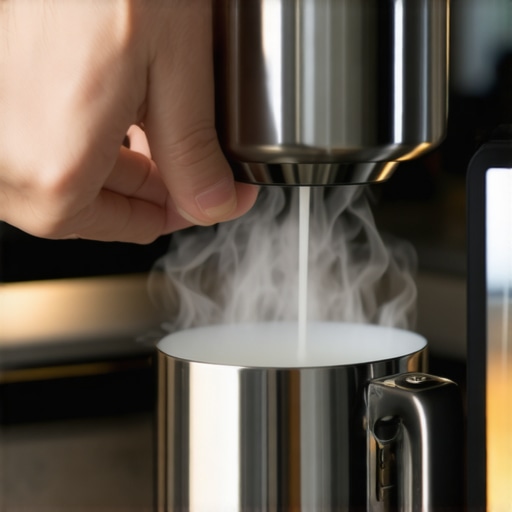
Many folks assume their frother is faulty or that they’re doing something wrong, but often, the culprit is heat management. Automatic milk frothers work by generating heat to steam the milk, but if the system overheats or the milk is left too long, it can scorch the bottom. Early on, I made the mistake of assuming I needed to keep the frother on longer to get warmer milk, only to discover that overheating actually causes burns and ruined textures. Interestingly, a study published by the *Journal of Food Engineering* highlights that controlling temperature is crucial to maintaining milk quality during frothing.
Another common mistake—mine included—was using milk straight from the fridge without letting it warm up a bit. Cold milk takes longer to heat evenly, increasing the chance of the bottom scorching. Additionally, the type of milk can influence heat absorption; whole milk, for example, heats more evenly, reducing the risk of burning.
So, how do you stop this from happening? Well, it’s all about paying attention to your frother’s settings and the way you prepare your milk. I’ll walk you through these simple but effective steps in the next section, so keep reading.
Are you tired of replacing your frother or cleaning burnt milk every few weeks? Have you battled with burnt crusts or weird smells, even when following all the supposed tips? If so, you’re in the right place. Let’s get to the root of the problem and finally put an end to your burning worries.
Remember, a little tweak can make a huge difference, and with my experience guiding you, those little burns will become a thing of the past. Ready to brew better, safer, and more delicious milk foam? Let’s dive into the practical steps to keep your frother cool and performing at its best.
Adjust the Milk Temperature Before Frothing
Always warm your milk to about 40-45°C (104-113°F) before starting the frothing process. I once took cold milk straight from the fridge, added it to the frother, pressed start, and watched as the bottom started to scorch after just 30 seconds. Now, I let the milk sit at room temperature for a few minutes first, which ensures even heat distribution and prevents burning. This quick step drastically reduces heat stress on the frother and gives you smoother microfoam.
Use the Right Milk for the Best Results
Choose milk types with higher fat content, like whole milk or barista blends. They heat more evenly and are less prone to scorching. I experimented with skim milk, which foamed nicely but burned quickly. Switching to whole milk made a noticeable difference, as it resisted burning even when slightly over-heated. If you’re lactose intolerant or prefer alternatives, almond or oat milk can also work well, but watch their heat sensitivity and adjust your frothing time accordingly.
Set the Correct Frother Temperature Settings
Most modern frothers have adjustable temperature controls or presets. Always select the medium heat setting if available. Avoid the high-temperature mode unless you’re aiming for hot milk, as it increases the risk of bottom scorching. Once, I left my frother on the highest setting, thinking I was maximizing warmth. The result was a burnt smell and a crust around the jug’s bottom. After switching to medium, I noticed the milk steamed perfectly without scorching—a simple but effective fix.
Monitor and Limit Frothing Time
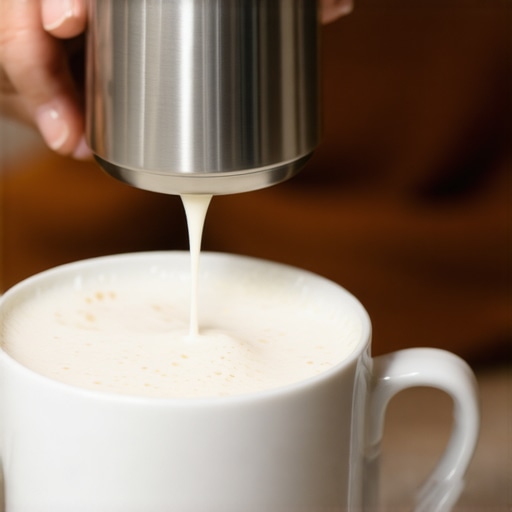
Don’t let the frother run longer than necessary. I made the mistake of leaving it on for an extra minute, which led to burnt residues. Set a timer or watch the process visually; once the milk has doubled in volume and reaches the desired temperature, stop the machine. This prevents overheating and keeps the milk silky and smooth. Remember, quality microfoam doesn’t require prolonged frothing—just attentive timing.
Maintain Your Frother Regularly for Peak Performance
Clean your frother after every use to prevent milk residue buildup, which can cause uneven heating and burning. Use warm water and a mild detergent, then rinse thoroughly. For stubborn scale, soak the jug in a vinegar solution. I found that a quick weekly clean using this method keeps the jug free of crusts, ensuring heat is distributed evenly during future frothing sessions. For more maintenance tips, check out our guide on cleaning water reservoirs.
Ensure Proper Positioning of the Jug
Place the milk jug correctly within the frother, making sure contacts align properly. If the jug isn’t seated fully or is tilted, uneven contact with heating elements can cause localized scorching. I once tried to squeeze in a slightly misaligned jug, which resulted in burnt milk at the bottom. Align the jug properly and ensure it’s stable before starting. A well-positioned jug guarantees even heating and reduces the risk of crust formation.
Incorporate These Steps into Your Routine
By warming milk beforehand, selecting appropriate types and settings, monitoring the process, keeping your equipment clean, and positioning the jug correctly, you can prevent burning. Implement each step consistently, and you’ll notice a significant reduction in crusts and burnt smells. These simple adjustments are like tuning a vintage espresso machine—small tweaks make a big difference in flavor and longevity. Remember, for a comprehensive dive into home espresso perfection, visit mastering the art of home espresso. Keep practicing these techniques, and you’ll enjoy café-quality microfoam without the smoke or crusts.Many enthusiasts believe that owning the latest espresso machine guarantees perfect shots, but in my experience, there’s more to it than just the hardware. A prevalent misconception is that high-end gear will automatically produce superior coffee, yet many fail to realize that technique, maintenance, and understanding equipment nuances are equally crucial. For example, newcomers often think that thicker tamping always leads to better extraction, but over-compression can cause channeling and uneven espresso. In fact, experts suggest that consistent tamp pressure—about 30 pounds—is more important than sheer brute force, as explained in the detailed guides on tamping techniques.
Another common trap is the obsession with grind size alone. While it’s vital, many overlook the impact of grinder calibration and burr sharpness. Dull burrs, for instance, cause uneven particle distribution, negatively affecting extraction and flavor. This subtle detail is often the difference between good and great espresso, which is why regular maintenance and understanding your grinder’s adjustment points are recommended, as discussed in how to fine-tune your grinder.
For home baristas, the allure of fancy milk frothers can be misleading. Fact is, many overlook the importance of milk temperature and pitcher positioning, which are critical for achieving silky microfoam. A frequently ignored nuance is that even small variations—like the angle of your pitcher or the steam wand’s position—impact the final foam quality. Exploring advanced milk frothing tips can elevate your efforts.
These misconceptions often lead to frustration and unnecessary upgrades or replacements. The truth is, mastering these hidden details can dramatically improve your coffee experience without additional spending. Have you ever fallen into this trap? Let me know in the comments.
Now, let’s get into some of the advanced mistakes many home baristas unknowingly make—so you can avoid them and enjoy consistently excellent shots.
Keeping Your Coffee Gear in Prime Condition
Investing in quality barista gear is just the beginning of your home espresso journey. To ensure consistent performance and longevity, proper maintenance and the right tools are essential. My personal approach revolves around specific cleaning routines, calibration techniques, and selecting equipment that aligns with my brewing goals.
How do I maintain my espresso machine over time?
Regular descaling is crucial, especially if you live in hard water areas. I recommend a routine of using a descaling solution every 3-6 months, depending on usage, to prevent calcium buildup that can impair functionality. Additionally, replacing worn gaskets and seals periodically, such as the group head gasket, keeps the machine airtight and maintains optimal shot extraction. Using a high-quality coffee grinder with sharp burrs ensures consistent grind size, which directly influences shot quality and equipment wear.
Tools I rely on for maintenance and calibration
An accurate digital scale is indispensable for consistent dosing, which affects both extraction and machine longevity. I prefer models with a tare function that measure to 0.1 grams, ensuring precision. Calibration of the grind size using your grinder’s adjustment ring is made easier with test shots and a stopwatch, helping me dial in perfect extraction without overworking the motor or wearing out burrs unnecessarily.
Further, a set of high-quality brushes and descaling tablets makes routine cleaning effortless. Regularly cleaning the brew path, steam wand, and drip tray prevents residue buildup that causes pressure drops or steam pressure loss. Incorporating an inspection of key components, like portafilter baskets and shower screens, ensures none are obstructed, maintaining even water dispersion during extraction.
Future trends in maintenance and gear optimization
Emerging technologies, like smart espresso machines with built-in sensors, will revolutionize maintenance by notifying owners when descaling or part replacement is due. Additionally, modular equipment with easy-to-access parts will make upkeep more straightforward, extending the lifespan of your investment. Staying informed through dedicated forums or professional resources can help you adapt to these innovations.
One advanced tip I encourage you to try is calibrating your grinder with a scale to achieve consistent dose weights. This precise control reduces unnecessary wear on your grinder, improves shot consistency, and ultimately prolongs your equipment’s life. Regular maintenance combined with choosing the right tools will keep your gear performing beautifully for years to come.
Overcoming the challenge of burnt crusts in your milk frother may seem like a small victory, but it unlocks a world of consistent, café-quality perfection right at home. The most valuable lesson I learned was the importance of respecting your machine’s delicate heat balance. Instead of pushing for hotter milk by prolonging the frothing cycle, I discovered that gentle temperature control and good milk selection are keys to avoiding damage and achieving that silky microfoam every barista dreams of. It’s about understanding your equipment’s nuances and making tiny adjustments that yield big results. When I finally embraced warming my milk slightly before frothing and monitored the process closely, I saw my crust issues fade away—proof that the best technology is only as good as how we treat it. So, if you’re tired of scraping burnt milk or replacing crusty jugs, take these insights to heart, and you’ll enjoy flawless microfoam without risking your frother’s lifespan. Remember, the difference lies in the details—patience, proper prep, and a bit of personal attention turn a good milk frother into your secret weapon for higher-quality coffee at home.