Why your water reservoir is growing slime and how to sanitize it
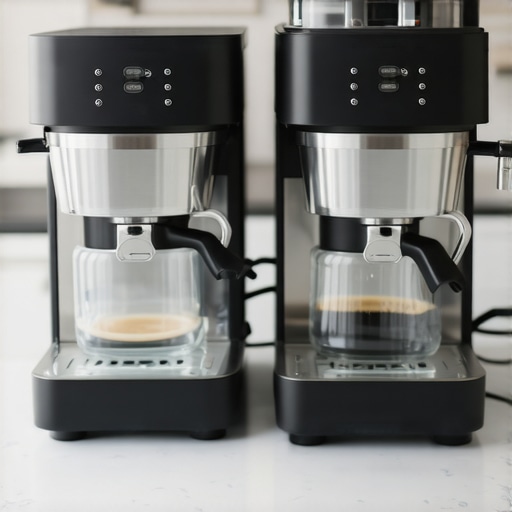
I remember the exact moment I noticed that a sticky, greenish film forming inside my espresso machine’s water reservoir. It was a sluggish brew day, and despite regular cleaning routines, I kept seeing that stubborn slime creep back in. The worst part? I had no idea what caused it or how serious the issue really was. This lightbulb moment made me realize I wasn’t alone. Many home baristas face this sneaky problem, and most aren’t sure how to tackle it properly.
The Hidden Threat in Your Water Tank
Over time, minerals, organic matter, and bacteria can build up inside your water reservoir, leading to the growth of slime and biofilm. These slimy layers don’t just look unappealing—they can affect the taste of your coffee and, more importantly, pose health risks. According to the Centers for Disease Control and Prevention, biofilms in water systems can harbor harmful pathogens that may cause illnesses. That realization made me see sanitation in a new light. It’s not just about aesthetics; it’s about protecting your health and ensuring that every cup tastes pristine.
Are we overhyping this? The real fuss about reservoir slime
Early on, I made the mistake of dismissing regular cleaning, thinking a quick rinse was enough. Turns out, I was just letting the slime fester, giving bacteria a cozy home. The truth is, neglecting proper sanitation can turn your coffee routine into a breeding ground for unwanted microbes. So, if you’ve ever wondered whether all this fuss is justified, rest assured—it’s a legitimate concern backed by scientific evidence. Plus, a clean reservoir prolongs the life of your machine and improves your brewing consistency.
Now that we’ve identified the problem, let’s dive into how you can effectively sanitize your water reservoir and keep that slime at bay. Trust me, with a little effort, you’ll bring your machine back to life and enjoy fresh, clean coffee every day. Ready to get started? Let’s proceed with the essential steps to eliminate slime and maintain a healthy, hygienic brewing environment.
Disassemble and Inspect Carefully
Start by unplugging your espresso machine and removing the water reservoir. Use a soft cloth to wipe the exterior and then carefully lift out the reservoir. Examine it for visible slime, mineral deposits, or buildup. I once discovered a thick layer of biofilm after a particularly long brewing streak, revealing how neglected the cleaning had become.
Clean with a Vinegar Solution
Prepare a solution of equal parts white vinegar and water. Fill the reservoir about halfway and let it soak for 15-20 minutes. The acetic acid dissolves biofilms and mineral residues effectively. During my last clean, this step loosened years of scale, turning stubborn slime into easily rinsed debris.
Use a Scrubbing Tool
Gently scrub the inside using a soft-bristled brush or a non-abrasive sponge. For tight corners, a toothbrush works well. Avoid metal brushes, which can scratch plastic. I remember my first attempt, where I used an old toothbrush, and I was amazed how much dirt and slime it dislodged. Be thorough—places like the corners often harbor unseen buildup.
Rinse and Repeat if Necessary
Empty the vinegar solution and rinse the reservoir with clean water multiple times, ensuring no residual vinegar taste remains. If stubborn slime persists, repeat the vinegar soak. After a second round, my reservoir was sparkling clear, and the foul smell was gone, restoring my confidence in the machine’s hygiene.
Sanitize with an Baking Soda Solution
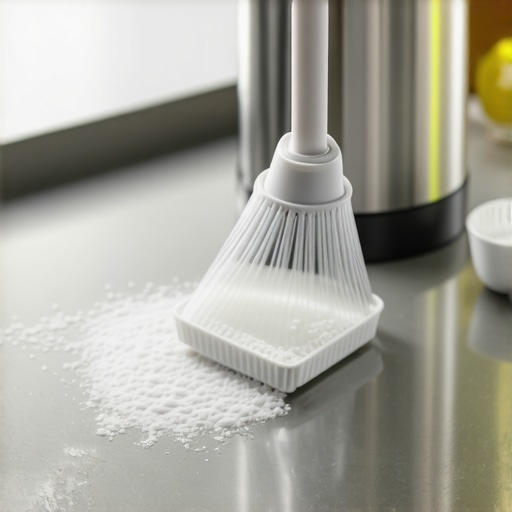
For extra sanitation, mix one tablespoon of baking soda in a quart of water. Fill the reservoir and let it sit for 10 minutes. Baking soda neutralizes lingering odors and adds an extra layer of cleanliness. I found that after this step, my coffee tasted fresher, with no lingering sourness.
Final Rinse and Reassemble
Thoroughly rinse the reservoir with plain water until no residue remains. Dry it with a soft cloth or air dry. Reinstall the reservoir into your machine and run a brewing cycle with just water to clear out any remaining cleaning agents. This method keeps your reservoir slime-free and prolongs your machine’s lifespan.
Schedule Regular Maintenance
Set a recurring date to clean your reservoir monthly or bi-weekly if you brew often. Regular cleaning prevents slime buildup and ensures every cup is fresh. I personally keep a cleaning schedule to avoid slip-ups, leading to consistently better-tasting coffee and healthier equipment.
Remember, maintaining a clean water reservoir is essential for safe, delicious espresso. Incorporate these cleaning steps into your routine to prevent slime from creeping back, and enjoy a pristine brewing environment every time.
Many enthusiasts jump into upgrading their coffee setup with dreams of barista-level mastery, but often they overlook critical nuances that can make or break their brewing experience. For example, there’s a common misconception that picking the most expensive grinder guarantees perfect espresso. In reality, factors like grind consistency and burr alignment matter more than price alone. According to professional baristas, optimizing burrs and understanding particle size distribution can dramatically improve shot quality more than just investing in top-tier gear. Moreover, many assume that milk frothers are all created equal, but many home units struggle with microfoam due to design flaws or improper cleaning. Mastering proper cleaning is essential to prevent large bubbles and achieve silky foam.
How does piston pressure influence shot extraction complexity?
This question often puzzles even experienced enthusiasts, since mastering pressure profiling is a nuanced skill. Research indicates that understanding your espresso machine’s PID temperature settings and pressure dynamics can unlock new levels of flavor clarity a must for advanced users. Many home baristas mistakenly treat their espresso machines as simple appliances, but they are complex systems that benefit from regular calibration and maintenance. Skipping these steps can lead to inconsistent shots and wasted beans. It’s worth noting that investment in proper barista gear, like tampers and distribution tools, might seem trivial but can actually be transformative for shot consistency here’s how to choose quality tools. Ultimately, understanding these hidden intricacies ensures you’re not just brewing coffee but crafting an experience. Have you ever fallen into this trap? Let me know in the comments.
Keeping Your Equipment in Top Shape
Investing in high-quality coffee gear is just the beginning; regular maintenance ensures your espresso machine, grinder, and frother perform optimally over time. Personally, I rely on a dedicated group head maintenance kit that includes a soft brush, gasket scraper, and descaling solution. These tools help me remove stubborn coffee oil buildup and prevent costly repairs. To streamline long-term care, establishing a routine—such as monthly descaling and weekly cleaning—keeps equipment free of mineral deposits and biofilm—common culprits behind poor extraction and off-flavors. Looking ahead, automation and smart monitoring systems are set to revolutionize home barista gear, with technologies like app-controlled descalers becoming more affordable.
How do I maintain my coffee grinder and espresso machine for years of perfect shots?
Understanding the intricacies of your devices’ components is crucial. For grinders, regularly checking burr sharpness and alignment with a zero point calibration method ensures consistent particle size. For espresso machines, paying attention to PID temperature settings helps stabilize brew temps, especially in variable climates. Properly clean and lubricate seals and o-rings to prevent leaks and maintain pressure stability. The key is doing these checks every few weeks to avoid surprises during your busiest mornings. Want to really upgrade your efficiency? Incorporate a quick anti-static brush into your routine—small investment, big payoff.
Tools I Recommend for Optimal Performance
My go-to toolkit combines durable, purpose-built items with precision instruments. A high-quality spring-loaded tamper ensures even compression, reducing channeling, while a digital scale allows precise dosing, crucial for replicating that perfect extraction. Additionally, investing in a stainless steel pitcher cleaner maintains hygienic frothing and preserves the quality of microfoam. As the trend shifts toward smarter, connected devices, tools like app-controlled grinders with built-in maintenance alerts are making routine upkeep more accessible—aim to adopt these tech-forward options to stay ahead. In my experience, pairing time-tested manual tools with modern tech provides the best results. Don’t forget: always read the manufacturer’s instructions, especially when using descaling or cleaning chemicals, to avoid damaging your gear. For a detailed breakdown of top-rated machines and accessories, check out our latest reviews.
Make Your Maintenance Routine Bulletproof
To keep your setup running smoothly, schedule weekly checks for general cleanliness and monthly deep cleanings. Incorporate tools like a magnetic dosing funnel for mess-free dosing, and a high-precision burr gauge to monitor wear. Remember, consistent upkeep not only prolongs your equipment’s lifespan but also enhances your coffee quality. Looking ahead, AI-powered maintenance diagnostics are emerging, promising even smarter home espresso systems. To start, try integrating a simple weekly cleaning ritual with your existing process—trust me, future-proofing your gear starts with small, disciplined steps today.
The Hardest Lesson I Learned About milk frothers,coffee grinders,espresso machines,home espresso,barista gear
One of the most eye-opening realizations was that even the most expensive equipment won’t compensate for neglecting routine maintenance. I spent a fortune on a high-end grinder but was quickly reminded that dull burrs and uncleaned parts diminish shot quality. The true value lies in consistent care and understanding your gear’s quirks, which can significantly elevate your brewing.
Why Skipping Deep Cleaning Can Cost You More
I used to think rinsing was enough, but every overlooked cleaning led to stale flavors and shortened machine lifespan. It dawned on me that investing just a few minutes regularly saves money and guarantees that each espresso is as fresh as the first. Small habits, like descaling and wiping down components, go a long way in preserving the taste integrity of your coffee.
Patience Outperforms Speed in Perfect Pulls
Rushing through dialing in grind settings or tamping often results in uneven extraction. The breakthrough came when I slowed down, paying close attention to each detail. That patience, combined with precise adjustments, turned my average shots into professional-quality espresso, reminding me that mastery is a journey, not a sprint.
Curated Recommendations for Serious Enthusiasts
For tools that truly make a difference, I rely on a spring-loaded tamper, because consistent tamp pressure is vital. A calibration tool for grinders ensures particle size consistency—delivering more uniform shots. I also trust reputable sources like Top-rated espresso machines reviews to guide upgrades, helping me stay ahead in this hobby.
Take Action Now—Your Coffee Journey Awaits
The path to coffee excellence is paved with continual learning and small disciplined steps. Don’t hesitate to experiment, maintain your gear diligently, and refine your skills. Remember, every sip of your handcrafted espresso is a reward for your dedication. So, what habit will you start today to improve your home espresso experience? Share your plans below and let’s grow together in this flavorful pursuit.