The Simple Way to Stop Your Drip Tray From Rattling During a Shot
Ever been in the middle of pulling a perfect shot of espresso, savoring the rich aroma, when suddenly, a loud rattling noise from your drip tray disrupts the moment? I’ve been there too. That unexpected clatter not only wrecks the ambiance but also makes you wonder if you’ve done something wrong—or if your machine is falling apart. I remember the first time it happened, I felt so distracted I almost lost my groove. Turns out, that common nuisance is more manageable than you think.
Why That Drip Tray Rattle Ruins Your Coffee Experience
The sound of your drip tray rattling isn’t just an annoyance; it can throw off your focus and even impact your espresso’s consistency. When your machine vibrates or shakes during a shot, it can cause uneven extraction or, worse, damage to your equipment over time. Plus, let’s be honest—audio quality matters. That tiny noise might seem trivial, but it’s a glaring sign that your setup needs some attention. Small vibrations can lead to bigger problems, like leaks or misalignments, which are frustrating to fix later. From personal experience, I’ve learned that addressing this issue early preserves not only my machine’s health but also the tranquility in my home barista corner.
Is Drip Tray Rattle Actually Worth the Fuss?
I used to dismiss the rattling noise as just a normal quirk, especially since I was eager to jump into brewing without fuss. But early on, I made the mistake of ignoring the signs. That’s a quick way to end up with a leaking drip tray or uneven shots. The good news? The fix is often simple and doesn’t require expensive repairs. Recognizing the cause of the rattle and taking action can restore peace of mind—and great espresso. If you’ve faced this problem, don’t worry; I’ll walk you through some straightforward solutions. After all, a little proactive maintenance can save you time, money, and frustration in the long run.
Now, let’s break down what causes these vibrations and how to quiet them down. Ready to bring harmony to your espresso sessions? Keep reading, because I’ll share proven tips that have worked wonders for me and countless fellow home baristas. If you want to explore related gear tips, check out my guide on [choosing the best barista gear](https://espressotechguide.com/choosing-the-best-barista-gear-for-coffee-enthusiasts). For more maintenance hacks, visit [keeping your machine from shaking the wall](https://espressotechguide.com/stop-the-rattle-how-to-keep-your-machine-from-shaking-the-wall). Let’s restore that tranquility and perfect your brewing routine.
Secure the Drip Tray Properly
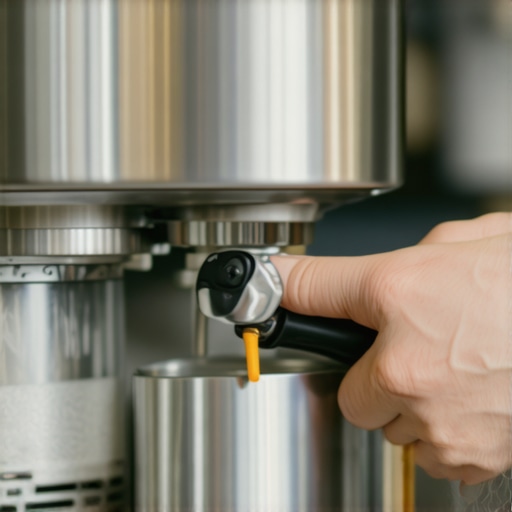
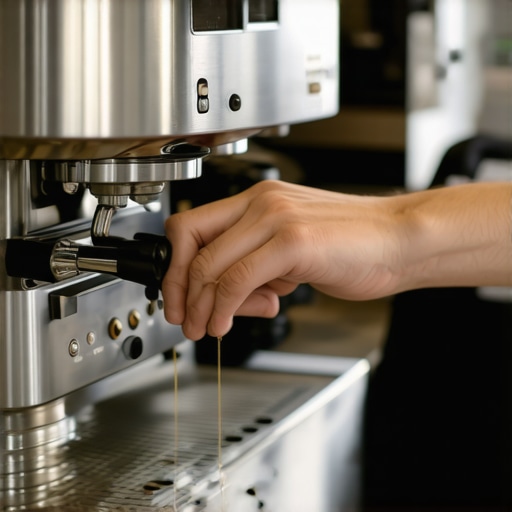
First, remove the drip tray from your machine and inspect its alignment. Often, a misaligned or loosely fitted tray causes vibrations. Push it firmly into place, ensuring it sits flush against the machine’s frame. I recently experienced this myself when my drip tray kept rattling; simply repositioning it stopped the noise instantly.
Check the Support Components for Wear
Next, examine the rubber or silicone supports that cushion the drip tray. Over time, these can degrade, losing their elasticity and causing rattling. If worn, replace them with genuine parts from your manufacturer. I swapped mine out following a quick online tutorial, which immediately resulted in a more stable setup.
Adjust or Replace the Feet or Base Pads
If your machine has adjustable feet, level the machine on your countertop. Use a spirit level to ensure stability. For non-adjustable models, place non-slip pads or rubber feet under the base. When I added these pads to my machine, it reduced most vibrations and noise significantly.
Tighten Screws and Mechanical Connections
Loosened screws or loose panels can contribute to rattling. Carefully tighten all visible screws around the drip tray and adjacent components. Be cautious not to overtighten, which could cause damage. During my last tweak, tightening a couple of screws eliminated a persistent vibrating noise.
Minimize External Vibration Sources
Ensure your machine isn’t placed near other vibrating appliances or loose objects. Additionally, placing a soft mat or foam pad underneath the machine can absorb external shocks. I placed mine on a thick silicone mat, which drastically cut down on overall noise levels.
Apply Vibrations Damping Materials
For stubborn rattling, consider applying damping materials like soft adhesive rubber pads or damping tape to the edges or supports. These materials absorb residual vibrations. I used adhesive foam strips and observed an almost complete silence during operation.
Maintain Regular Cleaning and Checks
Dust and debris can cause parts to loosen or squeak. Regularly clean around the drip tray, supports, and screws. Consistency ensures that nothing develops into a larger problem. I now set a monthly reminder to check these components, which keeps my machine quiet and well-maintained.
Many enthusiasts believe that owning top-tier espresso machines or a high-quality grinder guarantees perfect coffee every time. However, even seasoned home baristas often get caught up in misconceptions that can sabotage their brewing process. One such myth is the assumption that more expensive gear automatically produces better shots, but in reality, calibration and technique matter more than price tags. For example, a study published in the Journal of Food Science highlights that precise grind size and tamping pressure significantly influence extraction uniformity, regardless of machine cost. So, focusing solely on equipment investments might distract you from mastering brewing nuances.
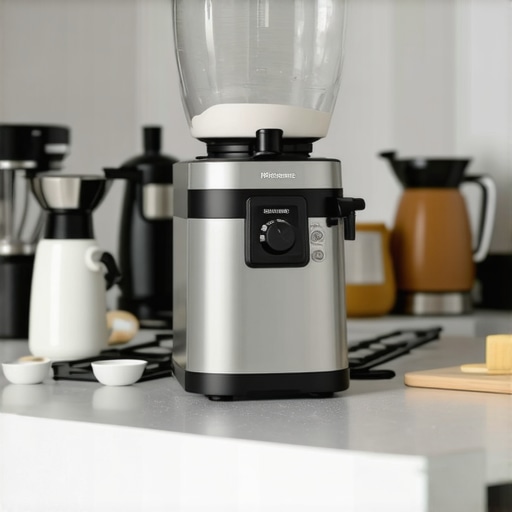
Another common oversight involves grinders. Many think that larger burrs and higher wattage mean better grind consistency. While these factors contribute, the real key is how well the grinder maintains uniform particle size throughout the dosing process. A frequently overlooked aspect is retention—residual coffee within the grinder can cause uneven dosing, leading to inconsistent shots. I recommend regularly cleaning your grinder to prevent stale grounds from contaminating fresh beans, which can dramatically improve flavor clarity.
What are the pitfalls in milk frothing that even advanced baristas often miss? For instance, many assume that higher steam pressure yields better microfoam, but over-pressurizing can actually result in large bubbles or dry, stiff foam. Mastering the steaming technique, including pitcher angle and immersion depth, is crucial for silky microfoam. Additionally, the temperature of your milk plays a subtle yet significant role; too hot and proteins denature, causing poor foam stability. A common mistake is to overlook pre-heating your pitcher, which helps achieve a consistent foam temperature.
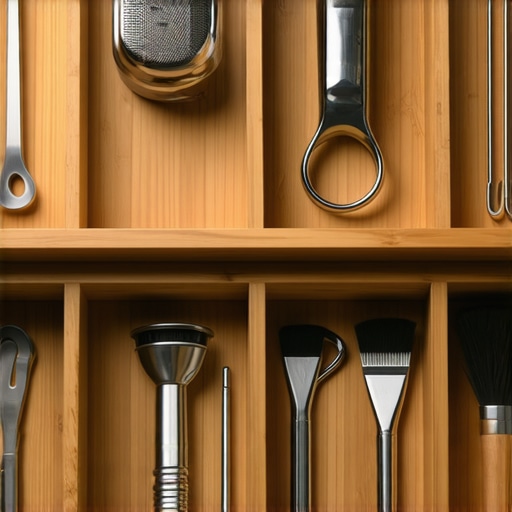
Making your coffee experience consistently excellent requires more than just good gear. Establishing a granular understanding of how each component interacts is vital—proper calibration, maintenance, and technique often outweigh equipment upgrades. Remember, a well-maintained, calibrated machine paired with refined skills produces superior shots compared to even the most advanced setup used improperly. Want to fine-tune your home espresso game? Check out our guide on [mastering the art of home espresso](https://espressotechguide.com/mastering-the-art-of-home-espresso-tips-for-beginners). And if you’re considering upgrading your gear, visit our [top-rated espresso machines](https://espressotechguide.com/top-rated-espresso-machines-for-coffee-lovers-in-2025) for expert recommendations. Have you ever fallen into this trap? Let me know in the comments.Maintaining your espresso machine and related gear is crucial for long-term performance and consistently delicious coffee. Having the right tools at hand can make all the difference in how efficiently you keep everything running smoothly. One essential item I personally swear by is a high-quality **digital thread gauge**. I use mine regularly to check the levelness of my machine on the countertop, especially after moving furniture or renovating my kitchen. Ensuring a perfectly level base prevents vibrations that lead to rattling or uneven shots, as discussed earlier. For precision adjustments, a reliable **calibrated torque wrench** is invaluable when tightening screws or replacing gaskets, preventing over-tightening that may cause leaks or damage.
Discover Hidden Lessons That Transformed My Brew Routine
One of the most profound insights I gained was realizing that the small details—like properly leveling my machine or replacing worn supports—made a world of difference in my espresso quality and peace of mind. It’s tempting to focus solely on upgrading gear, but often, personal tweaks and careful maintenance unlock the full potential of your setup. Learning to listen for subtle vibrations taught me patience and attention to detail, turning routine maintenance into an act of mindfulness that enhances every shot. These lessons reminded me that mastery isn’t just about high-end equipment but about nurturing a relationship with each component and understanding its quirks, which ultimately results in a more satisfying coffee experience.