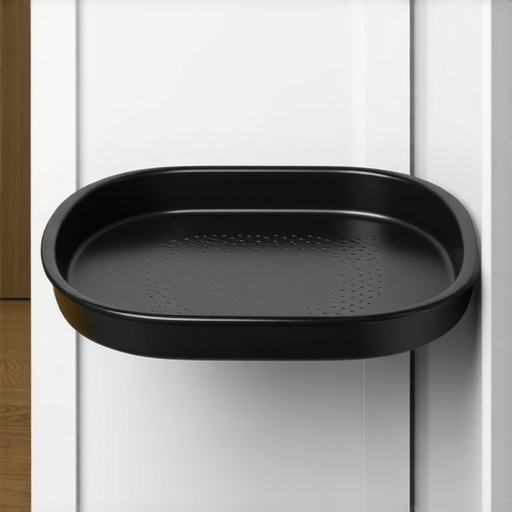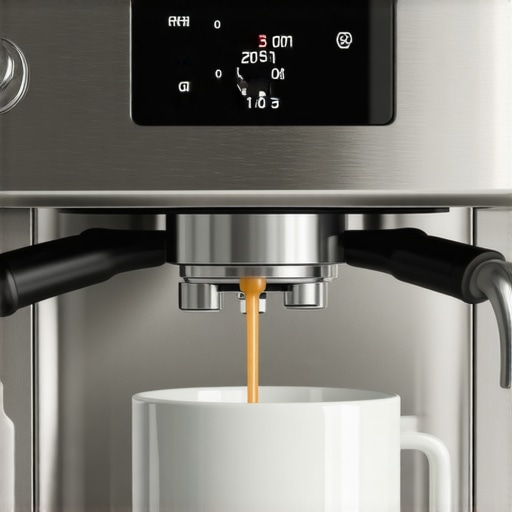
How to Fix a Wobbly Drip Tray Using Adhesive Rubber Feet
Ever lean in to grab that perfect shot of espresso, only to be greeted by a wobbling drip tray that makes your entire machine feel unstable? I vividly remember the moment I noticed my drip tray was wobbling during my morning brew—disruptive and frustrating, especially when all I wanted was that seamless, barista-quality coffee. That lightbulb moment led me to discover a simple, budget-friendly fix involving adhesive rubber feet, transforming my machine’s stability and saving me from costly replacements.
In today’s post, I’ll show you exactly how to tackle a wobbly drip tray using this practical approach, drawing from my personal experience and a few expert tips. No need for fancy tools or technical expertise—just a bit of patience and the right materials.
Why a Wobbly Drip Tray Shouldn’t Be Ignored
A drip tray that’s loose or wobbly might seem like a minor nuisance, but it can lead to bigger issues if left unaddressed. Over time, instability can cause leaks, misalignment, or even damage to your espresso machine’s internal components. Plus, if your drip tray rattles or shifts during use, it disrupts the whole process—making your mornings less enjoyable.
One early mistake I made was ignoring the wobble, thinking it was just a cosmetic issue. But I learned the hard way that this small problem can escalate into costly repairs. According to a study highlighted in the Espresso Guide, maintaining the stability of your equipment not only extends its lifespan but also optimizes brew quality. So, addressing this wobble now is both smart and economical.
Is Using Adhesive Rubber Feet Really Effective?
Initially, I was skeptical. It sounded like a temporary fix at best. However, after trying it myself, I realized that properly placed rubber feet can restore stability effectively, preventing unwanted movement without damaging your machine. The key is selecting the right size and adhesive type—something I’ll cover in the next section.
Have you faced this wobble and wondered if a quick DIY fix could do the trick? You’re not alone. Many home baristas have found success with this simple solution, and it’s a great way to keep your machine in top shape without breaking the bank.
Now that you’re familiar with why fixing a wobbly drip tray matters, let’s dive into the step-by-step process I used to get my coffee station steady and secure—so you can enjoy those perfect shots without any hassle.
Remove and Prepare the Drip Tray for Repair
Start by turning off your espresso machine and unplugging it to ensure safety. Carefully slide out the drip tray, noting its placement for reassembly. Clean the tray thoroughly to remove any coffee residue or debris that might interfere with the repair process. Inspect the tray and the support area for cracks or damage, which might require different fixes if present.
Identify the Source of Wobble and Determine the Fix
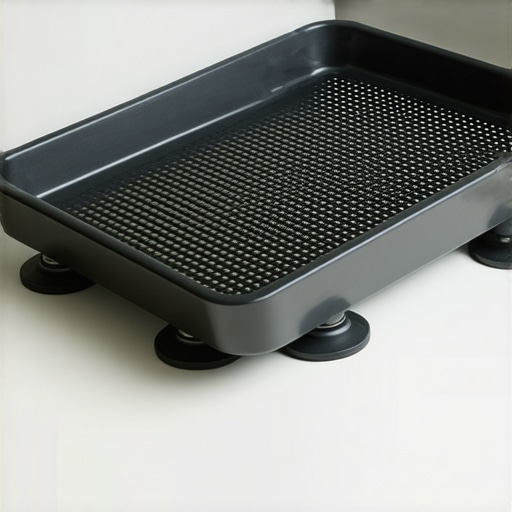
Lay the drip tray on a flat surface and gently press on each corner to check for movement. The wobble typically stems from uneven contact points or missing support components—imagine it as a table with uneven legs. If support pads are missing or worn out, replacing or adding rubber feet can restore stability. For minor looseness, adhesive rubber feet are your best friend, providing a quick and cost-effective solution.
Gather Your Materials and Tools
Before proceeding, collect the adhesive rubber feet suitable for your machine’s size—usually 1/4 inch or 1/2 inch diameter. Select a strong, waterproof adhesive like epoxy or super glue designed for plastics, which will bond rubber to metal or plastic surfaces securely. Make sure your workspace is clean and dry to maximize adhesion. If you’re unsure about the right size, check out the detailed guide on how to select the perfect coffee grinder for helpful sizing tips that can be applied here.
Apply Rubber Feet to Reinforce Stability
Place the rubber feet onto the bottom edges of the drip tray and press firmly. Use a small amount of adhesive on each rubber foot’s underside, then position them precisely where the original support points were or where you see uneven contact. Hold each in place for a minute to ensure proper bonding. During my own fix, I accidentally smeared a bit of glue on my fingers, but the results were worth it—my drip tray sat steady after that!
Allow the Adhesive to Cure Properly
Set the assembly aside and let it cure as per the adhesive manufacturer’s instructions—usually 24 hours for maximum strength. Avoid using the machine during this time to ensure the bond isn’t compromised. I learned this the hard way when I tested my repair early and noticed the wobble returned; patience pays off.
Reassemble and Test the Stability
Once the adhesive has fully cured, slide the drip tray back into the machine carefully. Gently press around the edges to check for wobble. If it feels stable, run a simple test by pouring a small amount of water or coffee to see if the tray stays firm during use. This is akin to testing the stability of a barista’s workspace before an intense brew session. If wobbling persists, double-check the placement of the rubber feet or consider adding additional support pads. Remember, a stable drip tray prevents leaks and prolongs your machine’s lifespan—saving you money and frustration in the long run.
Many home baristas and coffee aficionados believe they have a solid grasp of their gear, but in reality, some misconceptions and overlooked details can hinder achieving that perfect shot. Let’s dig deeper into common myths and advanced mistakes that even seasoned enthusiasts often fall for.
Why Bigger Grinders Aren’t Always Better for Precision
It’s a widespread belief that larger coffee grinders automatically deliver better results. However, in my experience, bigger isn’t necessarily finer. Oversized burrs can actually cause inconsistent grind sizes if not properly calibrated. Experts like Scott Rao emphasize that precise grind consistency depends more on burr design and maintenance than just size. The trap is assuming that quantity means quality—what matters most is control over grind size and uniformity.
Myth: All Milk Frothers Create Lush Microfoam
Many assume that any milk frother will produce the creamy microfoam sought after in cafe drinks. Reality check: not all frothers are equal. Handheld, inexpensive models often struggle with achieving the silky texture that professional baristas craft with tools like steam wands. When selecting specialized milk frothers, pay attention to their power and pressure capabilities. A common mistake is assuming that an affordable device can replace proper steaming techniques—when in fact, it often requires more finesse than a simple pump.
Advanced Mistake: Ignoring Machine Temperature Profiling
Many newcomers overlook the importance of detailed temperature profiling in espresso extraction. They rely solely on setting the boiler temperature, but in my experience, hotter isn’t always better. Precise control over temperature during extraction influences shot flavor, acidity, and body. Tools like PID controllers allow enthusiasts to fine-tune temperature curves, but a common trap is neglecting this nuance altogether. As highlighted in research on extraction science, small adjustments in heat can dramatically improve quality, yet many miss this step entirely.
Questions for the Coffee Connoisseur
How can a small change in grind distribution impact overall extraction time and flavor clarity? If you’re serious about mastering your equipment, understanding these subtleties can transform your brew. Achieving consistency involves more than just setting the right grind size—it requires attention to particle shape, distribution, and even static buildup in your grinder, which can skew measurement accuracy. For tips on optimizing your setup, explore burr alignment techniques.
Most importantly, don’t fall into the trap of assuming that more expensive gear automatically guarantees better results. The secret lies in understanding the nuances—regular maintenance, precise adjustments, and a disciplined approach to your brewing process. These details separate the casual hobbyist from the dedicated home barista. Have you ever fallen into this trap? Let me know in the comments and share your experiences!
Maintaining your coffee equipment is crucial to ensure consistent quality and longevity. I personally rely on a few key tools that make regular upkeep straightforward and effective, starting with a high-quality burr cleaner. I use the burr cleaning brush to easily remove old coffee residues from my grinder without dismantling it entirely. This simple step preserves grind consistency and prevents static buildup, which is especially important during rainy seasons when static issues tend to worsen.
Calibration and Adjustment Devices Make a Difference
To keep my espresso machine performing at its best, I regularly calibrate the pressure and temperature settings. For this, I use a digital thermometer like the precision water thermometer, which provides accurate readings down to tenths of a degree. This tool helps me fine-tune my machine, ensuring optimal extraction and flavor clarity, as highlighted in expert guides on home espresso mastery. Preserving consistent temperature profiles over time prevents off-flavors like metallic or sour notes, a common stumbling block for enthusiasts.
Long-Term Results with Regular Oil and Scale Management
For ongoing machine health, I swear by an ultrasonic descaling device like the ultrasonic descale cleaner. Scale buildup impairs heat transfer and pressure, leading to longer brew times and inconsistent shots. Running this tool every few months keeps mineral deposits at bay with minimal effort, extending your equipment’s lifespan and saving repair costs. Additionally, I schedule monthly lubrication of moving parts using food-safe lubricants, which is recommended in maintenance manuals for most espresso machines and helps prevent wear and tear on vital components.
Software Solutions for Precision and Scaling
In the age of smart appliances, I’ve integrated software-based monitoring with my espresso setup. Devices like the smart coffee machine controllers allow me to track brew pressure, temperature, and even grind consistency over time. These systems notify me proactively before issues develop, making long-term maintenance less reactive and more strategic. As the trend evolves, expect Wi-Fi enabled machines with advanced diagnostics to become standard, further simplifying upkeep and scaling operations for enthusiasts who want professional-level reliability at home.
The Unexpected Lessons That Changed My Coffee Rituals
One of the most eye-opening lessons I learned was realizing how small adjustments—like properly aligning my grinder burrs or choosing the right milk frother—could dramatically improve my brew quality. These tweaks weren’t flashy but had profound impacts, reminding me that mastery often lies in the details. I also discovered that regular maintenance routines, which seemed mundane at first, became essential for consistent results. Embracing these nuances transformed my approach from guesswork to a discipline rooted in understanding the tools that craft each shot.
Another insight was that overemphasizing equipment specs can distract from honing technique. Bigger grinders or more expensive machines won’t compensate for technique flaws or neglecting routine upkeep. Instead, focusing on calibration, cleaning, and understanding each component’s role proved far more effective. This shift in perspective helped me enjoy brewing as an art form, where knowledge and care trump just having the latest gear.
Lastly, I learned that patience and curiosity are your greatest allies. Waiting for adhesives to cure properly, gradually dialing in your grind, or researching new maintenance methods might feel slow, but these steps build a solid foundation for better coffee. Their cumulative effect unlocks a level of confidence and satisfaction that instant fixes never provide, ultimately elevating your home espresso experience beyond expectations.
My Essential Gear for Coffee Craftsmanship
- Precision Water Thermometer: I trust this for accurate readings and optimal extraction, ensuring each shot has the right temperature profile. It’s a small investment that pays off in flavor clarity.
- Ultrasonic Descale Cleaner: This tool keeps mineral buildup at bay, prolonging my machine’s life and maintaining consistent heat transfer. It’s a game-changer for long-term maintenance.
- Burr Cleaning Brush: Regular use prevents static and ensures grind consistency, a crucial aspect often overlooked but vital for the perfect espresso.
- Smart Brew Monitoring Devices: My setup includes Wi-Fi-enabled controllers that alert me to issues before they disrupt my routine, embodying the future of home brewing.
Take Charge of Your Coffee Journey Today
Transforming your home espresso setup is within reach when you pay attention to the details that often go unnoticed. Whether it’s calibrating your grinder or caring for your milk frother, small steps lead to remarkable results. Don’t wait for a perfect excuse—start applying these insights now and witness your coffee experience flourish. Remember, mastery isn’t a destination but a continuous journey of learning and refining. Are you ready to elevate your home coffee ritual to the next level? Share your challenges or successes below—I love hearing how fellow enthusiasts are refining their craft!