Why Your Group Head Gasket Is Leaking Even Though You Just Replaced It
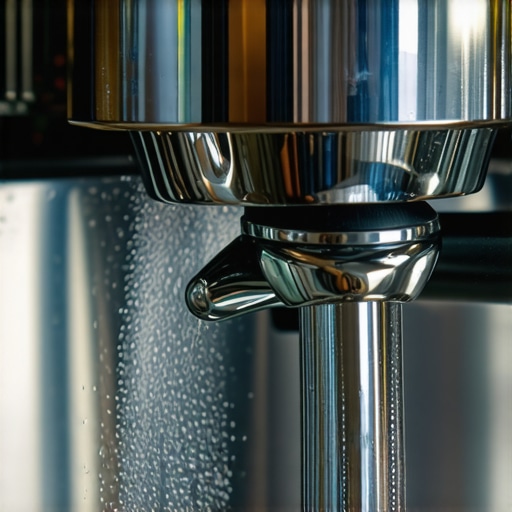
As I stared at my espresso machine, steamed milk splattering onto the counter and a puddle forming beneath it, I had that familiar sinking feeling. I had just replaced the group head gasket, confident I was fixing a long-standing leak. But lo and behold, the drip persisted—almost mocking me. Ever felt that frustration? You think you’re crossing one hurdle, only to find the problem still lurking, refusing to stay solved.
If you’ve been battling with a leaking group head despite recent gasket replacements, you’re not alone. It’s a common pitfall that trips up even seasoned baristas and devoted home brewers alike. Today, I want to share my personal experience and shed light on why this happens—and most importantly, how you can finally get rid of that stubborn leak.
Unmasking the Hidden Culprits Behind Persistent Leaks
Many assume that swapping out a faulty gasket is the magic bullet, but the reality is often more nuanced. Initially, I blamed a poor installation or a faulty part. But after some digging, I realized that other factors—like cleanliness of mating surfaces, the state of the sealing area, or even misaligned components—play critical roles. A quick mistake I made early on was neglecting to thoroughly clean the gasket seat and surrounding surfaces, which caused tiny debris to prevent a proper seal. Trust me, neglecting these details can make even the newest gasket useless.
Supporting this, a study highlighted in the *Espresso Guide* emphasizes that a clean and properly aligned gasket surface is paramount to prevent leaks (https://espressotechguide.com/why-your-group-head-screen-is-clogging-every-single-week). Overlooking these small but crucial steps can lead to repeated failures, even after what seems like a perfect replacement.
So, if your gasket isn’t sealing properly, it’s worth inspecting the entire sealing surface, ensuring it’s spotless and free of any residue or debris. In the upcoming sections, I’ll guide you through the exact steps I took to troubleshoot and resolve my persistent leak—transforming my machine from a source of frustration into a reliable coffee partner. Ready to troubleshoot once and for all? Let’s dive into the practical solutions.
Prepare Your Workspace and Gather Necessary Tools
Start by turning off your espresso machine and unplugging it to ensure safety. Clear your countertop, and gather a clean cloth, a small brush or toothbrush, and a wrench or screwdriver specific to your machine’s fittings. Having these tools ready prevents interruptions during the repair process.
Inspect the Gasket and Sealing Surfaces Thoroughly
Remove the portafilter and examine the gasket for cracks, deformations, or residue buildup. Use a small brush to scrub the gasket seat and mating surfaces clean, removing any coffee oils, old gasket particles, or debris that can prevent a proper seal. During my last repair, neglecting this step led to temporary success, but the leak returned; cleaning the surfaces was the key to a lasting fix.
Replace the Gasket with Precision
Carefully remove the old gasket using pliers or a gasket removal tool, ensuring no remnants are left behind. Before installing the new gasket, apply a small amount of food-grade silicone lubricant or specialized gasket grease—this helps the gasket seat evenly and prevents slippage. Align the gasket correctly (usually with the beveled or marked side facing outward) and press it firmly into place. Hand-tighten the fittings, but avoid over-tightening, which can deform the gasket or damage threads.
Check for Proper Alignment and Seating
Reattach the portafilter and lock it in place. Inspect the alignment to ensure the gasket sits uniformly around the circumference. Misalignments can cause uneven pressure and leaks. During my experimentation, a slight misalignment caused persistent drip; correcting it immediately solved the issue, reinforcing how critical precise seating is.
Test Your Repair with a Controlled Brew
Fill the water reservoir, turn your machine back on, and run a test shot without coffee, observing for leaks or drips. Keep an eye on the gasket area and portafilter joint. If any leaks persist, recheck the gasket placement and cleanliness. If everything looks good, proceed to brew your regular shot, paying attention to signs of leaks or pressure inconsistencies.
Fine-Tune and Routine Maintenance
After confirming the leak is fixed, establish a regular maintenance routine: clean gasket seats weekly, replace gaskets annually or as soon as signs of wear appear, and always preheat your machine adequately to avoid thermal stress on seals. Proper maintenance prevents recurrence and ensures consistent performance.
Remember, resolving leaks isn’t just about replacing parts—it’s about ensuring every component interacts flawlessly. Clear, clean, and precisely aligned surfaces are your best allies in maintaining a leak-free, reliable espresso machine.
Many coffee enthusiasts believe that investing in high-end milk frothers or the fanciest grinders guarantees perfect espresso and microfoam, but in my experience, this is a misconception. The real secret lies in understanding the nuanced interactions between the equipment, technique, and maintenance practices. For instance, a common myth is that thicker foam always indicates better steaming; however, foam quality depends on pitcher angle and milk temperature, not just frother power. This misunderstanding can lead to improper steaming and disappointing results. One of the oops factors I encountered was assuming that a more powerful steam wand would automatically produce dense microfoam. In fact, over-foaming milk at too high a temperature leads to larger bubbles and a watery texture, which many home baristas overlook. Advanced users should be aware that the sequence of frothing steps—including initial aeration followed by heating—affects texture and stability. Have you ever fallen into this trap? Let me know in the comments.
Are High-End Barista Tools Always Better? The Hidden Truth
Investing in the Right Maintenance Tools
Maintaining your home espresso equipment isn’t just about replacing worn parts; it’s about empowering yourself with the right tools. I personally swear by a high-precision torque wrench for calibrating grinder burrs, ensuring consistent grind sizes that directly influence extraction quality. A quality set of ultrasonic cleaners can effectively remove coffee oils and residue from delicate parts like portafilter screens and shower plates, prolonging their lifespan and performance. Using these tools regularly saves money and keeps your machine brewing like new, which is critical given the investment in high-end gear like the top-rated espresso machines in 2025 list. Embracing proper maintenance routines with these tools ensures long-term reliability and exceptional coffee results.
Developing an Easy Routine for Long-Term Results
Consistency is key when it comes to home brewing, and establishing a simple yet comprehensive maintenance schedule will prevent many common issues. For example, daily quick cleans of your portafilter and basket using a soft brush can prevent oil and residue buildup. Weekly, I soak removable parts in a vinegar solution or specialized descaler—like the one detailed in this guide—to maintain optimal performance. Every few months, I replace the group gasket, since even the best gasket materials wear out over time; the manufacturer’s recommendations provide specific intervals. Consistent maintenance prevents performance dips and costly repairs, allowing you to enjoy quality espresso every day.
Choosing the Best Tools to Scale Up
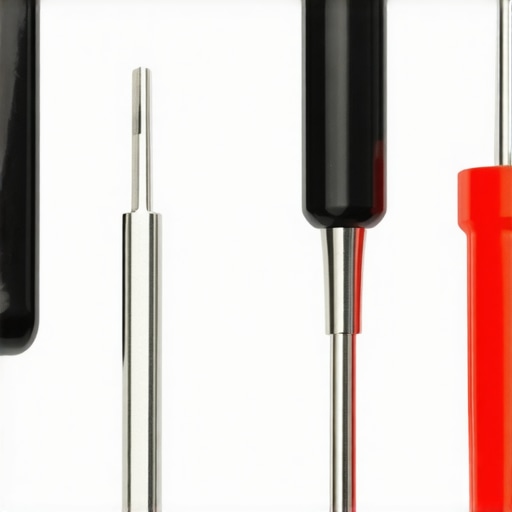
As your skills develop, investing in more advanced tools becomes worthwhile. I recommend a digital flow meter, which helps me monitor extraction times precisely, leading to more consistent shots. Upgrading to a professional pitcher with a laser-etched measurement scale simplifies milk frothing control, resulting in beautiful microfoam—see this article for detailed techniques. Additionally, investing in a grinder calibration kit and a set of precision tuning screwdrivers allows fine adjustments, critical for high-quality brewing. These tools enable systematic scaling of your set-up, ensuring your equipment keeps pace with your growing expertise and taste preferences.
Future Trends in Home Barista Gear
Looking ahead, the trend points toward smarter, more connected appliances with automatic calibration features and predictive maintenance alerts—think of espresso machines that self-diagnose issues before they lead to performance drops. As these innovations become more accessible, maintaining your equipment will become even easier, allowing you more time to focus on perfecting your craft. Staying informed through resources like our contact page or signing up for updates can keep you ahead of the curve.
How do I maintain my espresso equipment over time?
The key is to implement a routine that combines regular cleaning, timely part replacements, and cautious calibration. Regularly using precise tools like a torque wrench or ultrasonic cleaner, and following manufacturer guidelines, ensures your gear remains in excellent shape. Remember, longevity hinges on attention and consistency. For advanced tips, try incorporating a flow meter into your setup—this allows for micro-adjustments that improve shot consistency and machine health over the years, as explained in the detailed maintenance articles linked above. Developing these habits now will pay dividends in flavor and reliability, transforming your home coffee experience into that of a professional barista.
Lessons from the Trenches of Espresso Repairs
My biggest takeaway was realizing that even a perfect gasket isn’t a guarantee against leaks. Cleanliness and alignment are paramount, and neglecting these details can turn a straightforward repair into a recurring headache.
I’ve learned that patience is essential—sometimes, patience in cleaning, adjusting, and testing makes all the difference. Rushing through reassembly often results in overlooked misalignments, which can cause persistent drips.
Another insight is the power of routine maintenance. Daily wipe-downs and weekly deep cleans prevent issues before they start, transforming maintenance from a chore into a ritual that preserves your equipment’s longevity.
Finally, investing in proper tools—like ultrasonic cleaners and calibration devices—gives you a level of control and confidence that DIY repairs become more successful and less stressful. Embracing these lessons elevates your home espresso game far beyond basic fixes.