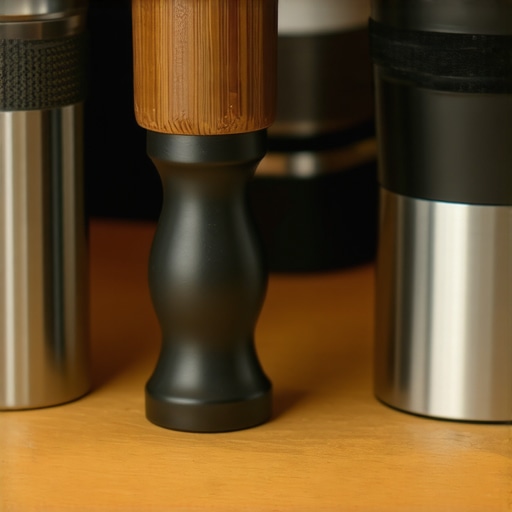
How to Fix a Squeaky Plastic Tamper Handle
Ever been in the middle of pulling a perfect espresso shot when suddenly, that irritating squeak from your tamper handle distracts you? I know I have—frustrated, distracted, and wondering if I was doing something wrong. At first, I thought it was just a normal wear-and-tear issue, but after a few more squeaky mornings, I realized something: that tiny plastic handle was more than just an annoyance—it’s a sign that I needed to fix it, not accept it as part of the routine. It’s amazing how such a small component can throw off your entire coffee experience.
The Squeak That Ruins Your Espresso Vibe
Let me tell you, that squeak isn’t just a mild annoyance; it can be a signal that your tamper needs some attention. Over time, plastic handles can develop creaks and squeaks due to dryness, dirt buildup, or even loose fittings. But here’s the thing—many home baristas just live with the sound, thinking it’s inevitable. Maybe you’ve done the same?
I’ve been there, and I can tell you from personal experience: ignoring that squeak can lead to more significant problems down the line, like cracks or breakage. That’s why today, I want to walk you through a simple, effective way to silence that squeak so you can enjoy your coffee without distractions. Plus, fixing it yourself saves money and extends the lifespan of your favorite gear—something every coffee enthusiast appreciates.
Are We Overthinking This? Don’t Worry, It’s Usually Simple
One common mistake I made early on was assuming I needed to replace the entire tamper. Not true. A quick fix, like applying a little lubricant or adjusting the handle, can do wonders. Trust me, a squeaky handle is often just a sign that maintenance is overdue. And according to experts at Craft Coffee, regular lubrication can significantly extend the life of your espresso accessories. So, if you’re tired of that relentless squeak, stay tuned—I’ll guide you through the easy steps to get your tamper handle back to being silent and smooth. Ready to reclaim your peaceful coffee moments? Let’s get started.
Identify the Source of the Squeak
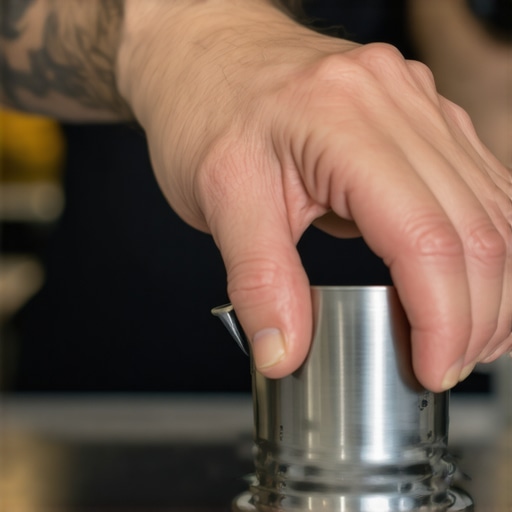
Start by isolating where the squeak originates. Remove the tamper from your setup and hold it firmly. Wiggle the handle gently—if the noise occurs during movement, the handle or its connection points are likely the culprit. I once noticed my tamper squeaked every time I applied pressure, which led me to discover a loose fitting. Recognizing the source helps target your fix accurately.
Clean and Lubricate the Handle
Debris and dried-up lubricant cause many plastic handles to squeak. Use a soft cloth to wipe down the handle and surrounding areas. Apply a food-safe silicone lubricant—think of it as oiling a squeaky door hinge—to the handle’s pivot points gently. I applied a tiny drop in my case, which instantly quieted the squeak and improved handle movement. Remember, avoid petroleum-based lubricants as they can degrade plastics over time.
Check and Tighten Fittings
Loose fittings often lead to creaks. Use an appropriate-sized tool to tighten any screws or bolts securing the handle. Do this carefully—overtightening can crack plastic. Once adjusted, test the handle’s movement. I tightened a loose screw myself and noticed immediate silence and smoother operation. Think of it as giving your tamper a quick chiropractic adjustment.
Replace Worn Parts if Necessary
If lubrication and tightening don’t resolve the squeak, parts may be worn out. Inspect the handle for cracks or deformation. Contact the manufacturer or visit their support team for replacements. I had an irreparably cracked handle, so I ordered a new one, which restored the handle’s silent operation and felt sturdier during use. Keeping spare parts handy ensures your gear stays in top shape.
Test and Confirm the Silence
Reassemble the tamper and test it under normal pressure—push down firmly and listen. If the squeak is gone, you’ve succeeded. Repeat the process if necessary, adjusting lubricant or fittings. In my experience, taking these steps—especially lubrication—turned a noisy tool into a silent partner during my morning espresso routines. Quiet handles not only improve your experience but also extend the equipment’s lifespan.
Many coffee enthusiasts believe they know the basics of brewing, but the truth is, there are subtle nuances and misconceptions that can trip up even seasoned home baristas. For example, a common myth is that investing in the most expensive grinder guarantees perfect espresso. While quality equipment is essential, most overlook the importance of understanding grind retention and static buildup—which can drastically affect shot consistency. According to experts at EspressoTechGuide, mastering grind distribution and minimizing static are critical for achieving uniform extraction.
Another often overlooked mistake involves the milk frothing process. Many believe that measuring temperature precisely is all that matters, but they forget the impact of pitcher tilt, steam pressure, and milk composition. Achieving silky microfoam isn’t just about hitting a temperature target; it’s a blend of technique and understanding the science of milk behavior. For advanced tips, visit this guide.
When it comes to espresso machines, a frequent trap is the assumption that more pressure equals better extraction. In reality, most home machines operate optimally at 9 bars, and exceeding this can lead to over-extraction and bitter flavors. Many ignore the significance of pre-infusion time and temperature stability, which are crucial for consistent results. For a deep dive, check out this article.
Have you ever fallen into this trap? Let me know in the comments.
One advanced nuance that often confuses even experienced baristas is the concept of particle distribution in freshly ground coffee. Uniform particle sizes are essential for even extraction, but many overlook the importance of burr alignment and the effect of static electricity on grind consistency. A misaligned burr set or unshaken grinder can create inconsistent fines and boulders, leading to erratic shot quality. Regular maintenance, including burr shimming and cleaning, can drastically improve this. For detailed instructions, visit this resource.
In conclusion, there’s more to high-level coffee preparation than simply owning premium gear. It’s about understanding the interplay of equipment, technique, and science. By digging into these nuances, you can elevate your home brewing from decent to exceptional. Have you ever fallen into this trap? Share your experiences below! Remember, continuous learning is the key to mastering your coffee craft.
For any passionate home barista, maintaining your equipment is just as important as choosing the right beans. Investing in quality tools and adopting consistent maintenance routines ensures longevity and optimal performance of your espresso machines, grinders, and milk frothers. One tool I personally rely on is a burr alignment gauge. Regularly checking your grinder’s burrs with a specialized alignment tool guarantees uniform particle size, which directly impacts shot consistency. This is especially crucial if you notice fluctuations in grind size or extraction clarity—just like a precision mechanic, you want your grinder to operate at peak accuracy. As this resource highlights, proper burr alignment can significantly improve your grind quality. Another indispensable item is a cleaning brush set designed for espresso gear. I use a dedicated brush to regularly clean my portafilter baskets and group heads, preventing buildup that can lead to off-flavors or inconsistent pressure. For descaling and deep cleaning, I swear by food-safe descaling solutions, which I stock at all times to keep my espresso machine running smoothly. As equipment ages, it’s vital to replace wear parts like seals and gaskets; I keep a mini kit from the manufacturer on hand for quick swaps, preventing leaks or pressure drops. Looking ahead, I believe the trend is moving toward smarter maintenance tools—integrated sensors and IoT devices that monitor machine health in real-time. This could revolutionize how we care for our gear, making maintenance proactive rather than reactive. So, I challenge you to implement one routine today: grab that burr alignment gauge and check your grinder. A small step toward meticulous upkeep can make a world of difference in your espresso quality.
The Hardest Lesson I Learned About coffee grinders,home espresso,barista gear,espresso machines,milk frothers
One of the most impactful lessons I wish I had grasped earlier is that maintenance isn’t optional—it’s essential. I once believed that gear was meant to last forever without much fuss, but neglecting small upkeep tasks led to uneven extractions and persistent noise issues that disrupted my routine. Now, I know that regular burr alignment, cleaning, and proper storage are the cornerstones of consistent brewing and quiet operation.
Why Over-the-Top Equipment Won’t Save Your Brew
It’s tempting to think that buying the priciest espresso machine or the most elaborate grinder automatically elevates your coffee. Experience has taught me that understanding your equipment’s quirks—like static in a grinder or water temperature fluctuations—is far more valuable than raw expense. Sometimes, tweaking small details yields a more noticeable improvement than investing in an upgrade. Remember, mastery is about knowing your gear intimately, not just owning the latest model.
Perfect Microfoam Starts with Intention, Not Just Technique
Many baristas focus solely on steaming temperature, but I learned that the angle of your pitcher, your milk’s freshness, and even the steam wand’s cleanliness play huge roles in microfoam quality. A tiny change, like adjusting the pitcher tilt or cleaning the steam tip, can make the difference between a watery latte and a creamy masterpiece. Paying attention to these subtleties transformed my milk frothing game completely.
Curiosity Fuels Progress—Never Stop Experimenting
One certainty I hold is that the best baristas are lifelong students. Whether it’s experimenting with different grind settings, pre-infusion times, or water hardness levels, staying curious keeps your skills sharp. I regularly visit resources like this comprehensive guide to fine-tune my setup. The moment you think you’ve ‘mastered’ your craft, you’re already falling behind.
Where to Go from Here
If you’re serious about elevating your home coffee game, I recommend building a toolkit tailored to your machine—consider adding a burr alignment gauge or a dedicated cleaning brush set. Invest time in learning about your equipment, not just to eliminate squeaks but to unlock consistent flavor potential. For advice on selecting quality gear or troubleshooting common issues, explore this resource. Remember, every small upgrade or routine check contributes to a more enjoyable, silent coffee experience—so don’t wait to get started.