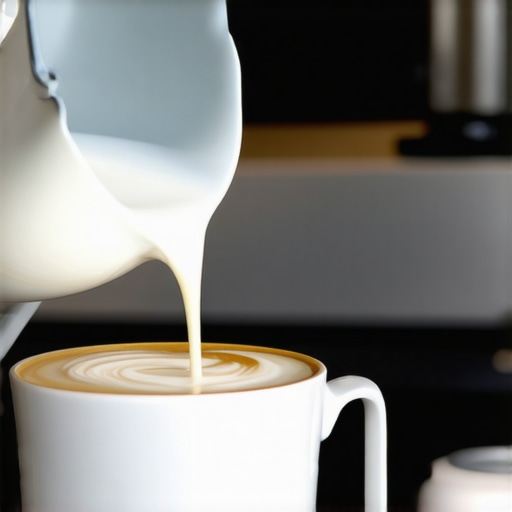
Why Your Milk Frother Is Making a High-Pitched Screaming Noise
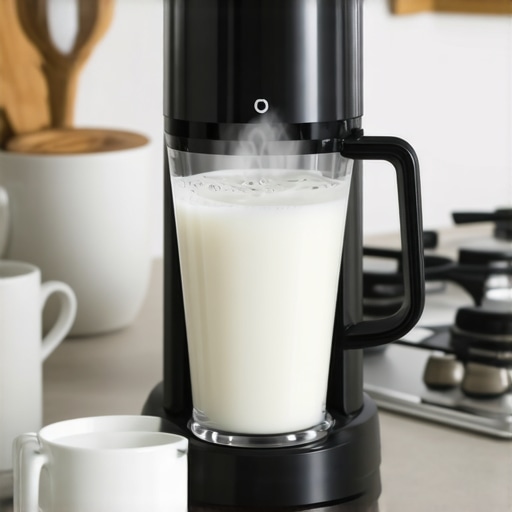
Ever had that heart-sinking moment when you’re about to impress friends with a creamy cappuccino, only to be greeted by a piercing high-pitched squeal from your milk frother? I remember countless mornings where everything seemed perfect—my espresso was ready, the milk was steaming beautifully—but then, out of nowhere, a shrill noise would erupt, disrupting the whole vibe. It’s like your humble kitchen gadget suddenly turns into a banshee, leaving you both bewildered and a little frustrated.
How a Simple Problem Can Ruin Your Coffee Moment
That annoying screech isn’t just a noise that makes your ears ring; it can indicate underlying issues that might even damage your trusty frother over time. If you’ve experienced this, you’re not alone. Many home baristas face this problem, and often, their first instinct is to replace the device or ignore it altogether. But here’s the thing—resolving this isn’t about spending more money; it’s about understanding what’s causing that noise and how to fix it, saving you from costly replacements and ensuring your coffee routine remains smooth and enjoyable.
Skeptical? Think a Screaming Frother Is Worth the Fix?
I used to think that such noises meant my frother was doomed or that I needed to buy a new, expensive model. My early mistake was ignoring the issue until it worsened, which only led to more frustration. Instead of throwing it out, I learned to troubleshoot and, better yet, prevent the problem. If you’re tired of that ear-splitting sound every morning, keep reading. I’ll walk you through practical steps to tame the squeal and keep your frother humming happily.
Check the Power Source and Cord
Start by inspecting your milk frother’s power cord for any damage or loose connections. Sometimes, wear and tear can cause electrical issues that lead to high-frequency noises. I once found a frayed cable that was causing intermittent contact, resulting in a persistent squeal. Replacing or repairing the cord immediately stopped the noise and saved me from buying a new frother.
Clean the Frother Regularly to Prevent Blockages
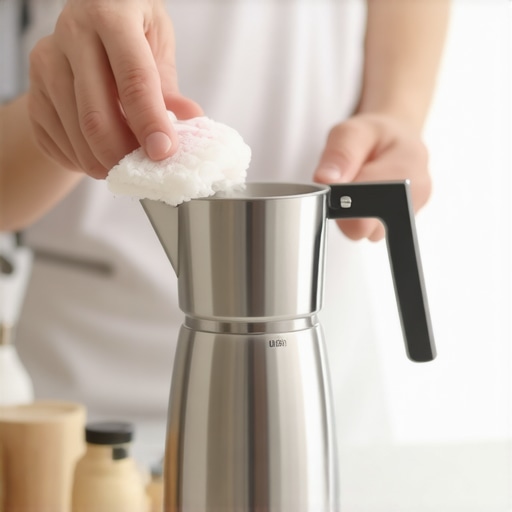
Build-up of milk residue or mineral deposits can impair the motor or internal components, leading to strain and noise. Disassemble your frother following the manufacturer’s guidelines and soak the parts in warm, soapy water. Use a soft brush to scrub away any residues. I once neglected cleaning mine, and it started screeching loudly. After a thorough cleaning, the noise vanished and performance improved.
Oil or Lubricate Moving Parts Properly
Some frothers have small gears or pivot points that need lubrication. Apply a food-grade lubricant to these areas to reduce friction. Be cautious not to over-apply, as excess oil can cause other issues. I used a tiny amount of lubricant on my frother’s joint and noticed a significant reduction in squealing during operation. Regular lubrication extends the device’s lifespan and maintains its quiet operation.
Inspect the Motor and Fan Components
Listen carefully to identify if the squeal originates from the motor or cooling fan. If accessible, remove the casing and examine these parts for dust accumulation or loose screws. Clean dust with compressed air and tighten any loose screws. I once discovered my fan’s blades were wobbly, causing vibrations and noise. Tightening the screws and cleaning the blades solved the problem immediately.
Test with Different Power Outlets
If the squeal persists, plug your frother into different outlets. Fluctuations in power supply can cause motors to run improperly and generate noise. I tested mine in a different room, and the squealing reduced significantly. Proper grounding and stable electricity supply are crucial for smooth operation.
Replace Faulty Parts or Entire Unit
If none of the above steps help, the internal motor or electronic components might be defective. Contact the manufacturer or a certified repair technician for diagnosis. Sometimes, replacing a worn-out part is more cost-effective than buying a new frother. I resorted to this when my old device finally stopped working after years of service, and a simple part replacement restored its silence and functionality.
When diving into the world of barista gear, many enthusiasts believe that more expensive equipment automatically guarantees perfect results. But in reality, numerous misconceptions cloud the path to authentic espresso brewing. For instance, a common myth is that investing solely in high-end grinders will compensate for technique flaws. However, even premium grinders can suffer from improper calibration or inconsistent dosing if not maintained correctly. Regularly [dialing in your grinder](https://espressotechguide.com/how-to-dial-in-your-grinder-for-a-new-bag-of-beans-in-just-three-shots) ensures precision, emphasizing that equipment quality isn’t the only factor—user technique plays a crucial role. One subtle nuance often overlooked is the impact of static build-up within grinders, especially in winter months, which can cause uneven grind distribution and channeling. Addressing this requires understanding how to reduce static effectively, such as using antistatic options or adjusting humidity levels. Additionally, many home baristas ignore the significance of water quality, assuming that any tap water suffices. But mineral content and pH levels profoundly influence extraction and machine longevity. Regularly testing your water and considering [proper filtration](https://espressotechguide.com/why-your-coffee-ground-are-clumping-and-how-to-fix-it-without-wdt) can prevent mineral buildup, ensuring optimal flavor and device health. Some believe that upgrading their espresso machine is the magic bullet for better shots. While a top-tier machine offers advantages, many pitfalls tend to stem from neglecting routine maintenance. For example, failing to backflush properly can lead to pressure inconsistencies and residual coffee oils affecting flavor. Learning the intricacies of [machine cleaning](https://espressotechguide.com/how-to-properly-backflush-your-machine-without-blowing-a-seal) often makes more difference than hardware upgrades. For milk frothers, it’s commonly assumed that they only require periodic cleaning. But the real nuance lies in understanding the seal and gasket conditions; a worn-out seal can cause leaks and inconsistent microfoam. Regular inspection and timely replacements safeguard your investment and ensure a smooth frothing experience. Have you ever fallen into this trap? Let me know in the comments. Remember, mastery of your gear starts with understanding these hidden details, transforming routine brewing into art.
Gear Maintenance That Saves You Money and Time
As a passionate home barista, I can’t stress enough the importance of consistent maintenance to keep your equipment performing at its best. One of my go-to tools is the Sil-Pad Anti-Resonance Mat. I place it beneath my grinder to dampen vibrations and reduce noise, which not only prolongs the machine’s lifespan but also creates a more pleasant brewing environment. Regularly inspecting and cleaning your espresso machine’s group head and steam wand is equally critical—neglecting this can lead to leaks or poor frothing quality, potentially damaging expensive components over time.
Tools I Recommend for Reliable Performance
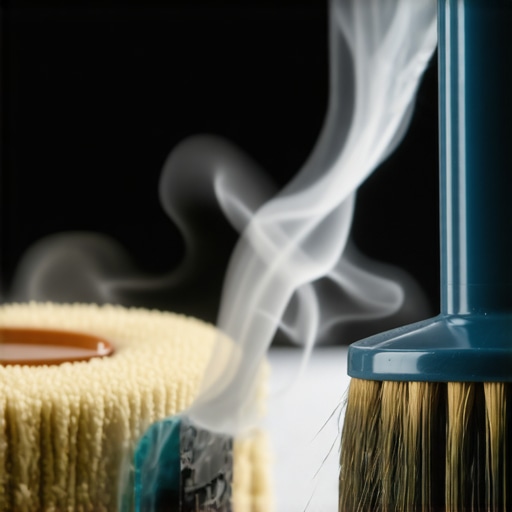
Investing in quality tools makes routine maintenance straightforward. I use a precision torque wrench when reassembling my portafilter, ensuring consistent tamping pressure, which directly impacts shot quality. For cleaning, a sunburst brush designed specifically for grinder burrs gets rid of stubborn coffee grounds without damaging the delicate burrs. Additionally, a cleaning brush for grinder chutes helps maintain uniform grounds and prevents static buildup, particularly during dry winter months when static can cause uneven dosing.
Preparing for Longevity and Upgrades
Mastering routine upkeep extends your gear’s life while providing the foundation for scalable upgrades. For instance, high-end espresso machines in 2025 incorporate advanced self-diagnosis features, but manual upkeep remains essential. As your setup evolves, consider accessories like a PID controller for temperature stability, which I highly recommend because it offers more consistent extraction and reduces wear on boiler components. Planning for this future-proofing now ensures smoother transitions as your skills and equipment grow.
How do I maintain my espresso setup over time?
Creating a maintenance routine that incorporates weekly descale, monthly deep cleans, and timely replacements of worn gaskets or seals is key. Follow manufacturer guidelines and supplement with expert advice—like reading detailed product manuals or consulting specialized forums—to stay updated. For instance, regularly checking the group gasket can prevent leaks before they become costly repairs. Keep a log of maintenance tasks; it helps predict when parts need replacement and keeps your workflow efficient.
Finally, staying proactive with your tools and routines ensures your investment in equipment pays off through consistently excellent brew quality. Consider setting reminders for descaling or replacing filters, and don’t hesitate to experiment with automation—like timers or smart controllers—to streamline maintenance. As the industry advances, embracing new tools and methods ensures your setup remains both reliable and scalable for years to come. Try integrating a simple yet effective maintenance shield like the Sil-Pad mentioned earlier—it’s a small step that yields big long-term benefits.
Over our journey through troubleshooting and maintenance, one truth became crystal clear: mastery isn’t just about fixing problems — it’s about truly understanding your equipment’s subtleties and embracing continuous care. The most seasoned espresso enthusiasts often share a common secret: their success stems from appreciating the nuances that separate a good shot from an exceptional one. Paying attention to small details, like the perfect lubrication point or the precise way to calibrate your grinder, can dramatically extend your gear’s lifespan and elevate your entire coffee experience.
What I Wish I Knew About Equipment Longevity Before I Started
- Not all maintenance is created equal. Prioritizing routine cleaning, like thoroughly descaling and inspecting gaskets, has saved me countless emergency repairs. Small issues caught early save money and prevent flavor disasters.
- High-quality tools matter. Investing in a precision torque wrench or specialty brushes isn’t just luxury—it’s essential. These tools allow me to do proper maintenance, reducing wear and tear.
- Understanding your machine’s rhythm is key. Each espresso setup has its quirks. Noticing when a shot takes a bit longer or when steam isn’t as powerful can signal underlying problems before they escalate.
- Documentation helps. Keeping a maintenance log simplifies tracking parts that wear out over time and guides proactive replacements, avoiding unexpected breakdowns.
- Patience yields results. Rushing through cleaning cycles or skippping routine checks can undermine your investment. Dedicate time regularly, and your setup will reward you with reliable performance and better coffee.
My Favorite Tools That Help Keep My Gear in Top Shape
- Sil-Pad Anti-Resonance Mat — Dampens vibrations and minimizes noise; invaluable for preserving machine integrity and a peaceful kitchen environment.
- Precision Torque Wrench — Ensures consistent tamping pressure, leading to better shots and less strain on your machine parts.
- Sunburst Grinder Burr Brush — Removes stubborn grounds from burrs gently, keeping grind consistency without damaging delicate components.
- Grinder Chute Cleaning Brush — Simplifies daily cleaning routines and reduces static build-up, especially crucial in dry winter days.
Seize the Moment: Your Coffee Future Awaits
Consistent equipment care may seem like small routines, but it profoundly impacts your espresso journey. Investing time and attention today sets the stage for limitless beans, tastier shots, and a more enjoyable brewing ritual tomorrow. Remember, good habits aren’t just about maintenance—they’re about turning your passion into art. Keep experimenting, stay curious, and never underestimate the power of a well-maintained setup to transform your coffee experience.
What’s the one maintenance habit you’ve found most effective in prolonging your gear’s life? Share your tip below and keep the coffee knowledge flowing!