How to Inspect Your Group Gasket for Hidden Cracks
I remember the moment vividly—my first homemade espresso shot turned into a disaster. The crema was gone, the shot was bitter, and I felt genuinely stumped. Then I realized it might be my group gasket hiding cracks, invisible to the naked eye but capable of throwing off my whole coffee routine. It was a lightbulb moment—ever had that feeling when something seemingly minor sabotages your perfect brew?
Why Inspecting Your Group Gasket Could Save Your Coffee
As passionate coffee enthusiasts, we all want that flawless shot, right? Yet, many overlook one tiny but crucial component—the group gasket. This rubber ring seals the connection between the brewing group and the portafilter. Over time, it can develop tiny cracks or deform, leading to leaks, uneven pressure, and ultimately, subpar espresso.
Think of it like a tire valve—if it’s compromised, your pressure can’t build correctly, and your coffee suffers. But here’s the kicker: cracks can be microscopic, making detection tricky without a proper inspection. That’s where knowing how to spot hidden cracks becomes a game-changer.
According to barista experts, regular gasket checks are essential for maintaining consistent espresso quality and prolonging your machine’s lifespan[^1]. Skipping this step might seem minor, but it’s a rookie mistake that can cost you big time—both in taste and in unnecessary repairs.
Have I faced this problem myself? Absolutely. A cracked gasket subtly altered my brewing process, and I only caught it after I learned the right inspection techniques. Don’t wait for a leak or poor shot to realize your gasket needs attention. Instead, take a proactive approach and get acquainted with how to examine this tiny rubber ring carefully.
But how do you differentiate between a simple dirty gasket and one with cracks? That’s exactly what I’ll show you next. Stay tuned—your next perfect espresso might depend on it!
Remove the Portafilter and Gather Your Tools
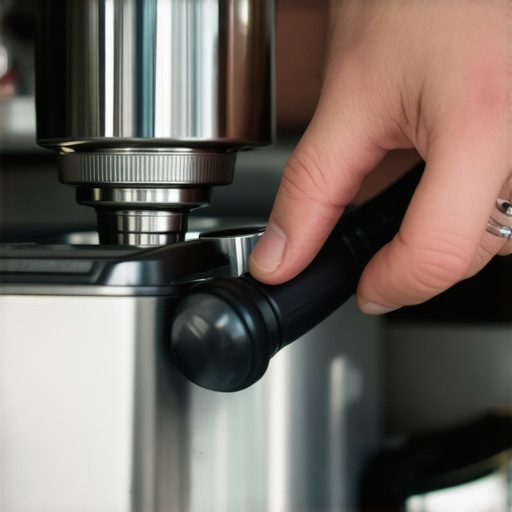
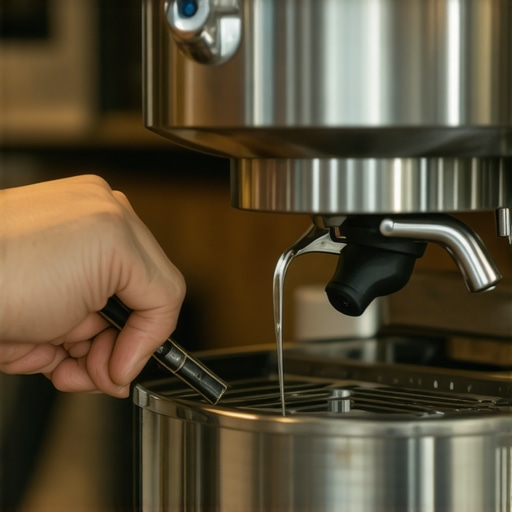
Start by detaching the portafilter from your espresso machine, ensuring the machine is off and cooled down. Grab a flashlight, a clean cloth, and a magnifying glass if available. This prepares you for a thorough inspection, much like checking a bicycle tire for punctures before a ride.
Clean the Gasket and Surrounding Area
Wipe the gasket carefully with the cloth to remove coffee oils, debris, or grime that could obscure cracks. A clean surface makes spotting imperfections easier. Think of it like cleaning a mirror before checking for a crack; clarity is key.
Visual Examination for Visible Damage
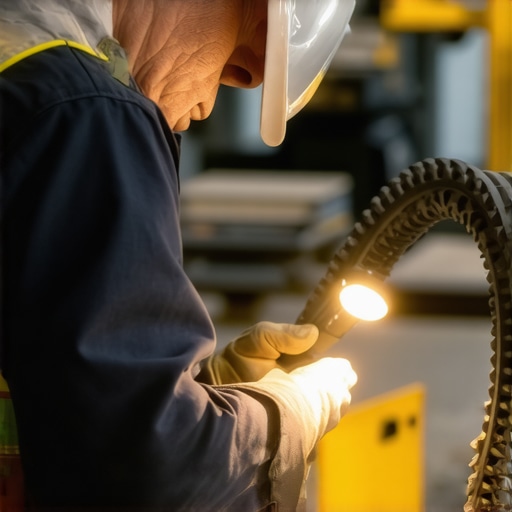
Using the flashlight, inspect the gasket closely. Look for cracks, tears, deformations, or areas where the rubber appears hardened or flattened. Run your fingers gently around the gasket’s circumference, feeling for any inconsistencies or rough patches. Remember, micro-cracks might not be visible to the naked eye, so use the magnifying glass for a detailed view.
Check for Softness and Elasticity
Press gently with your fingertip on different parts of the gasket. It should feel firm yet pliable. If it feels brittle, overly soft, or shows signs of cracking under slight pressure, it’s time to replace it. This step is akin to testing a rubber band’s elasticity; if it’s gone limp or cracks, it’s no longer reliable.
Identify Micro-Cracks Under Magnification
Use the magnifying glass to look for tiny cracks or fissures within the rubber. Even minute damages can cause leaks or pressure issues during brewing. Think of it as inspecting a windshield for small chips that could expand over time.
Conduct a Leak Test with Water
Fill a small bowl with warm water and submerge the gasket entirely. Observe for bubbles or seepage, which indicate leaks or cracks. Although not a perfect simulation of pressure, this simple test can reveal hidden damage. If bubbles form or the gasket appears to swell unevenly, consider replacing it.
Compare with a New Gasket
If your gasket shows signs of wear or damage, compare it with a new one from your supplier. A new gasket should have a uniform shape, flexibility, and no visible cracks. This comparison helps make an informed decision about replacement, preventing future brewing issues.
Replace the Gasket if Necessary
Acquire a compatible gasket based on your machine model. Carefully install it into the group head, ensuring it sits evenly and securely to prevent leaks. Proper installation is vital; a poorly fitted gasket can compromise seal integrity regardless of its condition. For guidance, check detailed tutorials or contact us through the contact page.
Regular inspection, like this, can avoid messy leaks and ensure consistent espresso quality. Remember, a small crack today could lead to machine damage tomorrow. Maintain your gasket as part of your routine maintenance, and enjoy that flawless shot every time.
Many coffee enthusiasts focus solely on choosing the right espresso machine or grinder, believing that equipment quality alone guarantees perfect brewing. However, this misconception overlooks critical nuances that can make or break your coffee experience. For instance, a common myth is that high-end grinders automatically produce better extraction. In reality, even the most expensive grinder won’t deliver optimal results without proper dial-in and maintenance. An advanced mistake often made is neglecting the importance of dosing consistency and tamping technique, which can drastically affect shot quality—even if your machine is top-tier.
Is Your Barista Gear Overhyped or Underused? How to Spot Discrepancies
Understanding the advanced capabilities of your tools is essential. Many believe that high-pressure milk frothers will create perfect microfoam effortlessly, but improper technique or cleaning can hinder performance. Regularly cleaning and calibrating your equipment ensures that your investments truly pay off. Moreover, many home baristas underestimate the significance of water quality and temperature stability, which are often overlooked yet crucial factors for extracting nuanced flavors. As expert baristas emphasize, controlling variables like water mineral content and temperature fluctuations elevates your brewing from average to exceptional[^1].
Beware the trap of over-reliance on equipment upgrades; instead, mastering your existing gear through precise calibration and routine maintenance often yields better results. For example, fine-tuning your grinder’s particle size distribution and ensuring even tamping can enhance extraction significantly. Additionally, understanding how to prevent common mistakes—such as channelling caused by uneven puck distribution—is vital for consistent shots. Want to learn more about optimizing your setup? Check out our guide on mastering the art of home espresso[^2], or explore the latest improved equipment options for 2025[^3].
Finally, one advanced consideration is the role of pressure profiling, which enables you to tailor extraction parameters for different beans and roasts, unlocking complex flavor profiles. This technique, used by professional baristas, can be adapted for home use with modern machines that include programmable pressure settings. As industry expert Sarah Allen states, understanding and utilizing pressure profiling can dramatically elevate your espresso game[^4].
In summary, avoid common pitfalls like assuming equipment alone ensures quality, neglecting routine care, and underestimating technique. The true secret lies in mastering the subtleties—regular calibration, water quality control, and technique refinement—that turn good coffee into extraordinary.
Have you ever fallen into this trap? Let me know in the comments and share your experiences!Even with the best equipment, consistent maintenance is critical to keep your coffee gear running smoothly and producing exceptional shots. I personally rely on a few specialized tools and routines to ensure my espresso machine and grinders stay in peak condition. Regular upkeep not only preserves the flavor profile but also extends the lifespan of your investment. Moving forward, embracing these practices will help you create cafe-quality beverages at home over the long term.
How do I keep my espresso machine and tools in top shape over time?
First, invest in a good descaling schedule using a descaling solution like Dezcal or citric acid. I find that monthly descaling prevents mineral buildup, which can affect water flow and temperature stability. For grinder maintenance, I prefer using a burr cleaning tablet like Urnex Grindz—simply run a small dose through the grinder to remove residual oils and coffee grounds, maintaining uniform grind consistency.
Consistent cleaning with a soft brush or cloth is indispensable. I clean my portafilter, group head, and steam wand after every use, preventing oil and residue buildup. For internal parts that are hard to reach, such as the water reservoir, I use a dedicated brush or a soft cloth wrapped around a long-handled tool. This prevents flavor contamination and mechanical issues from developing over time.
If you’re serious about long-term results, consider investing in tools like a portafilter with a pressure gauge to monitor extraction pressure or a digital thermometer for precise temperature checks. These tools provide real-time feedback, allowing you to fine-tune your brewing, which is especially useful when switching between beans or roasts.
Using software or apps can help track your maintenance schedule and brew data. I utilize a simple spreadsheet to log descaling dates, grinder burr replacements, and calibrations, which helps me avoid overlooking routine care. As technology advances, automated cleaning cycles are becoming available on some high-end machines, hinting at where the industry is heading—more automation, less manual labor.
In terms of future trends, expect a growing emphasis on smart appliances that monitor water quality, temperature, and pressure and alert you when maintenance is needed. Such innovations will empower home baristas to maintain their equipment effortlessly and ensure consistent, high-quality coffee.
What’s the secret to a long-lasting, trouble-free brewing setup?
My advice: incorporate precise tools like a calibrated scale, a reliable grinder maintenance kit, and a thermometer. I encourage you to try regularly using a portafilter pressure gauge or a cleaning tablet—these small steps significantly impact your coffee’s quality and your equipment’s longevity. Regular maintenance isn’t glamorous, but it’s the Foundation for brewing excellence. Want to automate your routine? Check out our guide on mastering the art of home espresso and explore how to integrate smart maintenance tools into your setup for even better results. Keep your gear in prime condition to enjoy consistently rich, fresh flavors and avoid costly repairs down the line.
The Hidden Levers of Coffee Wisdom That Only Seasoned Baristas Know
One of the most eye-opening lessons I learned was how a small detail like tightness in the water reservoir connection could impact every shot I pulled. It was a reminder that flawless coffee isn’t just about the equipment but understanding their quirks and maintaining them proactively. Sometimes, the tiniest cracks or overlooked details can turn your perfect espresso into an underwhelming experience. Embracing this insight transformed my approach from reactive to proactive, leading to consistently better brews and longer-lasting gear.
My Top Picks for Coffee Enthusiasts Looking to Elevate Their Routine
- Urnex Grindz Grinder Cleaning Tablets: I trust these because they keep my grinder burrs pristine without harsh chemicals, ensuring every dose is uniform and flavorful.
- Reiss Descaler Solution: Descaling is vital for longevity, and this product has helped me prevent mineral buildup, maintaining ideal water flow and temperature.
- Digital Thermometer for Precise Temperature Control: Controlling water temp is crucial, and this simple tool offers the accuracy I need to fine-tune each shot.
- Barista Hustle’s Home Barista Course: There’s no substitute for expert insights, and this course deepened my understanding of brewing variables, elevating my craft.
Fuel Your Passion and Keep Pushing Forward
The journey to coffee mastery isn’t about perfection from day one but about embracing continuous learning. Every tweak, every tweak, and each maintenance routine is a step toward brewing with confidence and precision. Remember, even the most talented baristas stay curious and keep refining their craft. So, explore those new techniques, invest in reliable tools, and don’t be afraid to experiment. Your next great cup is just one smart move away.
What’s the most challenging aspect you’ve faced while maintaining your espresso gear? Share your story below, and let’s grow together in this delightful pursuit of coffee excellence!