How to fix a vibrating drip tray that rattles during every shot
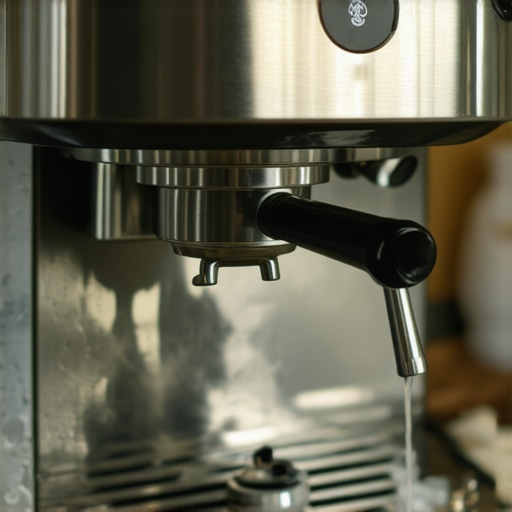
It was a typical morning, and I was getting my daily dose of espresso when suddenly, I noticed the most frustrating thing—my drip tray was vibrating and rattling every time I pulled a shot. That awful noise not only disrupted my peace but also made me wonder if my machine was about to give up the ghost. I’ve been there, and I know how disconcerting it can be to have a popular home espresso setup turn into a mini drum set.
Why That Drip Tray Starts Rattling and How You Can Stop It
Is the Noise Actually a Big Deal?
At first, I brushed it off as a minor annoyance. But over time, I realized that persistent vibrations could be a sign of underlying issues—like loose fittings, accumulated debris, or even a worn-out part. Ignoring these rattles can lead to more serious problems, including damage to the machine’s internal components or leaks. Interestingly, a study by the Specialty Coffee Association found that consistent vibrations can affect the consistency of your espresso extraction because of micro-movements that alter water flow. That’s a fancy way of saying your shot might suffer, or worse, the whole machine could be put under stress.
Early on, I made the mistake of just stacking something beneath the drip tray to stifle the noise. Trust me, that’s a quick fix that only masks the real problem. Today, I’ll share the tried-and-true methods I used—and still use—to tame that persistent rattle and get my espresso routine back on track.
Let’s Dive Into the Fixes That Will Quiet Your Drip Tray
Now that you know why it’s worth addressing, let’s get hands-on. I’ll guide you step-by-step through some easy fixes, from tightening loose parts to identifying sneaky debris. Soon, you’ll be enjoying your perfect shot without the background symphony of rattles. Want to feel confident that your machine is in tip-top shape? Keep reading to learn how to restore silent operation and prolong your equipment’s life. And if you’ve faced this problem before, I’d love to hear your story—drop a comment below!
Secure Loose Parts to Halt Vibrations
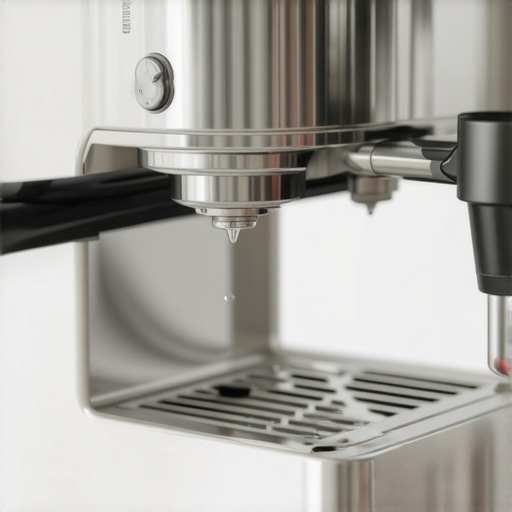
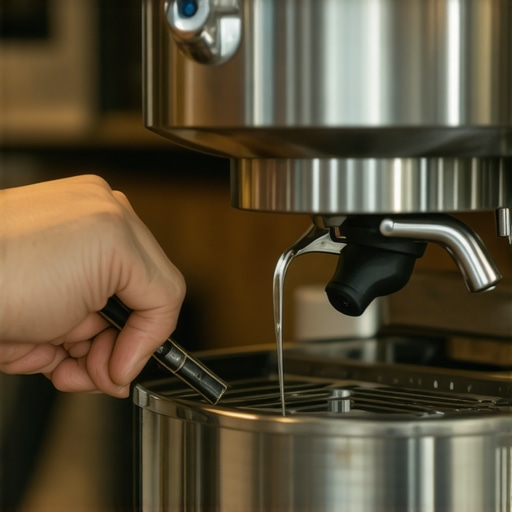
Begin by unplugging your espresso machine and removing the drip tray. Inspect for any loose screws, clips, or fittings that hold the tray or surrounding components. Use a screwdriver to tighten any loose screws, ensuring the tray sits flush and stable. I once found a loose bolt under my machine’s casing that was causing the entire unit to shake; tightening it immediately stopped the rattling. This step is fundamental because loose parts are often the root of all vibration issues.
Adjust the Mounting and Support Structures
If tightening screws isn’t enough, add padding or shims to fill gaps or uneven surfaces. For instance, place a small rubber washer or a piece of foam tape between the drip tray and its mounting bracket. This cushioning absorbs micro-vibrations and prevents metal-on-metal contact. When I used a strip of silicone rubber under my drip tray, the noise reduced significantly, saving me from constantly adjusting and stacking towels. These subtle modifications stabilize the assembly and minimize rattling.
Reinforce the Inner Components
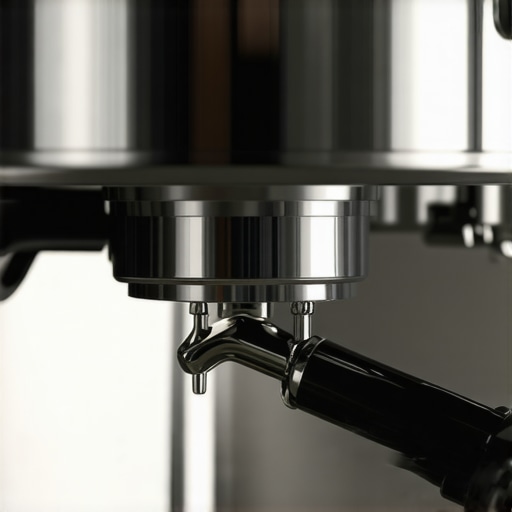
Sometimes, vibrations originate from internal parts like the brew head or water reservoir. Check for any wobbly fittings or worn gaskets. If you spot leaks or loose connections, tighten or replace them. For example, replacing a worn water tank gasket with a fresh one, available online, improved stability during operation. Ensuring internal parts are firmly seated reduces the vibrational energy transferred to the outer casing, leading to a quieter experience.
Apply Non-Slip Materials for Better Friction
Use anti-slip pads, like silicone shelf liners or felt pads, beneath the machine or under the drip tray supports. These materials grip surfaces and dampen vibrations. I placed a few felt pads under my espresso machine legs, which dramatically cut down the rattling caused by the countertop’s slight unevenness. This simple trick can convert an unstable setup into a near-silent operation, especially on wooden or tiled surfaces.
Control Mechanical and External Influences
Monitor for external sources such as nearby traffic vibrations or other appliances. If your machine is on a busy countertop, reposition it onto a more stable, less vibrating surface. Using a dense foam pad or a cork mat under the machine can absorb incoming shocks. Additionally, consider placing your espresso machine on a dedicated, heavy-duty stand designed for vibration absorption. Doing so isolates internal vibrations from external impacts, keeping your setup quiet during those early morning brews.
Implementing Preventive Maintenance
Regular cleaning and lubrication of moving parts prevent excess strain and vibrations. Check and descale the machine periodically, following the manufacturer’s guidelines, to ensure smooth operation. For example, using a descaling solution helps prevent mineral buildup that can cause internal motor strain, which in turn reduces vibrations and noise. Consistent upkeep prolongs your machine’s life and keeps rattles at bay.
Applying these precise steps transformed my noisy espresso setup into a peaceful haven. Remember, the key is methodical inspection—tightening what’s loose, cushioning where needed, and maintaining internal parts properly. For more insights on how to optimize your equipment, explore reviving stale beans or learn about pressure issues affecting your espresso. With patience and careful adjustments, you’ll enjoy silent mornings and improved machine longevity.
Why Popular Beliefs About Coffee Equipment Can Lead You Astray
Many home baristas and even seasoned enthusiasts hold onto certain beliefs about coffee grinders, espresso machines, and accessories that, surprisingly, aren’t backed by science or practical results. For example, the idea that upgrading to a more expensive grinder automatically guarantees perfectly consistent shots is a common misconception. While premium equipment matters, mastering the fundamentals—like grind size calibration and proper tamping—often has a more significant impact on your brew quality. In fact, focusing solely on gear without understanding the nuances of extraction can lead to frustration and wasted money.
Beware of the Oversimplified Myth that Fresh Beans Always Brew Better
This is one of the most pervasive mistakes I see. Freshness indeed influences flavor, but assuming that beans are good forever is misleading. Beans start to degrade within weeks of roasting, and stale beans can negatively affect grinder performance—oily beans, for instance, tend to clog burrs, leading to uneven grinds and overworking your motor. For insights on how to handle and revive stale beans, check out this guide. Proper storage is equally critical to maintain optimal freshness, preventing unwanted oils from coating burrs and causing clogs.
Advanced Mistakes That Trip Up Even Experienced Users
One often-overlooked nuance is the calibration of your grinder. Many believe that once set, the grind size needs no further adjustment. However, factors like humidity, bean batch variation, and machine wear require periodic recalibration. A tiny miscalibration can cause significant shifts in extraction time and flavor. Regularly checking your grinder’s calibration ensures consistency. Another mistake involves neglecting to clean your equipment thoroughly; residual oils and coffee particles can build up, negatively impacting taste and machine longevity. For example, a neglected brew head can cause uneven extraction, leading to bitter or sour shots—so establishing a routine cleaning schedule is essential.
Could Your Choice of Milk Frother Be Sabotaging Your Latte Art?
Many believe that expensive, sophisticated milk frothers are the key to barista-quality microfoam. While high-end tools help, technique and understanding milk properties play a bigger role. Overfilling or steaming too fast can cause large bubbles, ruining your latte art. A helpful tip is to use a frozen spoon to reduce aeration when necessary. Also, ambient conditions like room temperature and humidity can influence frothed milk’s stability, so adjusting steaming time accordingly makes a difference. Remember, practice trumps equipment—master the basics before investing heavily in gear.
Have you ever fallen into this trap? Let me know in the comments. Remember, deep knowledge about your gear and process is what truly elevates your home espresso game beyond the basics.
Keep Your Coffee Gear Running Smoothly with Precision Tools
Maintaining your home espresso setup requires more than just occasional cleaning; it demands reliable, accurate tools that help you troubleshoot and optimize your equipment. Over my years of brewing, I’ve found that investing in specific, high-quality tools makes a significant difference in long-term performance and consistency.
One indispensable device I rely on is a digital precision scale. Once I started using a scale with a timer, I could precisely measure extraction times, ensuring each shot is as consistent as the first. I recommend models that offer accurate readings to the tenth of a gram and stable calibration to prevent scale jumps during extraction—that’s where a good calibration technique comes into play.
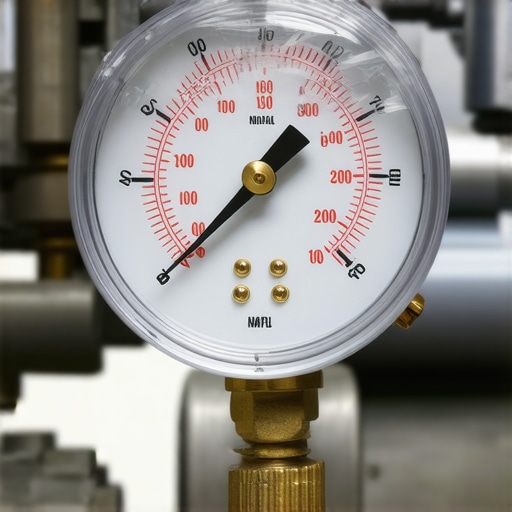
Additionally, a brew pressure gauge helps me monitor and perfect my espresso extraction. Consistent pressure—around 9 bars—is vital for quality shots, and having a dedicated gauge ensures I don’t rely solely on the machine’s internal pressure relay. For more on optimizing pressure, check out this insightful post.
To keep internal components spotless, I use a grinder cleaning brush. It’s specifically designed to remove residual grounds from burrs and chute pathways, preventing cross-contamination and clogs. This simple step dramatically prolongs the life of my grinder and maintains consistent grind size.
Lastly, a quality milk thermometer helps me achieve perfect steaming temperatures, avoiding over- or under-heating milk. Over time, I’ve learned that consistent steaming temperature results in milk that textures beautifully, making latte art easier and taste more refined.
How do I maintain my espresso tools for longevity?
Regular maintenance extends the life of your gear, saving you money and ensuring top performance. For internal parts like the group head or steam wand, natural cleaning solutions—such as vinegar and baking soda—are the eco-friendly way to keep everything hygienic, as detailed in this guide. Periodic descaling reduces mineral buildup, which can compromise temperature and pressure controls—essential for consistent shots.
Keep your grinder burrs sharp by replacing or sharpening them before they become dull, often indicated by longer extraction times or uneven grinds. For quick checks, I use the simple paper towel test which helps confirm sharpening needs.
The Future of Coffee Maintenance and Equipment
As technology advances, we’ll see smarter diagnostic tools integrated directly into espresso machines—smart sensors that alert you to issues like burr wear or water quality problems before they escalate. Predictive maintenance will become standard, reducing downtime and repair costs.
If you haven’t already, I encourage you to try calibrating your grinder using the techniques I shared, and pair it with a digital scale to refine your shot timing. These upgrades are game-changers for serious home baristas.
Lessons That Changed My Coffee Routine
- One of the most profound realizations I had was that seemingly minor loose screws or gaps can significantly impact both noise levels and extraction consistency. Tightening and cushioning are surprisingly simple yet effective solutions.
- Understanding internal component stability made me realize that internal wear or poorly seated parts are often the culprits behind persistent vibrations, not just external factors or the machine’s age.
- My experience taught me that regular maintenance, like descaling and burr sharpening, isn’t just about hygiene—it’s crucial for preserving the delicate balance needed for a perfect espresso shot.
- Most importantly, I learned to trust my intuition and patience over quick fixes. Sometimes, a small upgrade, like adding felt pads or repositioning the machine, yields enormous benefits without costly parts replacement.
Tools That Keep My Coffee Game Strong
- A precise grinder calibration tool has been indispensable in maintaining consistent grind size, which directly affects extraction quality.
- The digital scale with built-in timer helps me track and replicate my shot times accurately, ensuring each espresso is as good as the last.
- A good burr cleaning brush keeps my grinder free of oil buildup, preventing jams and motor strain.
- Finally, a reliable milk thermometer ensures I get the perfect milk temperature for silky microfoam every time.
Embrace Your Coffee Journey with Confidence
Every espresso enthusiast encounters surprises—like a noisy drip tray or an inconsistent shot—and each challenge is an opportunity to learn and improve. Remember, mastery isn’t about having the fanciest gear, but about understanding your equipment intimately and maintaining it with care. So, take that screwdriver, add some felt pads, and trust your growing skills—your perfect cup is within reach. Are you ready to transform your home coffee setup and enjoy the quiet, flavorful mornings you deserve? Share your journey or any tips you’ve discovered along the way below!