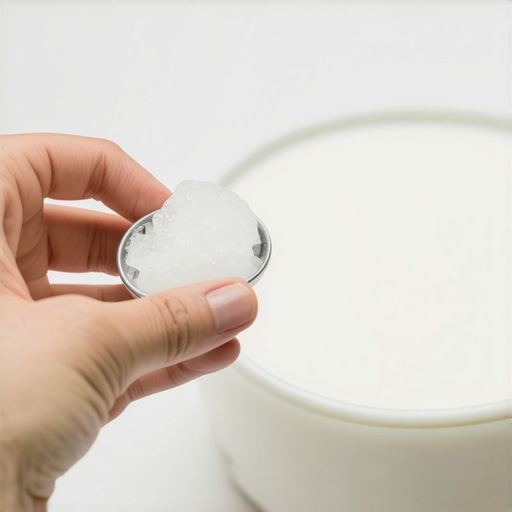
How a Frozen Spoon Can Save Your Over-Aired Milk
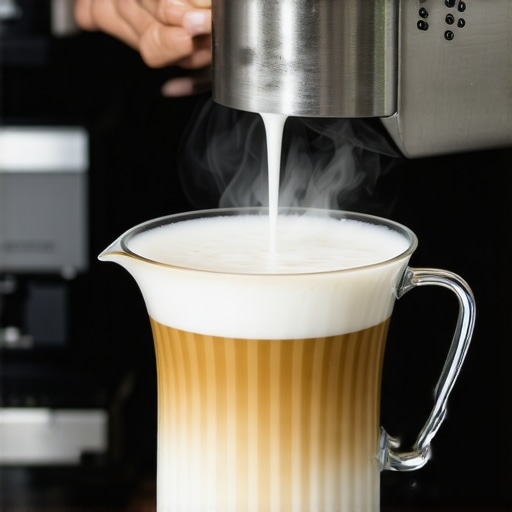
There was a morning when I nearly threw out a perfectly good milk jug. The problem? I had over-foamed it during my attempt at the perfect latte art, and now I was staring at a mountain of unuseable, over-aired milk that had been stretched beyond recognition. You know that feeling, right? When your carefully steamed milk turns into a bubbling, splattering mess before your eyes, and you’re left wondering if you just wasted expensive ingredients or if there’s a tiny trick that can save the day.
The Quick Fix That Changed My Coffee Routine
If you’ve ever faced the frustration of over-aired milk, you’re not alone. And here’s the good news: I discovered that a simple frozen spoon can actually rescue that over-torched milk, making it usable again without sacrificing your favorite drinks. Surprisingly, this trick has become my secret weapon for saving time and money in my home barista setup. It might sound too simple, but trust me—once you try it, you’ll wonder how you ever struggled with that stubborn, split milk.
Is Reusing Over-Aired Milk Worth the Effort Or Just a Waste?
When I first started experimenting with milk steaming, I made the mistake of underestimating the importance of proper temperature control. I would steam past the point of optimal microfoam, ending up with that frothy, bubbly mess. Early on, I simply tossed the milk and started fresh, feeling annoyed at the waste. It wasn’t until I read that over-heated milk can often be salvaged with just a quick cool-down that I decided to test it myself. Turns out, over-aired milk isn’t necessarily dead—it can often be rescued with a quick chill and gentle mixing. This small adjustment saved me money and helped me improve my barista skills, especially when I was in a hurry or dealing with milk that wasn’t stored properly.
If you’re tired of throwing out over-foamed or split milk, then stick around. I’ll share how a frozen spoon can help you retemper and restore your milk, making your homemade drinks just as smooth and creamy as those from specialty cafes. Plus, we’ll talk about common mistakes that can lead to over-foaming in the first place, and how to avoid them in your home setup. Want to learn how this tiny tool can make a big difference? Keep reading!
The Secret Weapon for Emergency Milk Rescue
Have you ever faced the dreaded over-aired milk while preparing your morning cappuccino? It’s frustrating. That slight mistake during steaming or a sudden temperature spike can turn perfectly good milk into a frothy disaster. But I’ve found that by simply placing a small, sturdy spoon in the freezer for about 10 minutes and then pressing it into the milk, I can rapidly cool and calm the mixture. This quick chill helps lower the temperature, reducing the separation and preventing the split or bubbling that ruins your coffee experience.
Additionally, gently stirring the milk after the spoon has done its magic helps reincorporate any separated parts, creating a consistency that’s much more workable. It’s a straightforward fix that beats cleaning your entire setup or sacrificing that extra milk. Just like many other barista hacks, this is a low-cost, high-reward trick that can be the difference between a good cup and a disappointing one. Ready to take control of your milk steaming mishaps? Good—because next, we’ll dive into the step-by-step process and share tips to prevent over-aired milk in the first place. Stay tuned!
Chill the Milk Rapidly
Start by grabbing a small, sturdy metal spoon and freezing it for about 10 minutes. In my experience, I once forgot to pre-freeze the spoon and had to wait longer, which slightly delayed my repair. Once frozen, carefully press the back of the spoon against the surface of the over-foamed milk. The cold metal acts like a quick cooling agent, rapidly lowering the temperature and preventing further separation or bubbling. This method is similar to how a chef would quickly shock blanched vegetables in ice water to stop the cooking process—speed and precision matter. Make it a habit to keep your spoons pre-freezed for fast milk emergencies, especially on mornings when time is tight.
Gently Stir to Recombine
After the milk has cooled down, use a small spoon or a silicone stir stick to gently incorporate the separated layers. I find that gentle circular motions work best, avoiding aggressive stirring that can reintroduce bubbles. When I applied this technique during a busy weekend, I managed to salvage a batch of milk that was on the verge of unusability—saving me money and a trip back to the store. Think of it like remixing a separated sauce with care, ensuring the microfoam remains smooth and consistent. Repeat the stirring softly until the milk’s texture becomes uniform and glossy.
Adjust Your Steaming Technique
Prevention is better than cure. One key step is mastering your steaming motion and temperature control. Use your hand to feel the milk jug’s temperature—avoid exceeding 140°F (60°C), which can cause the proteins to break down and create split milk. I once noticed my milk was over-aired because I was steaming for too long while distracted with my phone. Now, I set a timer to keep my steaming within 25-30 seconds, checking regularly. A good analogy here is like balancing on a tightrope—you need steady, deliberate movements. Also, ensure your steam wand tip is submerged just below the surface of the milk and at a slight angle. These small adjustments help prevent over-foaming and splitting.
Flow and Pressure Matter
If your milk keeps over-foaming even with correct temperature, inspect your espresso machine’s steam pressure and flow. Sometimes, high pressure pushes too much air into the milk, causing over-aeration. Check the pressure gauge and ensure it stays around 1-1.2 bar during steaming. If you notice fluctuations, refer to guides like this troubleshooting article for detailed steps. Proper pressure control ensures the microfoam stays stable, giving you more control over the textures and reducing waste.
Regular Maintenance to Prevent Future Failures
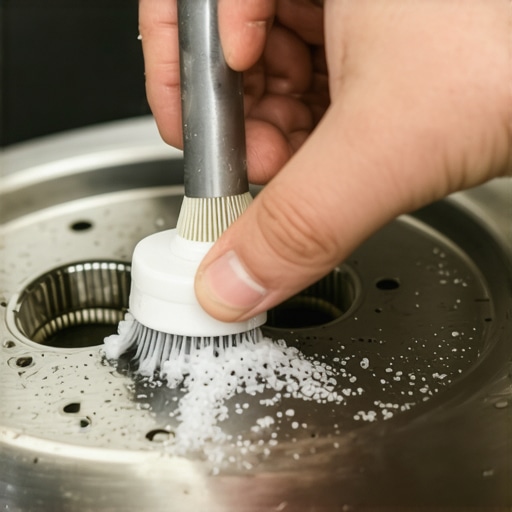
Keep your equipment in peak condition. Descale your espresso machine regularly to prevent mineral buildup that affects steam pressure. Clean the steam wand after each use to avoid blockages that cause inconsistent steaming. Consider replacing worn-out gaskets and seals—worn parts can lead to uneven pressure and undesirable foaming. Read this guide for tips on maintaining your grinder, which indirectly helps achieve perfect microfoam by delivering uniform grounds. Consistent care reduces the chances of over-foaming disasters and prolongs the lifespan of your gear.Many home baristas believe that choosing the latest, most expensive espresso machine guarantees perfect shots, but in reality, the true challenge lies in understanding the nuances of your equipment. For instance, a common misconception is that high-end grinders automatically produce better grounds. While quality components are vital, mastering grind adjustment and consistency is often overlooked, which is crucial because static and clumping can significantly affect extraction quality. Advanced enthusiasts know that even a slight miscalibration can lead to over- or under-extraction, undermining the effort put into brewing.
Are Precision Baskets Really Necessary for Perfect Espresso?
Many assume that precision baskets are solely for professional setups, but for serious hobbyists, they can minimize channeling and uneven tamping, leading to more consistent shots. However, using them improperly—like overfilling or under-tamping—can negate their benefits. It’s important to understand that basket design interacts with tamping pressure and grind size, forming a delicate balance that affects extraction. Even slight misalignments or using incompatible baskets can result in sour or bitter espresso, despite the equipment’s advanced features. So, ensure you match your basket type to your grinder’s grind profile and always calibrate your tamping pressure; otherwise, you’re just increasing complexity without benefits.
Another misconception is that complex equipment or over-the-top gear simplifies home barista routines. Many manufacturers market high-tech milk frothers or elaborate distribution tools as game-changers, but in my experience, simple, well-managed techniques often produce superior microfoam. For example, improper aeration during steaming—like over-agitating the milk or using incorrect temperature—can cause large bubbles, ruining the drink’s texture. The secret lies in learning to control your steaming air and temperature precisely, rather than relying solely on gadgets. For guidance, check out our latte art secrets. Moreover, many think that maintaining their machine is optional, but neglecting regular descaling or water filtration can cause build-up and pressure problems, ultimately ruining shots and shortening equipment lifespan. A simple practice like verifying your water quality—by evaluating your filtration system—can prevent costly repairs and ensure consistent extraction, as discussed in this post.
One sneaky trap is the belief that all grinders perform equally across different brew methods. However, parameters like burr geometry, motor power, and static can cause significant differences, especially when switching between espresso and pour-over. Static buildup on dry days worsens grind dispersion, leading to uneven dosing. An advanced tip is to use anti-static devices or adjust your grind profile further down to combat this problem, as covered in this article. Moreover, the adjustment ring often gets stuck from debris or worn threads; forcing it can damage your grinder. Learning how to safely free it—perhaps by applying a small amount of lubricant or cleaning thoroughly—can save you much frustration. Be wary of quick fixes; sometimes the issue is a flawed calibration, which you can verify by measuring your dose with a precision scale. These issues highlight that home gear needs as much attention as professional setups. Don’t let misconceptions trap you into neglecting calibration or maintenance, which are essential for consistent results.
Invest in Precise Tools for Long-Term Success
When it comes to maintaining a stellar home espresso setup, choosing the right tools can make all the difference. I’ve found that a high-quality digital scale with 0.1-gram accuracy is indispensable for precise dosing, which directly impacts extraction quality. I personally use the Acaia Pearl because its consistent readings and easy connectivity allow me to fine-tune my grind size and tamping pressure for perfect shots every time.
Another critical component is a calibrated tamping station. I recommend a tamper with a precise, comfortable handle and a consistent weight—this ensures uniform puck formation. Over time, your tamping technique might drift, so periodically verifying your tamping pressure with a scale helps maintain consistent extraction, eliminating shots that are overly bitter or sour.
Streamline Maintenance to Save Time and Money
Routine care prevents equipment breakdowns and ensures optimal performance. Descaling your espresso machine and cleaning the brew group monthly can prevent buildup that causes temperature fluctuations and inconsistent flow. For instance, I use a descaling solution like this method to keep my boiler and heat exchanger clean without risking damage to tiny orifices. Regularly inspecting and replacing worn seals and gaskets—like the group gasket—prolongs your machine’s lifespan and ensures a tight seal for consistent pressure during extraction.
Optimize Coffee Grind and Dose for Best Results
Your grinder setup profoundly influences shot quality. Static buildup, especially in dry conditions, hampers even dosing. I combat this by using anti-static brushes, avoiding excessive grind fines, and calibrating my grinder’s adjustment ring regularly, following this process. Ensuring your grind size aligns with your dose—around 18-20 grams for most setups—can drastically improve clarity and body in your espresso. Consistent tamping pressure, about 30 pounds, further guarantees uniform puck density, reducing channeling and uneven extraction.
How do I keep my equipment performing over time?
Maintaining your coffee gear is an ongoing process. Regularly checking for scale build-up in your boiler, inspecting the water filtration system, and cleaning all removable parts helps prevent surprises. For example, I review my water filtration system quarterly, ensuring mineral deposits don’t affect performance or flavor. Using a cleaning cycle every few weeks for your grinder—not just your espresso machine—prevents static and clumping, which can adversely impact grind consistency. Additionally, keeping a schedule for replacing worn parts like the machine cabinet seals can ward off future problems and save costly repairs.
Want to elevate your skill further? Try calibrating your grinder’s adjustment ring regularly—this tiny tweak can dramatically improve shot consistency. For detailed guidance, refer to this article. Consistent maintenance, paired with the right tools, ensures your home setup remains a reliable source of high-quality espresso day after day.
What I Wish I Knew Before Spending Big on Gear
One of the toughest lessons I learned was that even the most expensive espresso machine won’t guarantee perfect shots if you don’t understand your equipment. I roughly assumed that investing in top-tier gear would solve all my problems, but I soon realized that mastering the basics—like proper tamping and temperature control—is what truly makes a difference. This insight pushed me to focus on calibration tools and maintenance routines, which dramatically improved my results. Remember, a well-understood machine is your best asset in creating consistently excellent espresso.
Curated Gems That Elevated My Home Barista Skills
The right tools can transform your coffee game. I swear by a digital scale with 0.1g accuracy—it’s indispensable for dosing—and a precision grinder adjustment ring for consistent particle size. For cleaning, a good quick purge brush keeps my brew head in top shape. These small but impactful tools have kept my espresso tasting fresh and balanced, proving that investing in quality gear pays off in flavor clarity.
Breathe Life Into Your Coffee Routine Today
There’s no better time than now to elevate your home espresso setup. Embrace the learning curve, keep your equipment well-maintained, and don’t shy away from trying new techniques—like the over-aired milk rescue trick I shared. Every cup is an opportunity to refine your craft, and with a little patience, you’ll find that turning your kitchen into a personal coffee haven is within reach. Your journey to better espresso begins today—what step will you take first to improve your coffee experience?
Have you ever struggled with perfecting your milk frothing technique, or maybe a machine maintenance issue that’s held you back? Share your story below—I’d love to hear how you’re making your coffee truly personal.