How to get silky microfoam with oat milk without it curdling
It was a typical Monday morning, and I was eagerly trying to perfect my homemade latte art. But despite my best efforts, the oat milk kept curdling, leaving behind a grainy mess instead of the smooth, velvety microfoam I was craving. That lightbulb moment hit me hard—I realized that getting perfect oat milk microfoam isn’t just about steaming technique; it’s about understanding how to prevent curdling and create that luscious texture I love. If you’ve ever faced similar frustrations, you’re not alone.
Why Getting Silky Oat Milk Microfoam Matters More Than You Think
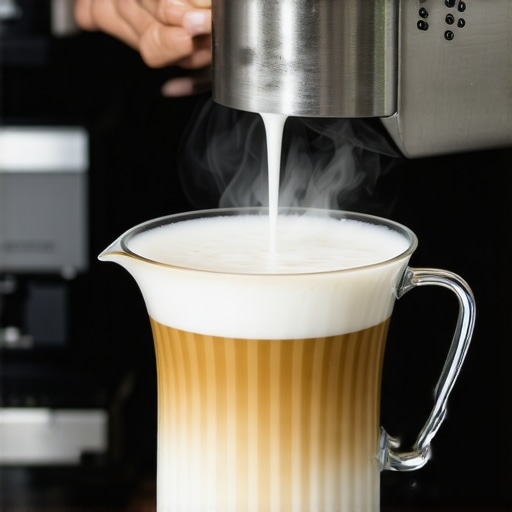
Pouring a beautifully textured, creamy microfoam over your espresso is one of the most satisfying parts of a barista’s craft—and honestly, it’s what turns an average cup into a showstopper. But unlike cow’s milk, oat milk’s plant-based nature makes it more prone to curdling when steamed improperly. This isn’t just a cosmetic issue; it affects flavor, texture, and the overall experience.
You might be wondering, “Is it even possible to get that dream microfoam without the dreaded curdle?” Absolutely. Over the years, I’ve experimented tirelessly, and I can share firsthand that with the right approach, oat milk can deliver silky, stable foam just like traditional dairy. The key is mastering some nuances—like choosing the right oat milk, adjusting steaming techniques, and understanding the science behind curdling. According to recent studies, plant-based milks have varying protein structures that influence their behavior under heat, so knowing how to work with these peculiarities makes all the difference.
If you’re tired of wasting time and oat milk, this guide is for you. Together, we’ll explore the common mistakes that keep your microfoam from reaching its potential and discover proven strategies to elevate your home espresso game.
Have you faced the challenge of oat milk curdling even after pouring your heart into steaming it? If yes, stay tuned—what follows could transform your mornings forever.
Choose the Right Oat Milk
Start by selecting an oat milk with a high protein content, as these are more stable during steaming. Look for brands labeled as barista or barista-style, which are formulated specifically for frothing. Avoid sweetened or flavored varieties initially, as they can impact foam stability. I experimented once with a popular store-bought brand, and the difference was striking—thicker, creamier foam that lasted longer.
Adjust Your Steaming Technique
Proper steaming is crucial. Begin by purging your steam wand to eliminate residual water. Submerge the wand just below the surface of your oat milk, and turn on the steam. Use a gentle, consistent motion—think of it like stirring the milk to introduce air steadily, rather than aggressively injecting steam. An analogy I like is that you’re a sculptor chipping away at a block to reach the perfect microfoam. On my first try, I overinserted the wand and created large bubbles, which resulted in a foamy mess, not silky microfoam.
Control the Temperature
Keep the milk between 140°F and 150°F (60°C to 65°C). Use a milk thermometer to monitor. Too hot, and the oat proteins denature, causing curdling; too cold, and the foam won’t develop fully. I once heated the milk without a thermometer, and it curdled immediately. Now, I always watch the temp, and it’s a game-changer for consistent results.
Use a Proper Pitcher and Positioning
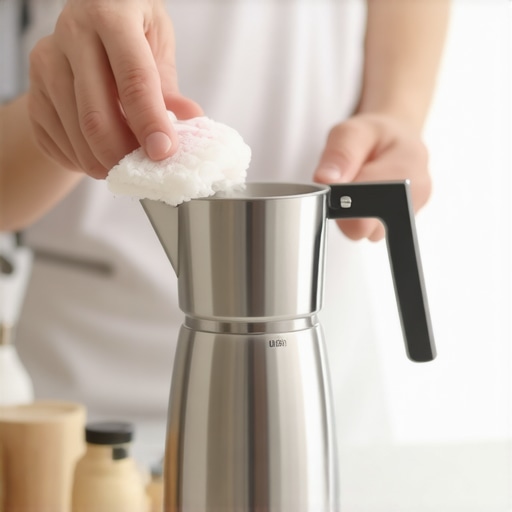
Opt for a stainless-steel frothing pitcher with a narrow spout for better control. Position the wand slightly off-center in the pitcher for a whirlpool effect that encourages even microfoam formation. When I was struggling, I found that moving the pitcher closer or further from the wand affected foam density. This might seem subtle, but it’s critical for achieving velvety microfoam. For detailed positioning tips, check this guide on how to stop your milk pitcher from screaming.
Practice Consistent Technique
Developing a tactile memory for the right motion takes repetition. Start with small batches of oat milk, and focus on steady, gentle movements. I dedicate a few minutes daily to steaming practice, and gradually my microfoam improved—fewer large bubbles, more silk. Remember, patience and consistency beat rushing for perfect foam.
Address Curdling Risks
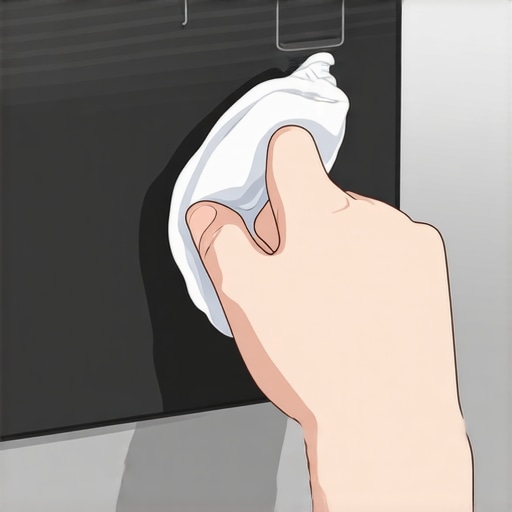
To prevent curdling, avoid overheating and choose the right oat milk. If your oat milk tends to curdle even with careful steaming, try diluting it slightly with filtered water before steaming. Also, ensure your steam wand is free of any residual residues that can cause uneven heating or introduce bacteria, which can worsen curdling. For deep-cleaning your steam wand, see this cleaning method.
 Even experienced coffee enthusiasts often fall prey to misconceptions about high-end gear like grinders, espresso machines, and frothers. Many believe that choosing the most expensive, commercial-grade equipment automatically guarantees perfect results; however, this isn’t always the case. Often, the real challenge lies in understanding the subtle intricacies of your setup and how small adjustments can dramatically influence your espresso’s flavor and texture. For example, a common myth is that more powerful steam wands create better microfoam—yet, without proper technique and temperature control, even the priciest frother can produce disappointing results. Additionally, many forget that the cleanliness and maintenance of your equipment have an outsized impact on performance. For instance, neglecting periodic cleaning of shower screens can result in uneven water flow, adversely affecting shot consistency and extraction quality.
An advanced mistake is assuming that higher grind fineness always correlates with better espresso; in reality, over-tightening your grinder adjustments can lead to inconsistent particle sizes, causing channeling and over-extraction. Regular calibration and understanding the grind micro-adjustments can be the difference between a flat shot and a vibrant, balanced espresso. Experts like Scott Rao emphasize that mastering grind size and dose consistency is paramount for extracting nuanced flavors, beyond just selecting a top-tier grinder.
Have you ever fallen into this trap? Let me know in the comments. By paying attention to these subtle factors—like aligning your portafilter ears for a tighter seal, which you can learn more about here—you can unlock a new level of control over your brewing process. Remember, excellence in home espresso is less about the gear and more about understanding its nuances and how to optimize every step.Maintaining your home coffee equipment is crucial to ensuring consistent performance and long-term durability. Investing in the right tools allows you to troubleshoot issues quickly and keep your gear in top shape. One of my go-to items is a high-quality calibration scale, like the AKIRAX scale, which provides precise weight measurements for dosage adjustments. It’s essential for dialing in your grind size and shot weight accurately, directly affecting flavor and extraction quality. Regular cleaning is another pillar of maintenance; I recommend a dedicated group head brush and a brass paddle brush to remove coffee oils and residue from brew components. These tools save me hours of cleaning time and prevent flavor contamination.
For descaling and mineral buildup, descaling kits compatible with your espresso machine are indispensable. I personally use Dezcal, which efficiently dissolves scale without harsh chemicals. When it comes to maintaining burr grinders, a set of espresso-specific grinder cleaning brushes and occasional burr calibration using a calibration tool ensures uniform grind size and prevents clogs. Calibration might sound intimidating, but following manufacturer guides and using precise tools can extend your grinder’s lifespan.
Moreover, regular inspection and replacement of worn seals, such as portafilter gaskets, prevent leaks and maintain optimal pressure. The easiest way to spot worn gaskets is to check for water leaks during brewing or after steaming sessions. For complex issues like steam wand calibration or pressure troubleshooting, I consult detailed resource guides, like the one from this expert site, which offers step-by-step instructions.
A key aspect often overlooked is equipment organization. Using magnetic tools trays and labeled storage for spare parts prevents misplacement and saves valuable time during repairs. Keep all your tools clean and dry, and periodically review your inventory to replace worn items before they cause problems.
Looking ahead, I predict that automation and smart diagnostics will become standard, allowing for more proactive maintenance. Some startups are already developing IoT-enabled espresso machines that alert owners to needed repairs or descaling intervals, which could revolutionize home brewing maintenance.
How do I maintain my gear over time? Consistency is king. I set weekly maintenance routines, like nightly cleaning and monthly calibration checks. Incorporate these simple habits, and you’ll extend your equipment’s lifespan while continuously improving your brew quality.
To take your maintenance game a step further, try calibrating your grinder with a precise calibration tool this weekend. Clear, consistent shots depend on it! Regular upkeep is an investment that truly pays off in better espresso and fewer headaches.
Lessons the Coffee World Often Keeps Quiet About
One of my biggest lightbulb moments was realizing that many misconceptions about equipment overshadow the importance of technique. I once believed that owning a premium grinder would make my espresso perfect—until I learned that calibration, cleaning, and understanding grind consistency are far more critical. Similarly, I used to think all oat milk would foam equally, but I discovered that selecting high-protein, barista-style oat milk was the key to silky microfoam. Additionally, I used to overlook how vital proper steaming temperature control is—playing with the temperature dial unlocked a new realm of microfoam stability and prevented curdling. Finally, I realized that equipment maintenance isn’t just routine; it’s foundational. Regularly inspecting seals, cleaning steam wands, and calibrating parts have elevated my home espresso experience from good to exceptional. These lessons underscore that mastery involves both understanding your gear and respecting the subtleties of technique—I hope my journey inspires you to dig deeper and refine your craft.