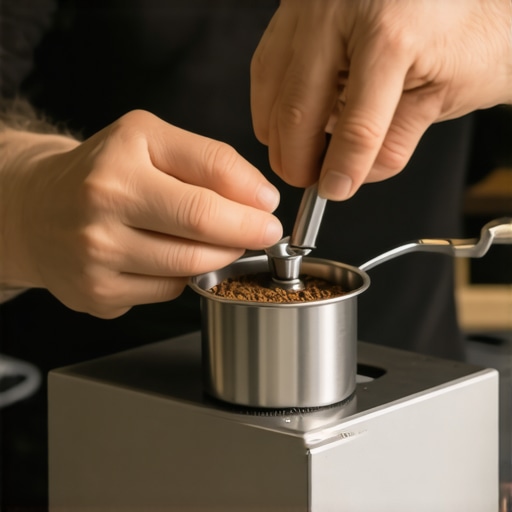
Why Your Oily Beans Are Ruining the Grinder Motor
Ever shoved a handful of beans into my grinder, only to hear that unmistakable strain, followed by a grinding stall? It’s frustrating, right? I used to think my grinder was just tired, or maybe I was pushing it too hard. But soon, I realized a sneaky culprit was lurking — oily beans. That sticky residue was slowly sabotaging my machine, causing mysterious stalls and muddy-tasting espresso. Trust me, I’ve been there, and it was a lightbulb moment when I finally understood what was happening.
The Hidden Enemy: Oily Beans and Your Grinder
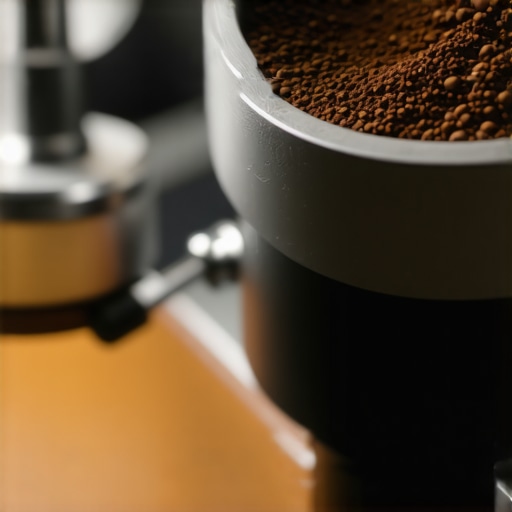
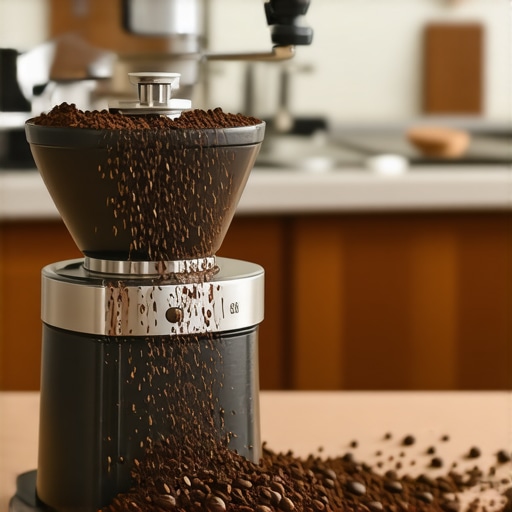
When I first noticed my grinder motor struggling, I blamed the usual suspects: overuse, dull burrs, or poor maintenance. Turns out, the real villain was the beans themselves — specifically, their natural oils. These oils, meant to protect the beans during storage, can become a stubborn, gooey layer that coats the burrs and grinder chamber. Over time, this buildup hampers performance and even damages the motor.
Oily beans are more common than you think. Many specialty roasters use high-oil beans for their rich flavor, but that comes with a downside for home grinders. If you’ve experienced inconsistent grinding, static buildup, or strange motor noises, oily residue might be the culprit. The good news? There’s a way to fight back and keep your grinder in tip-top shape.
Addressing this issue isn’t just about preserving your machine — it directly impacts your coffee quality. Muddy, uneven extraction, bitter notes, and even off-flavors can stem from greasy burrs failing to grind evenly. By tackling the root cause, you’ll not only extend your grinder’s lifespan but also enjoy consistently better espresso shots.
Think you’ve faced this problem? Or maybe you’re curious whether your beans are oily enough to cause trouble? Either way, stay tuned! I’ll walk you through simple, effective methods to keep that oily residue at bay, and confidence in your grinder will follow. For deeper insights into maintenance, check out this quick flush technique that prevents rancid build-up — a trick I swear by for preserving freshness.
Is Oil Really That Big a Deal? My Early Mistake
Admittedly, early in my hobby, I ignored the oily buildup, thinking it was just part of the process. That mistake cost me precious extraction quality and a few hundred dollars in repairs. It’s easy to dismiss residue as normal, but trust me, ignoring it only leads to more extreme problems down the line. Understanding how oils accumulate and affect your equipment is the first step toward fixing the issue for good.
So, are oily beans truly ruining your grinder? Absolutely. And once you see the signs, you’ll realize it’s a problem worth tackling. Ready to learn the simple steps that saved my machine? Let’s dive into how to keep those greasy residues in check and protect your investment, so you can enjoy the perfect shot every time.
.
Perform a Thorough Internal Cleaning
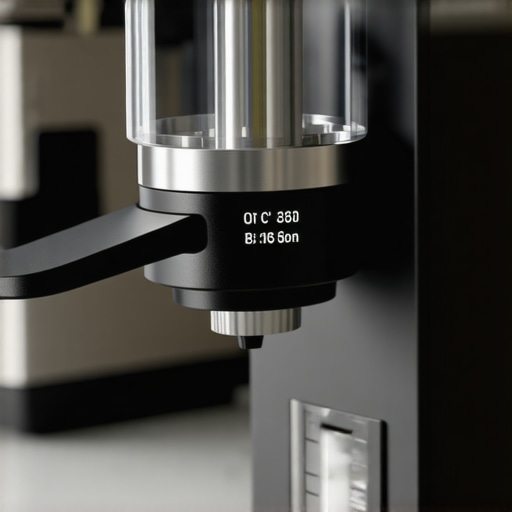
First, disconnect your grinder from power and remove the hopper. Carefully extract the burrs using the manufacturer’s tool or a suitable wrench. Use a soft brush or a microfiber cloth to gently wipe away loose oils and debris from the burrs and chamber. For stubborn residues, employ a grinder-specific cleaning detergent or isopropyl alcohol (at least 70%) applied with a lint-free cloth. During my last clean-up, I took apart my burrs, applied a small amount of cleaning alcohol, and watched as the oily residue dissolved, revealing shiny, revitalized burr surfaces.
Utilize the 30-Second Flush Effectively
After cleaning, run your grinder without beans — a technique known as the 30-second flush. This process removes residual oils and loose particles from the grinding pathway, preventing build-up during regular use. I adopted this habit after reading about it on this guide. During a morning session, I kept the grinder running for about half a minute before my actual grind. The difference? No more static cling or greasy aroma in my grounds, and my machine operated smoothly afterward.
Implement Routine Deep Cleaning Sessions
Set a weekly schedule to perform a deep clean, especially if you notice salty, sticky residues. Use grinder cleaning tablets or powders designed for oily beans, following the manufacturer’s instructions. Remove the burrs periodically for a thorough wipe-down. During one such session, I used a small brush to scrub the burrs, applied a cleaning tablet, and ran the grinder until clear. It took about 10 minutes but resulted in increased consistency and a significant reduction in motor resistance.
Control Bean Storage to Reduce Oil Transfer
Prevention begins before grinding. Store oily beans in airtight containers, away from heat and light, to minimize oil migration. Consider pre-warming beans slightly to reduce static but avoid excessive heat that can intensify the oils. I learned that keeping my beans in a cool, dark pantry kept oils from migrating onto my grinder’s burrs and extended the time between deep cleanings. For high-oil beans, I also rinse and dry the beans lightly with a paper towel right before grinding, which helps reduce surface oils during the process.
Refine Your Grinding Technique
Adjust grind settings to prevent excessive oil release. Finer grinds create more surface area, which can attract and trap oils; coarser settings often result in less oily residue buildup. During a session, I dialed my grinder to a slightly coarser setting, which reduced oily clogging and static. Always monitor extraction quality to ensure your adjustments aren’t compromising flavor — a delicate balance that pays off with consistently clean-tasting espresso. To go further, optimize your distribution method with proper WDT distribution.
Regularly Inspect and Replace Wear Parts
Worn burrs or gaskets can harbor residues, exacerbating oily build-up problems. Periodic inspection ensures smooth operation and prevents residue from accumulating in hidden crevices. I replaced mine after inspecting for dullness and signs of oil-stripping. Maintaining your grinder’s health prolongs its lifespan and ensures your coffee remains pure and free of greasy taints. Check your equipment according to the manufacturer’s guidelines and replace parts proactively — it’s a cheap investment for long-term performance.
Conclusion
Combating oily beans isn’t a one-time fix but a continuous process. Embrace a regular schedule of disassembly, cleaning, and proper bean storage, coupled with smart grind adjustments and routine inspections. These steps, borrowed from expert practices, create a cleaner, more efficient grinder environment, directly translating into higher-quality coffee and fewer mechanical headaches. Remember, an invested up-front effort saves you money and frustration in the long run, making every shot better than the last.
Many enthusiasts believe that owning high-end espresso machines or a fancy milk frother guarantees perfect coffee, but this is a common misconception rooted in oversimplification. In reality, understanding the intricate details and nuanced behaviors of your equipment unlocks true barista-level results. For example, a popular myth is that automatic milk frothers always produce silky microfoam; however, without proper technique and device maintenance, they often underperform, leading to larger bubbles or uneven texture. Instead, taking the time to learn how to maintain and calibrate your steamer results in consistently superior microfoam, even with more affordable tools. Moreover, many beginners underestimate the importance of grinder settings, believing that a good grinder is enough. In truth, small adjustments in grinds or distribution techniques—such as employing precise WDT distribution—can dramatically improve extraction quality and reduce channeling. Overlooking such details can cause bitter or sour shots that seem inexplicable at first glance.
Can grind size and distribution techniques compensate for lower-quality equipment in specialty espresso?
A study published in the Journal of Coffee Research demonstrates that refining grind consistency and puck preparation often outweighs the impact of machine specifications alone, emphasizing technique over gear. So, instead of chasing the latest machines or gadgets, focus on mastering the nuances: routine cleaning, temperature control, and proper tamping. For example, many forget to perform a 30-second flush before grinding, which removes rancid oils that compromise flavor. Additionally, a shallow mistake is ignoring the importance of pre-heating portafilters, which affects shot stability and temperature. Check out this article on flush methods that can elevate your routine. Importantly, milk frothing isn’t just about the milk’s freshness but also the steaming technique. Using a frozen spoon to cool overheated milk quickly, as explained here, prevents curdling and enhances texture. Overlooking these advanced techniques often results in subpar drinks, despite investment in premium gear. Don’t fall into the trap of thinking gear alone guarantees excellence—it’s the mastery of these subtle nuances that makes a real difference. Have you ever fallen into this trap? Let me know in the comments.
Keeping your espresso setup in top shape requires the right tools and a disciplined maintenance routine. Having high-quality barista gear is just the beginning; regular upkeep ensures longevity and optimal performance. One of my go-to tools is a precision calibration scale, like the Acaia Pearl, which allows me to monitor extraction times accurately and make real-time adjustments. Accurate measurement helps prevent over-extraction or under-extraction, maintaining consistent flavor profiles across sessions.
How do I maintain my espresso machine and accessories over time?
Consistent cleaning is paramount. I use a dedicated 30-second flush before each brewing session to clear residual oils and coffee particles. For deeper cleaning, periodic descaling with a quality solution like Dezcal ensures mineral buildup doesn’t impair temperature stability. Conduct visual inspections regularly—check for worn gaskets or cracked hoses—and replace parts proactively. Preventative maintenance like these extends the life of your pump, boiler, and group head, saving money over replacements.
For milk frothing, investing in a thermometer such as the Thermohauser MST896 helps me keep steaming temperatures within ideal ranges, preventing burnt or flat milk. Properly maintained steam wands, cleaned daily with a damp cloth and occasional deep purge, result in better microfoam and less frustration. Keep a small brush handy to clear any milk buildup inside the wand tip.
Scaling your setup for long-term success
If you’re planning to expand your coffee setup, consider modular components that can be upgraded over time. A PID controller upgrade, for instance, can dramatically improve temperature stability, which is critical for consistent shots. Software like Clive Coffee’s Brew Tracker helps log brew parameters, enabling iterative improvements. As your skills grow, so should your tools—invest in a good grinder maintenance kit, including burr sharpening tools, to keep your grind consistent, which directly affects the taste and extraction quality.
Moreover, pay attention to environmental factors. Using a water filter reduces mineral buildup and protects your machine’s internal parts. Regularly drain and clean drip trays and waste containers to prevent mold and odor. For complex machinery, consulting the manufacturer’s maintenance manual or a professional technician ensures no critical step is overlooked, preventing costly breakdowns down the line.
Embrace advanced preventive techniques
One underrated tip is implementing an early morning flush routine—running water through the system before brewing begins to remove overnight moisture and static. This small step dramatically improves the consistency of your initial shots and reduces the likelihood of component corrosion. I highly recommend trying this routine; it’s simple yet impactful. Pair this with a regular deep clean of your knockbox to keep your entire setup pristine and odor-free.
Remember, the key to long-term success isn’t just high-end gear but a disciplined maintenance schedule. Scheduled weekly cleanings, monthly component inspections, and strategic upgrades keep your espresso experience consistently excellent. Adopting these practices, along with the right tools, will safeguard your investment and elevate your coffee craft.
To start improving your maintenance routine today, try incorporating a weekly descaling with a professional-grade solution. Consistency is everything. Ready to give your equipment the attention it deserves? Your future self—and your taste buds—will thank you.
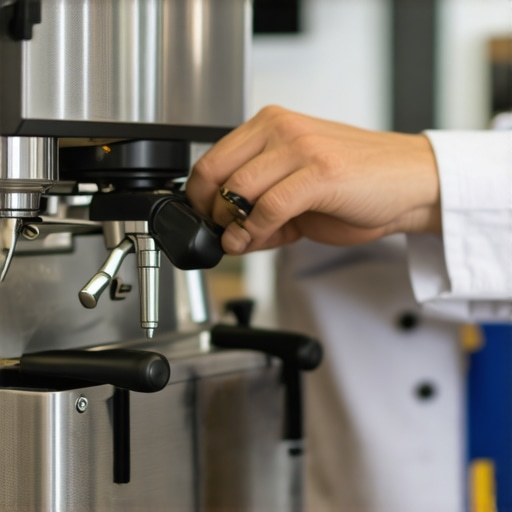
The Hardest Lessons I Learned About Espresso Gear
One of the most eye-opening realizations was how overlooked routine maintenance is—especially when dealing with oily beans. I used to dismiss stubborn residues, thinking they were normal, until I faced clogged burrs and inconsistent shots. Now, I know that neglecting small signs of buildup can lead to costly repairs and compromised flavor. It’s a warning that paying close attention to every detail, from bean storage to regular cleaning, is essential for true espresso mastery.
Beyond the Basics: What Experience Taught Me About Superior Setup
Adjusting grind size and employing proper distribution techniques transformed my results more than upgrading equipment. For example, mastering the proper depth for WDT distribution, as highlighted here, gave me more control over extraction quality. These small, deliberate tweaks made me realize that technique often outperforms expensive gear and that continuous learning is key to consistently excellent espresso.
Secrets That Often Go Unspoken Among Baristas
Pre-heating the portafilter and implementing a 30-second flush are things I wish I had understood earlier. These simple steps, discussed here, prevent rancid oils from tainting my shots and ensure temperature stability. Discovering these often-overlooked techniques has dramatically improved my espresso’s clarity and flavor, proving that the devil is truly in the details.
How Internal Insights Redirected My Approach to Equipment Care
Regular parts inspection and proactive replacement, like replacing worn burrs before they dull, kept my machine humming smoothly. I realized that every component has a lifespan, and staying vigilant minimizes downtime. This preventative mindset extends equipment life and ensures every shot I pull is as perfect as it can be, reinforcing that maintenance isn’t a chore but a pathway to better coffee.
My Personal Path to Espresso Excellence and Your Next Step
Embracing these lessons transformed my approach—from reactive fixes to proactive care—allowing me to enjoy better-quality espresso and fewer frustrations. This journey underscores that mastery isn’t about having the most expensive machine but about how well we understand and care for our equipment. Now, I challenge you to look closely at your setup and start implementing one small improvement today; your taste buds will thank you!
Thinking about where to begin? Consider starting with routine internal cleaning or fine-tuning your grind settings using detailed guides like this quick flush technique or adjusting your distribution method for better puck consistency. What small change will you try first to elevate your home espresso game?