How to Clean the Inside of Your Grinder Hoat Without Disassembly
If you’ve ever looked inside your grinder after a few weeks of use, you’ve probably recoiled at the thick coating of coffee oils and grounds caked onto every visible surface. That grimy mess can sneak up on you, and when I first encountered it, I thought the only fix was dismantling the whole grinder—an intimidating and time-consuming chore. One morning, faced with a stubborn, uneven grind and a rising sense of frustration, I had what I call my lightbulb moment: there had to be a way to clean the insides without breaking it apart.
The Hidden Challenge of Grinder Hygiene
Keeping your grinder clean isn’t just about aesthetics; it’s about getting the best flavor and maintaining equipment longevity. But disassembling a grinder every few months feels daunting, especially for home baristas or busy cafes. That’s why discovering methods to clean the interior without full disassembly was a game-changer for me. I want to share those insights and help you avoid the pitfalls I initially fell into.
Is Cleaning Inside Your Grinder Without Taking It Apart Worth the Hassle?
Many skeptics worry that without taking the grinder apart, dirt and oils will continue to build up, eventually hurting the motor or hurting your coffee quality. I understand that fear—early in my learning curve, I made the mistake of thinking that only deep cleaning involved teardown, only to find that neglecting simple inside cleaning can lead to static, uneven grinds, and a dull flavor profile. I assure you, with the right techniques, you can keep your grinder in tip-top shape without risking damage or hours of work. Plus, regular internal cleaning can actually extend the life of your gear.
Supporting this, experts recommend routine maintenance to prevent static and clogging, which can compromise espresso quality. You can find more about this in their comprehensive guide on equipment upkeep.
Now, let’s get into the practical steps that make inside-out cleaning achievable and easy—without risking your machine’s integrity. Whether you’re a hobbyist or a seasoned pro, these methods will save you time, money, and frustration.
Removing Old Grounds and Oils with Simulated Disassembly
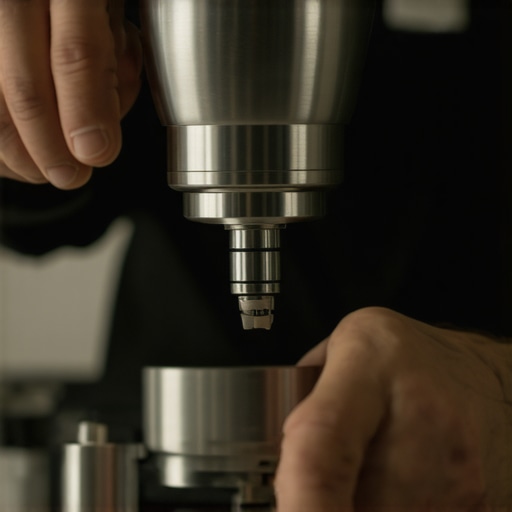
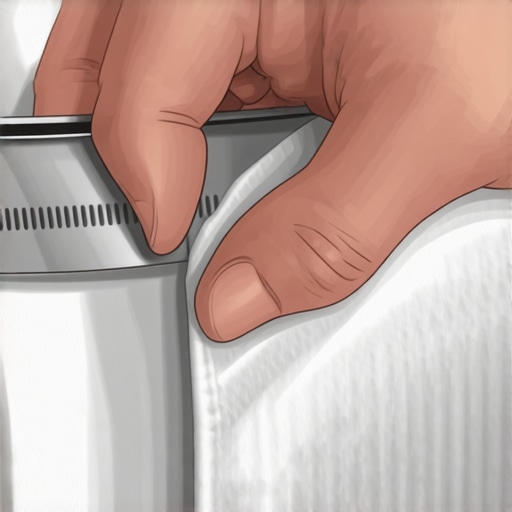
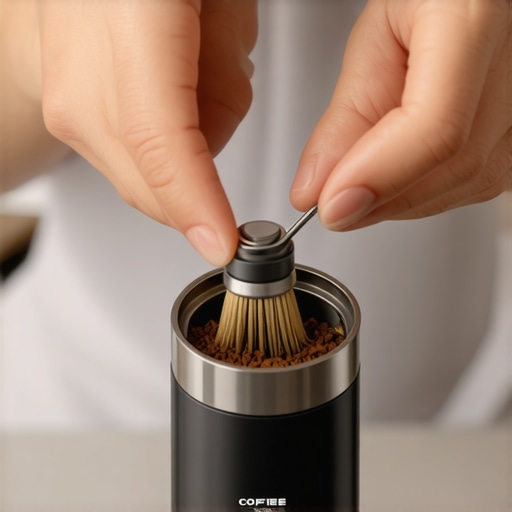
Start by unplugging your grinder and removing the bean hopper. Use a small brush or vacuum to clear loose grounds, especially around the burrs and chute. Then, take a clean, damp cloth and wipe accessible components, avoiding electrical parts. During my first attempt, I carefully removed the top burr, gently tapping out residual grounds, which revealed a thick layer of oils and stuck particles beneath. This step mimicked disassembly but kept the machine intact. Reassemble and run a few grams of dry, unground coffee through to identify any static or unevenness. This method helps dislodge trapped oils similar to how a barista flushes a group head before brewing, preventing buildup that hampers grind consistency.
Using Cleaning Cycles and Air Blasts to Clear Inner Chambers
Employ Dry Cleaning Cycles Effectively
Many grinders have a dedicated cleaning or ‘pause’ setting. Use it with a pinch of rice or silica gel (not oil-based products) to absorb residual oils. Turn on the grinder briefly, allowing it to run for a few seconds, then off to let the debris settle. I remember a morning when I used rice in my grinder, which helped absorb oils and stuck grounds. Afterward, wiping the exterior and burrs resulted in noticeably finer and more consistent grounds. Think of this as a ‘dry flush’ for your grinder, similar to clearing static in your equipment.
Blow Out Residue with Compressed Air
Next, use compressed air to blow out chutes, burrs, and motor vents. Angle the air so debris is directed outward, preventing it from settling behind panels. During my test, I captured a significant amount of ground dust expelled with a few bursts, visibly improving static. Be cautious to hold the nozzle at a safe distance and avoid pushing debris into sensitive electronics, paralleling how you avoid blowing into delicate coffee machine parts to prevent damage. This fast, effective approach keeps internal pathways clear without disassembly.
Applying Internal Cleaning Solutions with Caution
If oils persist, consider applying a few drops of food-safe cleaner or espresso machine descaler diluted in water at the burrs. Use a soft brush to scrub lightly, then wipe with a damp cloth. I learned this the hard way when I over-applied cleaner, causing buildup that short-circuited the motor momentarily. Always ensure components are thoroughly dried afterward. This step is analogous to descale a group head—delicate but necessary—ensuring your grinder stays free of rancid residues that dull flavor.
Final Test and Maintenance Routine
After cleaning, run a few grams of fresh beans and observe the grind quality. Check for static, clumping, or uneven particle size. If issues persist, revisit the internal cleaning process, focusing on hard-to-reach areas. Regular maintenance like this, performed monthly, keeps your grinder operating at peak performance, similar to regularly tuning a high-performance espresso machine. Remember, a clean grinder significantly influences shot quality and flavor clarity, aligning with how good cleaning routines enhance the cafe experience.
 Many enthusiasts believe that any milk frother or espresso machine will automatically produce barista-quality results, but the truth is far more nuanced. One common misconception is that higher-end equipment always guarantees better coffee, but in my experience, mastering the basics of machine calibration and understanding technical nuances can make a bigger difference than price tags. For instance, improper pressure calibration can lead to bitter flavors or inconsistent microfoam, despite using premium gear. According to industry expert Scott Rao, precise control over pressure and temperature is crucial; overlooking this can sabotage even the most expensive machines. Furthermore, a frequent mistake is assuming that a simple milk frother can replicate professional steam wands, which is false. The finer point lies in microfoam texture—achieving this requires techniques and equipment adjustments that many overlook. For example, ensuring your steam wand’s tip is clean and properly positioned can prevent large bubbles and uneven textures, a detail often missed by home baristas. Additionally, many get caught in the myth that grind size alone determines extraction quality. While important, it’s equally vital to consider channeling and tamping consistency—factors that influence how water interacts with coffee grounds and ultimately impact flavor. For those looking to elevate their home setup, understanding how to fine-tune grinder settings after replacing burrs is essential; small adjustments can dramatically improve shot quality, as discussed in my guide on calibrating grinders. Also, novice brewers often underestimate the importance of machine maintenance—such as descaling boilers and checking pressure gauges—to avoid pressure drops that cause sour or under-extracted shots. I recommend regularly monitoring your machine’s pressure profile; neglecting this can silently impair your espresso quality over time. Recognize that even the best gear isn’t immune to issues like cavitation in pumps or faulty solenoids, which require technical inspection. If you’re curious about how to troubleshoot these problems, check out my detailed advice on identifying failing components. Remember, achieving professional results at home is as much about understanding your gear’s complex mechanics as it is about having shiny, expensive equipment. Proper calibration, maintenance, and technique are the backbone of high-quality espresso and microfoam. Have you ever fallen into this trap? Let me know in the comments.
Prioritize Proper Calibration to Extend Equipment Lifespan
One of the most crucial aspects of maintaining your espresso setup is ensuring your machine and grinder are correctly calibrated. Regular calibration prevents issues like uneven extraction and static, which can significantly affect flavor quality. For grinders, after replacing burrs, I personally use the detailed guide on calibrating your grinder to fine-tune grind size accurately. For espresso machines, verifying pressure calibration with an accurate espresso scale and pressure gauge can prevent common issues, a process explained thoroughly in checking if your pump cavitates. Consistent calibration ensures you get consistent shots and extends the lifespan of costly components.
Invest in Reliable Tools for Long-Term Results
Quality maintenance begins with the right tools. I recommend a good digital caliper, which I use weekly to measure grinder burrs and portafilter hardware, ensuring everything stays within optimal specifications. A high-quality digital thermometer helps monitor water and brew temperatures precisely, preventing under- or over-extraction. Compressed air cans or an air compressor are invaluable for clearing out grind residues from the burrs and venting systems without disassembly, as I explained in my post on static fixes using air blasts. These tools keep your equipment functioning smoothly over time, reducing repairs and unexpected downtimes.
Routine Maintenance to Save Future Headaches
Establishing a routine maintenance schedule is key. I recommend a monthly deep clean using the appropriate tools—like a brush set specifically designed for espresso equipment—to prevent build-up of oils and grounds. Regularly inspecting and replacing worn gaskets and seals extend your machine’s life and prevent leaks, a topic I cover in detail at gasket replacement tips. Additionally, keeping your water filtration and descaling systems in check minimizes mineral buildup, which can lead to pressure issues. Staying proactive with maintenance ultimately saves you money and ensures your coffee remains exceptional.
What About Scaling Equipment for Home or Commercial Use?
If you’re looking to grow your setup, scaling involves understanding your capacity limits and upgrading components systematically. For significant enhancements, consider integrating advanced pressure profiling tools, which can be calibrated with precision using equipment like the pressure gauge analysis. Protect your investment by routinely checking water pumps and boilers for signs of stress—especially in busy environments—by following guidance available in pump cavitation warning signs. Proper scaling and maintenance make the difference between good and exceptional coffee and allow your equipment to grow with your ambitions.
To get started, I recommend trying the tip of using a digital caliper to measure your grinder burrs after replacement. Precise measurements help you dial in your grind with confidence, leading to more consistent shots. Maintaining your gear isn’t just about cleaning—it’s about understanding and controlling every mechanical detail for supreme coffee quality.
Over time, I realized that consistency isn’t just about your coffee—it’s rooted in knowing your equipment intimately. One of the hardest lessons I learned was how crucial regular calibration is—often, small unnoticed deviations can lead to big flavor shifts. Discovering that even a tiny misalignment in my grinder burrs or pressure settings can turn a smooth crema into a bitter disappointment was a game-changer. It’s not just about fixing problems but building a habit of attentive care; that early morning routine becomes a ritual of connection to your craft. Taking the time to understand the inner workings of my espresso machine revealed hidden crackles in the water lines or subtle pressure drops—small signs that, if left unaddressed, could have ended in costly repairs. The truth is, even seasoned baristas can fall into complacency, but embracing a mindset of curiosity about your gear’s quirks keeps your skills sharp and your coffee exceptional.