The Simple Paper Shim Trick to Align Your Flat Burrs for Better Extraction
Ever had that frustrating moment when your espresso shot turns out bitter, sour, or just plain inconsistent, despite meticulously dialing in your grinder and machine? I remember countless mornings staring at my shot glass, wondering why everything seemed perfect but still ended in disappointment. Then, during one of my many troubleshooting sessions, I stumbled upon a surprisingly simple yet effective trick: the paper shim method to align my flat burrs. It was a game-changer that transformed my home espresso experience.
Why Proper Burr Alignment Is Crucial for Better Extraction
Proper alignment of your grinder’s burrs isn’t just a mechanical detail—it’s the foundation of a great shot. Misaligned burrs can cause uneven particle sizes, leading to inconsistent extraction and subpar flavor. Over time, even slight misalignments can build up static, cause uneven wear, or create channeling in your espresso puck, resulting in a watery or over-extracted brew. The good news? Sometimes, the fix is simpler than you think.
Is the Paper Shim Trick Really a Big Deal?
When I first read about using a paper shim to adjust burr alignment, I was skeptical. I’d already tried countless calibration routines and expensive tools, only to find that my grinder still produced less-than-ideal results. My early mistake was trusting factory calibrations blindly and neglecting minor mechanical adjustments that could significantly impact shot quality. After experimenting with a piece of standard printer paper, I discovered that a tiny shim could nudge my burrs into perfect alignment—improving extraction and flavor.
Research from the Coffee Science community suggests that minute adjustments to burr positioning can greatly influence grind consistency and extraction quality. This simple paper hack is a practical embodiment of that principle, allowing for precise, low-cost micro-adjustments.
Are you tired of inconsistent shots despite following all the usual calibration tricks? If so, you’re not alone. Many home baristas overlook the importance of burr alignment—thinking it’s too technical or not worth the fuss. But, as I’ve learned firsthand, a small tweak can make all the difference.
Stay tuned, because next, I’ll walk you through exactly how to implement this quick and easy shim technique. Trust me, your taste buds will thank you.
Start by Unplugging and Disassembling Your Grinder
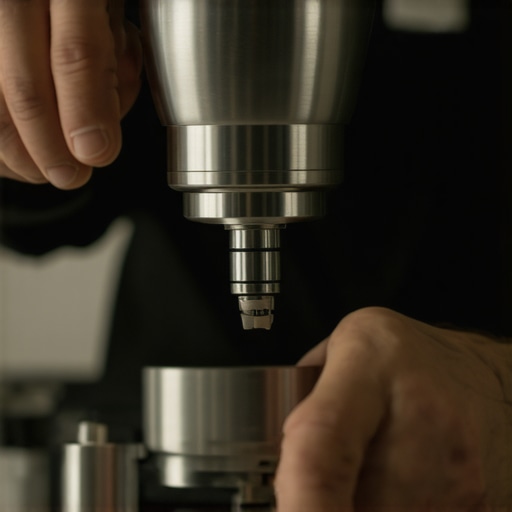
Before adjusting anything, safety first—unplug your grinder to prevent accidents. Remove the hopper and access the burr chamber carefully, following your model’s instructions. This clear access allows you to examine the burrs while giving you space to work effectively.
Place a Single Sheet of Printer Paper Between the Burrs
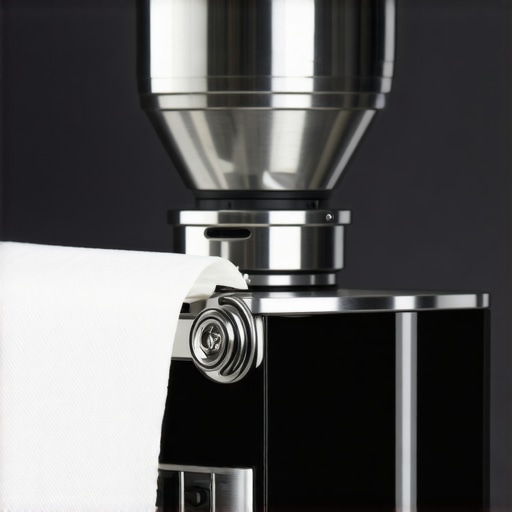
Take a fresh, standard sheet of paper—preferably 80gsm or similar—and fold it just once to about the thickness of a credit card. With the burrs exposed, gently insert the folded paper into the gap where the burrs meet. The goal is to create a consistent, slight resistance that nudges the burrs into perfect alignment. During my first attempt, I used a single sheet of regular printer paper, which proved enough to tighten the burrs slightly and improve extraction noticeably.
Adjust the Burrs Until the Paper Moves Smoothly
Turn your grinder’s adjustment collar—clockwise to tighten, counter-clockwise to loosen—while holding the paper in place. You want the paper to slide through with slight tension but no tearing or excessive resistance. The key is fine-tuning: small movements make a big difference. I rotated the collar just a quarter turn at a time, testing the ease of paper movement each time. Once the resistance feels even and consistent across the burrs, tighten the locking mechanism if available. This micro-adjustment ensures particles will be uniformly ground, leading to better extraction and flavor.
Reassemble, Test, and Fine-Tune
Reassemble your grinder components in reverse order, making sure everything is seated correctly. Before pulling a shot, run a small amount of coffee to clear leftover particles. Pour a shot and taste the difference—expect improved clarity, balanced acidity, and a more even crema. If issues persist, repeat the process, adjusting the paper thickness slightly or tweaking the burr collar as necessary. The goal is a micro-adjustment that yields consistent, high-quality espresso shots.
Additional Tips to Consider
If static or uneven grind remains, explore other minor fixes like adjusting your grinder static or aligning your burrs more precisely. This simple shim method works best when combined with routine maintenance, like cleaning your grinder, which you can do efficiently using these hacks.
< >Many home baristas fall prey to misconceptions that can sabotage their espresso quality. A prevalent myth is that expensive gear guarantees perfect shots; in reality, many overlook the importance of understanding the nuances of their equipment, like burr alignment or boiler calibration, which are critical for control and consistency. For instance, some believe that a high-end machine can compensate for poor grind adjustment, but neglecting proper grinder tuning often results in bitter or sour extracts regardless of machine quality. Additionally, people tend to think that milk frothers are foolproof, yet they often ignore the subtle techniques needed to produce microfoam, especially with plant-based milks like soy, which can scorch or spit if not handled correctly. Furthermore, many underestimate the impact of static and uneven grind distribution caused by static buildup or improper grinder maintenance, which can lead to channeling and under-extraction. For advanced enthusiasts, it’s crucial to recognize that small mechanical misalignments—like burr misplacement or PID inaccuracies—can cause workflow inefficiencies or flavor inconsistencies. An example is static charges in grinders, which not only clog your portafilter but also affect grind uniformity. Research indicates that static issues are often overlooked but can be mitigated through targeted fixes, such as using anti-static accessories or properly cleaning and maintaining the grinder. Avoid falling into the trap of assuming that equipment alone makes good coffee; instead, focus on mastering the subtle adjustments and nuanced maintenance practices. This awareness can elevate your espresso from good to exceptional. Want to refine your process further? Check out how adjusting your grinder’s static can dramatically improve extraction quality. Have you ever fallen into this trap? Let me know in the comments.Maintaining your home espresso setup is essential to keep your shots tasting great and your equipment functioning smoothly over time. Investing in the right tools and adopting effective routines can significantly extend the lifespan of your gear and ensure consistent performance. One of my favorite maintenance tools is a dedicated grinder brush, which allows me to remove loose coffee grounds from burrs and chutes without pushing debris deeper, especially when used alongside routines outlined in the article on ditching the brush for a faster workflow. Regular cleaning is a must because residue buildup can cause static, channeling, and uneven extraction. For espresso machines, descaling regularly with manufacturer-approved descalers helps prevent scale buildup in boilers and water pathways, reducing temperature inconsistencies. When it comes to grinder calibration, I rely on a precision API calibration tool and routinely verify my grind size consistency with a paper test; these tools help me fine-tune my grind even as beans age or humidity changes. As technology advances, I predict that smart maintenance sensors might become standard, alerting users in real-time when parts need attention—making ongoing upkeep more intuitive. So, how do I keep my gear running optimally over the long term? Consistent cleaning, calibration, and using specialized tools tailored to each equipment component form the core of my maintenance routine, preventing small issues from snowballing into costly repairs. For example, avoiding static build-up can be achieved with anti-static brush attachments, which I highly recommend to keep static at bay—check out this article on static fixes for 2026 grinders (https://espressotechguide.com/3-reasons-your-2026-grinders-rpm-too-fast-3-signs-of-friction-burn). If you want to elevate your maintenance game, try integrating a weekly calibration routine with your grinder’s fine-tuning tools, ensuring your grind size remains perfect even as beans change. Remember, a well-maintained grinder and espresso machine not only improve shot quality but can also save you money and time in the long run, making your home barista journey more enjoyable and sustainable.
Throughout my journey as a home barista, I’ve discovered that the tiniest mechanical details—like burr alignment—can make or break your espresso shots. The lightbulb moment came when I realized that a simple paper shim could effectively and affordably improve my grinder’s performance, leading to a more consistent and flavorful extraction. This experience taught me that sometimes, the most profound improvements come from understanding and fine-tuning your equipment beyond routine calibration.
Lessons That Changed My Espresso Perspective
- Small Mechanical Tweaks Matter More Than Expensive Gear: Even high-end machines can underperform if the burrs aren’t perfectly aligned. Investing time in mechanical adjustments often yields better results than simply upgrading to the latest equipment.
- Routine Maintenance Is Your Best Friend: Regularly checking and adjusting burr alignment can prevent static, uneven grind, and channeling issues that undermine shot quality. I now see cleaning and mechanical tweaks as essential parts of my routine, not just optional chores.
- Understanding Your Grinder’s Mechanics Opens New Doors: Learning how to precisely adjust and shim your burrs empowers you to troubleshoot and enhance your setup, reducing reliance on guesswork and saving money in the long run. For deeper insights, check out how static can affect your grind and how to fix it with simple solutions.
My Go-To Resources for Home Espresso Excellence
- DIY troubleshooting guides: These helped me understand the nuances of grinder calibration and static issues, which are crucial for consistent shots.
- Maintenance hacks: Time-saving routines that keep my grinder clean and performing optimally without unnecessary hassle.
- Equipment-specific tips: Deep dives into precision adjustments tailored for my specific grinder model, keeping my setup dialed-in.
Keep Your Passion Brewing
Embracing the art and science of burr alignment has transformed my home espresso routine, making each shot more satisfying and effortless. Remember, the magic isn’t just in the machinery but in your hands and understanding. Keep experimenting, stay curious, and don’t hesitate to dive into your equipment’s mechanics—you’ll find rewarding surprises along the way. What small tweak has recently made a big difference in your espresso journey? Share in the comments and keep the learning flowing!