How to Adjust Your Grind Size Based on the Humidity
I remember the first time I blamed my espresso shots on my grinder. I was so proud of setting it perfectly for my home brew—until one morning, my shot pulled flat and sour. Turns out, I’d overlooked a tiny but mighty factor: humidity. That lightbulb moment made me realize that the environment around my equipment can wildly affect my grind consistency and, ultimately, my coffee quality. Have you ever struggled with inconsistent espresso shots despite adjusting your grinder? If so, you’re not alone.
Why Environment Matters More Than You Think
Humans tend to focus on beans, tamping pressure, or machine settings when things go awry. But I learned that the air’s moisture plays a crucial role. High humidity can cause coffee grounds to clump together, making your grinder work harder and less precisely. Conversely, dry conditions might lead to static buildup, causing grinds to scatter and lose weight. Small changes in humidity can derail your carefully calibrated grind, leaving you frustrated. This is why understanding and adjusting for humidity is essential for any serious coffee enthusiast aiming for that perfect shot. According to recent studies, ambient moisture levels can influence the density and moisture content of coffee grounds, directly affecting extraction and flavor profiles (source). Now, instead of guessing, I want to share practical tips to keep your grind consistent—no matter what the weather throws at you.
Is Adjusting Grind Size Actually Worth the Hype?
Early on, I believed in the myth that once your grinder is dialed in, you’re set for life. I made the rookie mistake of ignoring environmental factors and stayed fixed on my initial settings. I didn’t realize that seasonal shifts and humidity make your standard grind adjustment less reliable. This oversight meant my coffees tasted off just when I thought I had everything perfect. Trust me, if you want to dial in your espresso with precision, paying attention to humidity and adjusting your grind accordingly is a game-changer. It’s about creating a stable baseline so every shot is as good as the last. Not sure how to start? Don’t worry—I’ll walk you through simple steps you can implement right away to keep your grinding consistent, regardless of the weather.
Seal and Store Your Coffee Properly
Start by investing in airtight containers to prevent moisture from infiltrating your beans and grounds. Transfer your coffee into a vacuum-sealed jar or a container with a tight-fitting lid designed for moisture resistance. During humid days, keep these containers in a cool, dry place away from windows or sources of humidity. I once neglected this step, leaving my beans in a plastic bag that was slightly open; the next morning, my grind was clumped and static-y. Replacing them with proper sealing dramatically improved consistency.
Adjust Your Grinder to Counteract Humidity Effects
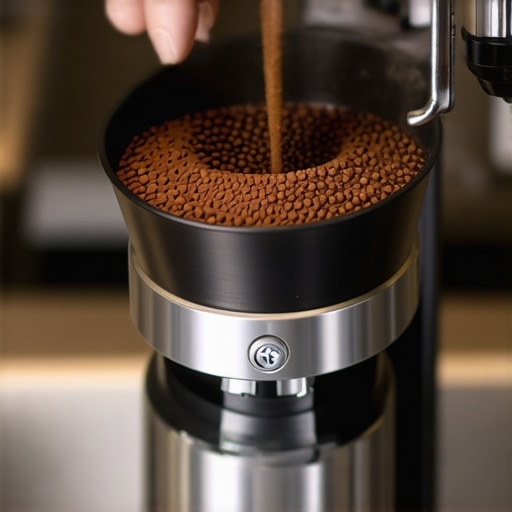
Humidity impacts grind size — on humid days, grounds tend to clump, requiring a finer setting, while on dry days, a coarser grind helps reduce static. Use a step grinder with micro-adjustments. When humidity rises, dial your grinder to a slightly finer setting to maintain extraction consistency, and vice versa. I once experimented by turning my burrs just half a click finer during a humid afternoon, resulting in a marked improvement in shot clarity.
Monitor the Environment with a Hygrometer
Install a hygrometer in your brewing space to track ambient moisture levels. Aim for a humidity between 50-60%, where grounds stay stable. If humidity fluctuates outside this range, manually adjust your grinder accordingly. I keep mine on my countertop, checking before each session. Noticing an increase in humidity, I adjusted the grind size and noticed my shots became smoother and more predictable.
Control Temperature and Ventilation
Temperature influences airflow and moisture evaporation. Keep your room well-ventilated but not drafty—excess airflow can dry grounds, causing static, while stagnant air can cause excess humidity. Using a fan or air conditioner can help stabilize conditions. During a summer heatwave, I used a portable AC to maintain a stable environment, which led to more uniform grinds and better extraction. Proper airflow also prevents mold buildup in your coffee storage area.
Calibrate Regularly and Record Settings
Create a habit of recording your grind settings, environmental conditions, and shot outcomes. Use a dedicated journal or app to track changes, so you can recall effective adjustments when weather changes again. I keep a simple chart on my coffee station, noting grind size, humidity levels, and taste. Over time, this helps me anticipate how humidity impacts my setup, saving me time and frustration.
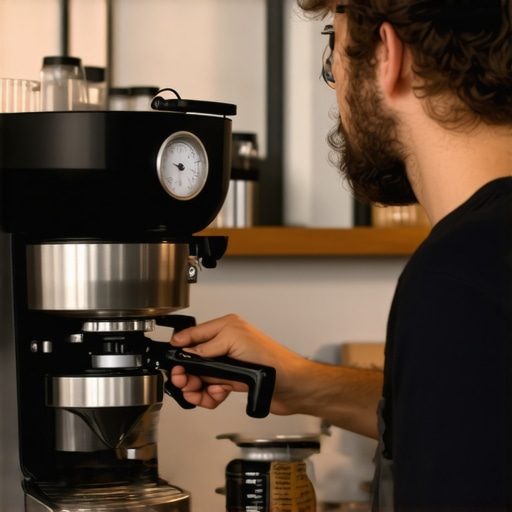 When it comes to mastering the art of espresso, many enthusiasts fall prey to oversimplified beliefs that can hold them back. For example, the idea that more expensive machines always produce better shots is a myth; in reality, proper maintenance and understanding machine nuances often matter more. Plus, many assume that milk frothers are a straightforward tool—yet, achieving silky microfoam demands more than just turning a knob. Instead, understanding the subtle differences in frothing techniques can elevate your coffee experience.
A common mistake is neglecting the impact of residual coffee oils in your grinder burrs. Over time, these oils can cause uneven particle size distribution, resulting in inconsistently extracted shots, even if your grinder settings seem correct. Regular cleaning, such as following detailed procedures outlined in guides like [how to scrub burrs without harsh chemicals](https://espressotechguide.com/the-specific-way-to-scrub-burrs-without-using-harsh-chemicals), can really improve your results.
Are you aware that many barista gear setups are overhyped? A high-end tamper or specialty tool doesn’t automatically guarantee better extraction if your workflow isn’t optimized. The real secret lies in the consistency of your tamping force and distribution—small details that many overlook but can dramatically affect brew quality. That’s why I always recommend focusing on the *action* rather than just the *gear*.
Ever wondered if your grinder’s adjustments are truly precise? Many users rely on vague ‘clicks’ or coarse increments, but advanced coffee-making demands micro-adjustments that can make a real difference in shot quality. For this reason, selecting a grinder with granular adjustment mechanisms, and learning how to calibrate it effectively, can lead to more consistent dial-ins. For detailed insights, check out [how to select the perfect grinder](https://espressotechguide.com/how-to-select-the-perfect-coffee-grinder-for-your-brew).
Speaking of advanced mistakes, many believe that dialing in your espresso is a one-time task. However, seasonal changes, humidity, and even coffee bean freshness can alter optimal grind size and dose. Regularly recalibrating your machine and recording your settings, as suggested in [mastering home espresso tips](https://espressotechguide.com/mastering-the-art-of-home-espresso-tips-for-beginners), ensures you don’t lose your touch when external conditions shift.
What advanced adjustments can really improve espresso quality for seasoned baristas?
A key nuance often overlooked is pump pressure consistency. Variations here can cause under-extraction or channeling, no matter how perfect your grind and tamping are. Using tools like a portable pressure gauge or learning how to measure pump pressure manually helps maintain stability. As highlighted in [how to measure pump pressure without specialized tools](https://espressotechguide.com/how-to-measure-pump-pressure-without-owning-a-scace-device), small tweaks here can have significant impacts.
In the end, the secret to elevating your espresso isn’t just about high-end gear; it’s understanding the intricate details—the hidden nuances—that influence every shot. Are you applying these advanced techniques yet? Share your experiences or questions below, and let’s deepen our coffee mastery together!
Optimizing Maintenance with Precision Tools
Staying on top of your gear’s upkeep is essential for reliability and top-tier performance. I personally swear by using a dedicated steam tip cleaning tool to prevent blockages that can cause inconsistent frothing. Additionally, investing in a high-quality pump pressure gauge allows me to fine-tune my espresso machine constantly, ensuring stable shot quality. Regular calibration with these tools minimizes the drift caused by environmental changes and usage wear.
Implementing Long-Term Care Strategies
Routine deep-cleaning is non-negotiable. For burr grinders, I follow a meticulous cleaning regimen using safe, chemical-free methods, like those outlined here. Consistent maintenance extends your gear’s lifespan, saves money in repairs, and maintains flavor profile integrity. Moreover, lubricating your machine’s moving parts with food-safe oils can prevent wear and tear, but be sure to consult your manufacturer’s guidelines. Monitoring internal reservoir cleanliness prevents mold and bacteria buildup, preserving machine longevity and coffee quality.
Tools That Future-Proof Your Setup
Looking ahead, automation and smart diagnostics in barista gear are evolving rapidly. Devices like Wi-Fi-enabled shot timers and app-controlled calibration systems could become industry standard, giving you even more control and consistency. Staying updated with these innovations ensures you’re prepared for a future where precision is fully automated. As I anticipate, integrating sensors that monitor grind consistency and temperature in real time will be game-changers for home enthusiasts and professionals alike.
How do I maintain my equipment over time?
The key is establishing a disciplined maintenance routine, including scheduled cleanings, calibrations, and part replacements. Using the right tools—like a dedicated chute cleaning brush or a precise workflow optimization tool—ensures longevity and performance. In my experience, documenting every maintenance activity helps track wear patterns and anticipate future needs, saving time and minimizing downtime. Regularly checking and replacing wearing parts, such as group head seals or grinder burrs, keeps your setup functioning at its best. For more detailed insights, check out this guide for deep cleaning techniques and schedules. Don’t forget—advanced users should consider adopting pump type comparisons for optimized maintenance routines. Ready to take your gear maintenance to the next level? Try implementing a weekly calibration check combined with a thorough clean of all contact surfaces—your espresso shots will thank you.
The Hidden Lessons That Transformed My Espresso Journey
One of the most eye-opening lessons I learned was the importance of environment—not just the grind or machine settings, but the subtle sway of humidity and temperature on your coffee performance. Tackling persistent shot inconsistencies taught me to look beyond the obvious and embrace a holistic approach to espresso making. Adjusting grind size, sealing beans properly, and monitoring room conditions—all became part of my routine, revealing how nuanced and rewarding fine-tuning can be. It’s a reminder that mastery is a journey filled with continuous learning and adjustments.
The Tools That Became My Coffee Allies
Over the years, I’ve curated a set of tools that genuinely boost my craft. A high-quality hygrometer keeps my environment in check, guiding me when the weather shifts suddenly. Regular calibration with a precision pressure gauge ensures my machine performs at its best, avoiding the pitfalls of drifting pressure windows. For maintenance, dedicated tools like burr cleaning brushes and deep-cleaning solutions help extend my gear’s lifespan and keep flavors pure. These essential resources have become my trusted partners, making each espresso shot more predictable and satisfying.
Take Charge and Redefine Your Espresso Ritual
Your path to better espresso isn’t about chasing perfection overnight but embracing the small, deliberate actions that build confidence and skill. Start by observing your environment—use a hygrometer to adapt your grind dynamically. Invest time in regular maintenance routines, and stay curious about how subtle adjustments change your shots. By approaching your setup with intentionality, you pave the way for consistent, delicious espresso every time. Remember, the future of your coffee experience is in your hands—progress with patience and passion, and enjoy every step of the journey.