How to Tell if Your Machine Needs a New Group Gasket
You know that sinking feeling when your espresso shot suddenly tastes flat or bitter, and you wonder if your beloved machine is giving up on you? I’ve been there, staring at my coffee maker in disbelief, suspecting that a tiny rubber part might be the culprit. It’s a frustrating spot—because who really understands the ins and outs of machine maintenance? But here’s the truth: that tiny, often overlooked gasket can make or break your espresso experience.
Why Your Machine’s Heart Might Be Failing
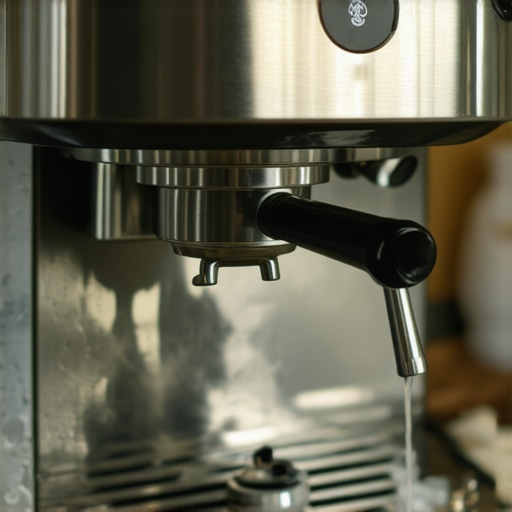
Many home baristas don’t realize that the group gasket is essential for creating the perfect seal during extraction. When it starts to deteriorate, your machine’s ability to maintain pressure drops, leading to uneven pours and compromised flavor. Early signs are subtle—perhaps a slight leak around the group head or a bit of steam escaping where it shouldn’t. But if left unchecked, it can escalate into costly repairs or the need for a full machine replacement. As I learned the hard way, ignoring these signals can hurt your wallet and your morning routine.
Replacing a gasket isn’t as intimidating as it sounds, and recognizing when to do it can save you a lot of trouble. It’s similar to noticing when your car’s brake pads are wearing thin—prompt action prevents bigger problems down the road. Plus, with a bit of knowledge, you can handle the replacement yourself, saving time and money.
What’s Holding You Back from Saying Goodbye to Your Old Gasket?
Many skeptics believe that gasket replacement is a complex task requiring special tools or technical skills. I used to think that too, and I hesitated for too long. The truth is, with a few simple steps, you can identify whether the gasket has gone bad and decide if it’s time for a swap. And if you’re wondering, “Is replacing the gasket worth the effort?”—the answer is a resounding yes. It’s like giving your machine a fresh lease on life, restoring that glorious espresso shot you fell in love with.
If you’ve ever experienced sour shots or inconsistent brewing, you know how frustrating it can be. Sometimes, a simple gasket replacement can be the fix, not a whole overhaul. Trust me, catching the signs early can save your residual patience and your precious coffee.
Now that I’ve shared my experience, let’s dive into how you can tell if your machine’s gasket really needs replacing—and how to do it right. Ready to ensure your machine keeps brewing like a pro? Let’s get started.
Identify the Gasket’s Condition
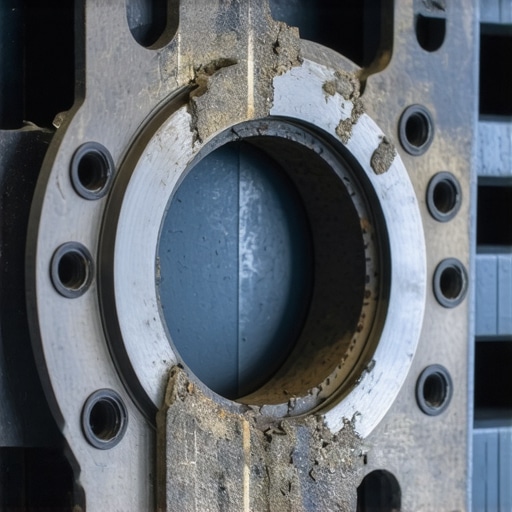
Begin by inspecting your machine’s group gasket visually. Look for cracks, hardening, or material wear. I once noticed my gasket felt brittle after a deep clean—this was a clear sign it was nearing the end. Gently remove the portafilter and examine the gasket from the top. If it shows signs of deterioration, it’s time for a replacement.
Gather Proper Tools and Materials
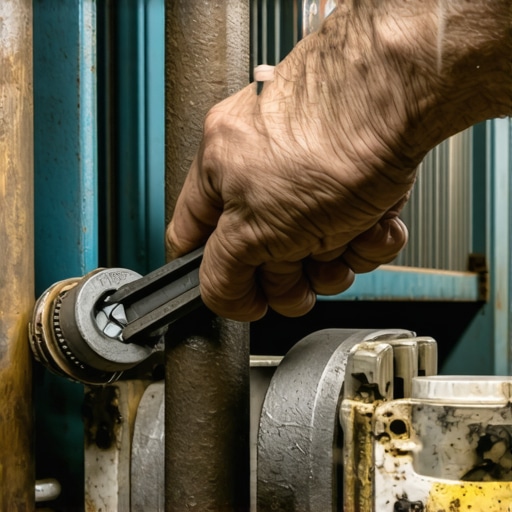
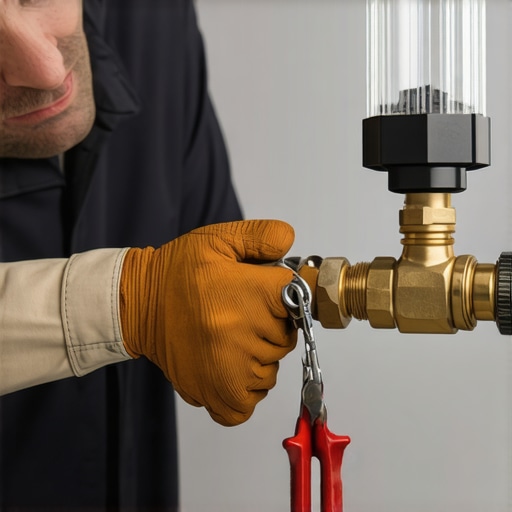
Locate a compatible replacement gasket tailored for your espresso model. You’ll need a screwdriver or pliers, and possibly a gasket removal tool. I recommend wearing gloves to get a better grip and avoid damaging the delicate parts. Having these ready streamlines the process and minimizes frustration.
Remove the Old Gasket Carefully
Loosen the screws securing the gasket if applicable, or gently pry it out with a plastic or rubber tool. Be cautious not to scratch or damage the metal surfaces. During my first attempt, I used a plastic spatula, which prevented scratching and made removal easier. Patience is key—rushing can cause tearing or damage.
Clean the Gasket Seat Thoroughly
Before installing the new gasket, ensure the gasket seat is free of coffee oils, old gasket remnants, or debris. Use a soft cloth or brush with a bit of water and mild detergent. I once neglected this step and found my new gasket not sealing properly, leading to leaks. Proper cleaning guarantees a tight, reliable seal.
Install the New Gasket Properly
Place the new gasket evenly into the seat, ensuring it sits flush and undamaged. If your gasket has a specific orientation, align it accordingly. Tighten screws snugly but avoid over-tightening, which can deform the gasket. During my first installation, I over-tightened, causing the gasket to warp. Hand-tightening followed by a gentle snug was enough.
Test and Adjust After Replacement
Run a test shot to check for leaks or pressure issues. Watch for water escaping around the gasket or a drop in extraction quality. If leaks persist, re-tighten slightly or re-seat the gasket. I once had to redo my gasket installation after noticing steam escaping—quick adjustments fixed the problem instantly.
Maintain Your Gasket for Longevity
Regularly inspect and clean the gasket to prevent buildup of coffee oils and debris. Using a gasket cleaning brush and occasional soaking in hot water helps. For tougher deposits, a vinegar solution can be effective—just rinse thoroughly afterward. Proper maintenance extends gasket life and maintains optimal machine operation.
Many coffee enthusiasts believe that picking high-end gear guarantees perfect espresso every time. However, this oversimplification ignores the nuanced techniques and settings that truly make or break your brew. For instance, a common myth is that more expensive grinders automatically produce better shots. In reality, factors like burr alignment and grind consistency are equally critical, and sometimes a mid-range grinder, properly maintained, outperforms pricier models. Bold claims about milk frothers often suggest that automation equates to quality, but manual control allows for more nuanced microfoam, essential for Latte art and optimal texture.
How Do Advanced Calibration Techniques Elevate Your Espresso?
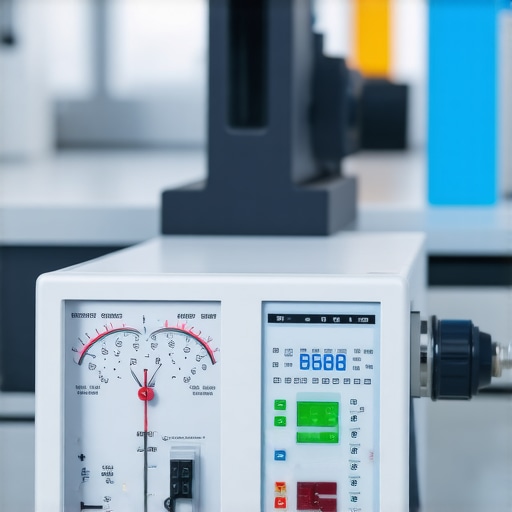
Let’s dig deeper into calibration. Properly dialing in your machine involves more than just adjusting grind size; temperature stability, pressure profiling, and flow rate all contribute to shot quality. Experts recommend regularly measuring extraction parameters and making incremental adjustments. Studies in barista training show that small tweaks in temperature can significantly alter flavor profiles, emphasizing the importance of precise calibration over relying solely on preset or default settings. To refine your setup, consider tools like a flow meter or digital thermometer, which provide data-driven insights rather than guesswork. Maintaining consistent tamp pressure and puck prep techniques complements these adjustments, ensuring optimal extraction. Don’t fall into the trap of neglecting calibration; even minor misalignments in your setup can cause sour or bitter shots, leading to wasted beans and frustration. For a comprehensive understanding, check out this article on calibrating your dual boiler machine. Remember, mastering calibration is a subtle art that transforms good coffee into exceptional.
Keep It Running: Tools I Trust for Home Barista Excellence
Maintaining your espresso setup is as crucial as choosing the right beans. Over the years, I’ve refined my toolkit to include specific tools that make maintenance not only easier but more effective. For instance, I swear by a gasket removal tool for replacing group seals—it saves me time and prevents damage to delicate parts. Similarly, a precision screwdriver set ensures I can tighten or loosen tiny screws without stripping them. These aren’t just conveniences; they’re investments in the longevity of your machine.
Another essential is a coffee grinder cleaning brush. Regularly clearing out residual grinds prevents uneven dosing and flavor anomalies. I use a nylon brush with stiff bristles, which effectively reaches into burr chambers without scratching metal surfaces. Plus, a digital caliper helps me verify burr spacing during alignment, ensuring consistent grind size—crucial for extracting perfect espresso shots each time.
Calibrating and Servicing Your Espresso Machine
Calibrating your machine is a delicate dance, and the right tools make it precise. I often rely on an electronic temperature profiler to fine-tune temperature stability. This device provides real-time data, enabling me to make informed adjustments that significantly improve shot consistency. Regular calibration can prevent issues like sour or bitter shots and extend the lifespan of critical components.
In addition, I schedule periodic descaling and inspect hoses and valves with inspection mirrors or bore scopes. These steps identify potential blockages or scale buildup that could choke the machine’s performance over time. Developing a routine with these tools ensures your machine remains reliable and produces stellar espresso for years to come.
Smart Software and Cleaning Routine Automation
But maintenance isn’t just physical; software tools are increasingly vital. For example, real-time flow rate monitoring software can alert you to brewing inconsistencies before they become issues. I recommend integrating a digital scale with flow sensors, which can track pour volume and speed, helping you dial in your process precisely. This kind of data-driven approach is the future of home espresso craftsmanship.
Complementing tech, a regular cleaning routine keeps your gear performing flawlessly. I use a puck screen cleaner that fits into the portafilter, cleaning residual oils efficiently. Pair that with monthly backflushing using specialized cleaning solutions, and you’re preserving the seals and valves—crucial for preventing leaks and pressure drops. Remember, well-maintained equipment translates directly into better-tasting coffee and fewer surprises on busy mornings.
How do I keep my equipment in top shape over time?
Investing in quality tools and establishing a consistent maintenance routine is the best way. For example, I’ve found that marking my cleaning schedule on a calendar reminds me to check and replace gaskets or calibrate the machine, much like a car service schedule. Staying proactive saves money and guarantees your machine delivers exceptional shots day after day.
Looking ahead, I believe that automation and smart diagnostics will become standard in home espresso gear. Devices will increasingly sync with apps, providing maintenance alerts and calibration suggestions—making it even easier for us to keep our machines in prime condition. For now, though, mastering the basics with the right tools is your best bet for long-term perfection.
Don’t forget: incorporating a proper burr alignment check into your routine can prevent inconsistent grinds and bitter shots. Take a moment this week to verify your burrs and enjoy the immediate improvement in shot quality. A little effort now means a flawless espresso experience in every cup—so get your toolbox ready and start maintaining like a pro!
Throughout this journey, I’ve discovered that the secret to exceptional espresso isn’t just about high-end equipment or fancy beans—it’s about understanding and caring for the small, often overlooked details. When I finally realized that a simple gasket replacement could revive years of performance, it was a game-changer. These insights are like hidden treasures in the world of home baristas, waiting for those willing to look closer and learn from experience.
Lessons Only the Bold Discover in Coffee Precision
- Chasing shiny new gear can distract from the real work—maintaining and understanding what you already have. The first time I cleaned my grinder’s burrs correctly, my shots became more consistent almost overnight.
- Tuning your calibration isn’t intimidating—it’s empowering. Using tools like a digital thermometer or flow meter transformed my approach from guesswork to science, and the flavors improved dramatically.
- Neglecting small parts like gaskets or misalignments often causes more head-scratching than necessary. Replacing a worn gasket with patience restored pressure and flavor that I thought was lost forever.
- Regular routine maintenance pays off in longevity and quality. Scheduling monthly inspections saved me from unexpected issues, keeping my espresso game strong and reliable.
Tools That Became My Coffee Superpowers
- Gasket removal tool: Making gasket swaps safe and straightforward—saving me many wasted hours and headaches.
- Precision screwdriver set: Perfect for tight screws without stripping, ensuring my repairs last longer.
- Coffee grinder cleaning brush: Keeps residual oils at bay, maintaining grind consistency and flavor clarity.
- Digital caliper: Verifies burr alignment, giving me confidence in my setup and shots.
Discover the Path to Coffee Excellence
Embracing maintenance, calibration, and curiosity has transformed my home setup from merely functional to truly exceptional. The journey doesn’t end here; the world of espresso is vast, and every tweak brings new flavors and satisfaction. I encourage you to start small—inspect, clean, calibrate—and watch your coffee experience evolve. With patience and passion, you can craft barista-quality shots every time, right in your kitchen.
What’s the first small fix you’re excited to try on your machine? Drop a comment below and let’s share our progress together!