Why Your Steam Pressure Drops When the Heating Element Kicks On
There was that moment in my home espresso setup when everything was perfect—steam wand frothing velvety milk, the aroma filling the kitchen—and suddenly, the pressure gauge dropped like a stone the moment my heating element kicked in. Frustrating? Absolutely. But that lightbulb moment got me delving into the mysteries of steam pressure quirks, and I want to share what I’ve learned so you don’t have to spend hours troubleshooting your own machine.
Dealing with Sudden Pressure Drops During Espresso Shots
Most home baristas, me included, rely on our espresso machines to deliver consistent pressure for that perfect shot. But when the steam pressure dips unexpectedly—especially when the boiler heats up—it throws everything off. That stubborn pressure drop can lead to under-extraction, sour notes, or just plain disappointment. Understanding why this happens is key to fixing it and getting back to enjoying delicious espresso and microfoam without the hassle.
Is It Really the Machine’s Fault or Just Poor Maintenance?
Early on, I made the mistake of ignoring regular maintenance, thinking my machine was just aging gracefully. Turns out, neglecting descaling or not inspecting seals and gaskets can cause pressure inconsistencies. A thorough cleaning can sometimes make more difference than replacing parts. If you’re facing similar issues, I recommend checking out this guide on internal water reservoir cleaning. Trust me, a little upkeep goes a long way.
Before diving into complex repairs, it’s wise to consider simple fixes like checking water levels, inspecting for leaks, or ensuring your group head gasket isn’t worn out. Often, these culprits silently sabotage your pressure stability and can be addressed with minimal tools.
But why exactly does this happen when the boiler heats up? And how can you prevent your pressure from nosediving at critical moments? That’s what we’ll explore next, so keep reading—your espresso machine will thank you, and so will your taste buds!
Optimize Water Flow and Clear Blockages
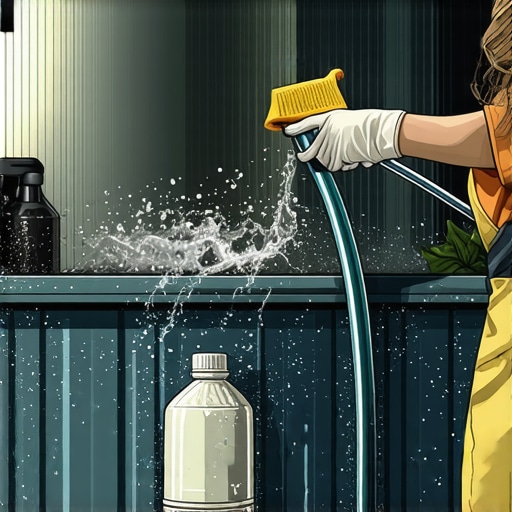
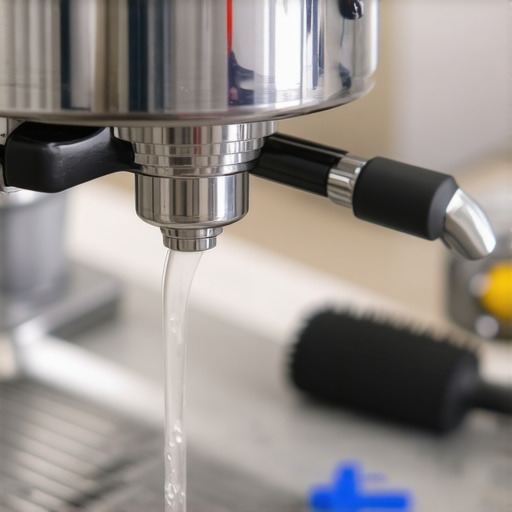
Start by disconnecting the machine from power, then remove the water tank and inspect the inlet tube for any blockages or mineral buildup. Use a soft brush or pipe cleaner to gently clear clogs. Ensure the water filter isn’t clogged, as debris restricts flow and causes pressure fluctuations. Running a descaling cycle with an appropriate solution dissolves mineral deposits that may obstruct internal passages, similar to cleaning out a clogged pipe to restore water pressure. When I faced stubborn clogs, I soaked removable parts overnight in vinegar, then rinsed thoroughly, which significantly improved pressure stability.
Check and Replace Seals and Gaskets
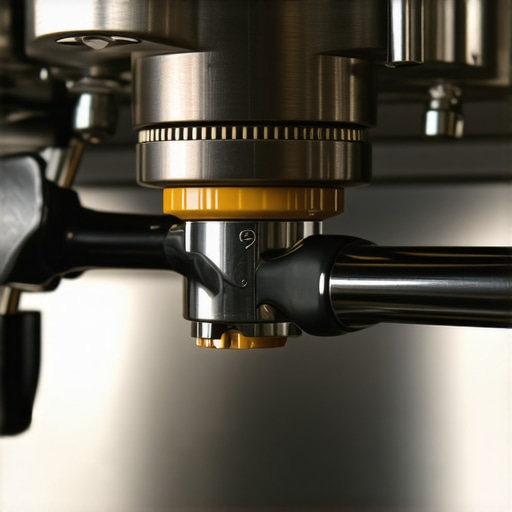
Worn or damaged seals, especially around the group head and boiler connections, allow air leaks that compromise pressure. Daily use deteriorates gaskets, akin to a worn-out valve in a plumbing system. To identify leaks, apply a soapy water solution around joints and look for bubbling during operation. Once identified, replacing gaskets is straightforward—similarly to swapping out a faulty O-ring. I keep a set of spare gaskets handy; replacing mine reduced pressure drops during hot shots dramatically. This simple step ensures consistent pressure regardless of heating cycles, preventing sudden drops when boiler temperature rises.
Calibrate and Adjust Pressure Settings
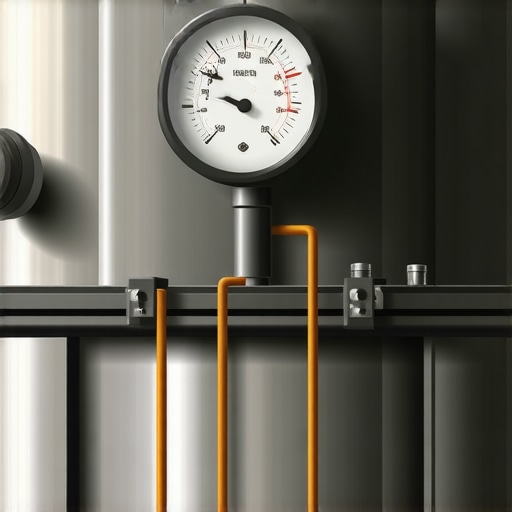
Most machines have a pressure relief valve or adjustable pressure stat. Using a calibrated gauge, like a manometer, you can verify if the machine operates at the optimal 9 bars during espresso extraction. If pressure is too high or low, adjust the spring tension on the pressure stat, much like tuning a guitar string for perfect pitch. Carefully turn the adjustment screw a quarter turn at a time, then test. During my calibration, I noticed my pressure was dipping when the boiler hit 200°C. Slight adjustments restored a steady 9 bars, ensuring consistent extraction. For more detailed procedures, I recommend reading this guide on pressure gauge troubleshooting.
Manage Boiler and Pump Settings
Some machines allow secondary adjustments through software or manual controls. Confirm that your boiler thermostat isn’t causing premature shut-off or over-pressurization. Using a digital thermometer, check the temperature at the group head; a mismatch with boiler temp indicates calibration issues. Ensuring the pump’s flow rate matches manufacturer’s specs prevents pressure drops; overworked or aging pumps struggle to maintain steady pressure. In my case, upgrading to a high-quality pump with stable flow made a noticeable difference, similar to replacing a worn engine component for smooth operation. If your machine’s pressure drops only when heating up, consider verifying the pump’s health and settings to prevent pressure dips during critical shots.
Regular Upkeep for Peak Performance
Consistent maintenance is key. Descale regularly, especially if you use hard water—this keeps internal channels clear, much like cleaning your arteries for better flow. Check the water reservoir for slime or build-up that can harbor bacteria and restrict flow, referencing this guide on cleaning reservoirs. Worn parts like valves or springs should be replaced before they fail, much like replacing worn-out brake pads. Document your maintenance schedule, and you’ll reduce unexpected pressure issues, leading to more reliable espresso shots every time.
Many enthusiasts believe that investing in premium barista gear automatically guarantees perfect espresso at home. However, true mastery involves understanding nuanced details that often go unnoticed. For instance, a common myth is that a high-priced grinder produces better espresso regardless of settings. In reality, many overlook the importance of grinder calibration and particle size consistency, which can drastically impact extraction quality. This misconception can lead to wasted money on equipment that, without proper tuning, won’t deliver optimal results.
Maintaining your home espresso setup requires dedicated tools, consistent routines, and a bit of know-how. Investing in high-quality equipment is just the beginning; regular upkeep and the right accessories ensure your coffee remains top-notch over months and years. One tool I can’t live without is a precision coffee grinder. I prefer a burr grinder with micro-adjustments because it allows me to dial in grind size with pinpoint accuracy, which directly impacts flavor and extraction consistency. Using a quality milk frother helps me craft microfoam perfect for latte art, and I always follow a cleaning routine that prevents milk residue buildup, maintaining consistent steam pressure.
When it comes to long-term results, I recommend establishing a maintenance schedule. Descaling your machine at regular intervals prevents calcium buildup that can clog internal passages, which can be checked with dedicated descaling solutions available at specialty stores. A detailed approach is outlined in this internal reservoir cleaning guide.
For scaling your setup as your skills improve, upgrading your barista gear, such as a PID controller or a commercial-grade espresso machine, can make a dramatic difference. These upgrades bring stability and precision, turning home-brewed shots into cafe-quality experiences. However, proper calibration remains crucial—regularly checking pressure and temperature gauges ensures optimal extraction. Advanced tools like a digital manometer help verify consistent pressure, which is vital for perfect crema and flavor extraction.
How do I keep my espresso machine working well over time?
The key lies in routine checks and investing in the right rotating tools. A high-quality espresso machine benefits from regular calibration; I recommend using an external pressure gauge to verify that your machine maintains 9 bars during extraction. You might also consider upgrading your pump or replacing worn seals as part of your maintenance routine. Moreover, consistent cleaning with appropriate brushes, descaling agents, and gasket replacements keeps your machine performing at its peak.
Looking ahead, automation and smart sensors are likely to revolutionize home barista setups. Integration with IoT devices could allow real-time monitoring of pressure and temperature, reducing manual checks. For now, focus on the fundamentals—regular cleaning, calibration, and using the right tools—and you’ll enjoy a steady stream of excellent espresso for years to come. I encourage you to try calibrating your pressure with a precise manometer; it’s a game-changer in ensuring your shots are consistently balanced and flavorful. For more detailed guidance, check out this flow rate recovery method and take your setup to the next level.
What I Wish I Knew Before Diving Deep into Home Espresso
Throughout my journey mastering home espresso, I discovered that even minor details can make or break your shot—and these lessons often came from my own mistakes or overlooked quirks. For instance, I once thought that a premium grinder alone would guarantee great extraction; it wasn’t until I calibrated my grind size and consistent dosing that I truly saw the difference. These lightbulb moments taught me to respect the nuanced dance between equipment and technique, reminding me that patience and observation are your best allies in this craft.
My experience also revealed that regular maintenance isn’t just routine—it’s essential for achieving steady pressure and temperature stability. Cleaning scales, replacing worn gaskets, and calibrating pressure settings might seem tedious, but they build the foundation for reliable brewing. The more committed I became to these habits, the more my shots resembled those from a professional café—rich, balanced, and consistently satisfying. Sharing these insights is my way of helping you avoid some of the pitfalls I faced, so your journey to perfect espresso can be smoother, more enjoyable, and uniquely yours.
Tools and Resources That Elevated My Coffee Craft
If you’re serious about elevating your home espresso game, certain tools and resources proved indispensable for me. The first was a precise coffee grinder; micro-adjustments allowed me to dial in my grind to the perfect particle size, which drastically improved extraction consistency. I also found that a well-calibrated pressure gauge was vital for troubleshooting pressure drops and ensuring my machine maintained those crucial 9 bars during extraction.
Complementing these was a reliable internal reservoir cleaning guide that helped me prevent mineral buildup and internal blockages. Knowing where to find detailed, trustworthy advice like this—especially from dedicated espresso enthusiasts—made all the difference in refining my technique and equipment setup. These resources didn’t just inform me—they empowered me to get the most out of every shot, turning everyday brewing into a satisfying art form.
Your Next Step: Embrace the Coffee Journey
Now that you’ve absorbed some of my key lessons and trusted tools, it’s time to put your knowledge into action. Every espresso shot is a new opportunity to learn, tweak, and improve. Don’t hesitate to experiment with calibration, maintenance, and your routine—these small lenses can transform your experience from routine to remarkable. Remember, the joy of home brewing lies in the process as much as the final flavor. Keep exploring, stay curious, and let your passion for coffee drive you toward mastery. Your perfect cup is within reach—be patient, persistent, and enjoy every step of this flavorful journey.