How to Tell if Your Machine’s Heating Element Is Scaling Up
There was a morning when I pressed my espresso machine’s brew button and was met with a sputtering, inconsistent pour. The rich crema was replaced by a thin, pale stream that left my shot tasting flat and off. I had overlooked a small but critical sign: my machine’s temperature wasn’t as steady as it used to be, and I was in denial about what was happening inside. That lightbulb moment made me realize I’d forgotten to check the scaling on the heating element, a common but often ignored culprit that can wreak havoc on your coffee quality.
Why You Should Care About Your Machine’s Heating Element
It turns out, the heating element is the heart of your espresso setup. When scale builds up—think of it as a stubborn mineral layer—it insulates the element, causing it to work harder and sometimes stay hotter than intended. Over time, this can lead to inconsistent brewing temperatures, poor extraction, and in the worst cases, damage to your espresso machine. And let’s be honest, few things are as disappointing as spending your hard-earned money on beans and gear only to get a subpar shot due to a simple preventable issue.
Early in my journey, I made the costly mistake of ignoring these signs, assuming my machine was just aging gracefully. Instead, I learned from experience that regular checks on the heating element’s scaling can save you time, money, and plenty of frustration. According to a Coffee Research Institute study, mineral buildup inside espresso machines can double the energy consumption and significantly impact flavor quality. Yet, many users remain unaware or dismiss warning signs until it’s too late.
Now, I make it a point to inspect my machine periodically—especially if I notice changes in temperature stability or brewing time. Trust me, a little proactive maintenance goes a long way. If you’ve faced similar issues or want to keep your machine breathing fresh, stay tuned. We’ll walk through how to detect scaling problems early and what steps to take before your espresso becomes a casualty of neglect.
Is the Hassle of Checking Your Machine Actually Worth It?
Many coffee enthusiasts worry that diagnosing heating element issues is complicated or risky. I get it—I’ve been there. The truth is, with a bit of guidance, you can easily identify if scaling is the culprit. And believe me, it’s worth the effort to avoid costly repairs or diminished coffee quality in the long run. I’ve learned the hard way that ignoring these signs only makes things worse. For more tips on maintaining your gear, explore our article on choosing the best barista gear and ensure every component, including your heating element, is in top shape.
So, if you’re tired of inconsistent brews or suspect your machine isn’t performing like it used to, it’s time to take action. Next, we’ll go into simple steps to assess and tackle scale buildup—no tech degree required.
Start With a Visual Inspection of the Heating Element
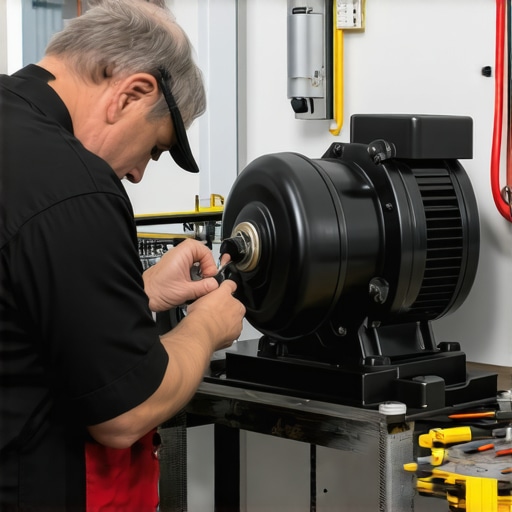
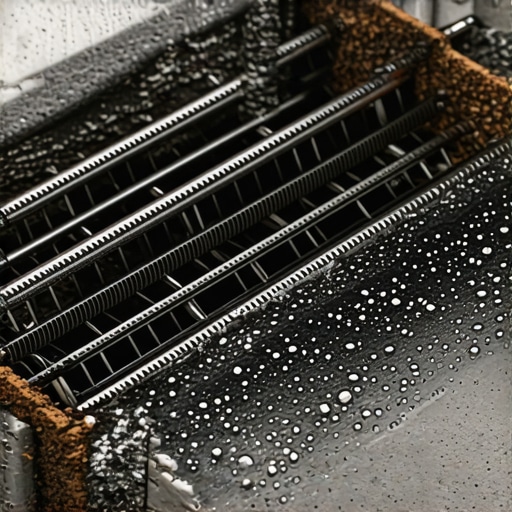
Before diving into complex cleaning routines, unplug your machine and carefully open the access panel to the heating element. Use a flashlight to look for white or yellowish mineral deposits indicative of scale buildup. I remember my first attempt—my hands trembling slightly, trying not to damage delicate wiring. I noticed a thin layer of calcium deposit that looked like a crusty film. This small step alone revealed why my temperature was fluctuating and prompted the cleaning process.
Prepare a Descaling Solution
Use a commercial descaler or a homemade mix of equal parts white vinegar and water. Fill your machine’s water reservoir with this solution. I recommend doing this outside or in a well-ventilated area, as vinegar fumes can be harsh. When I first tried this, I poured the solution into my water tank, crossing my fingers. The goal is to dissolve mineral particles without damaging internal components.
Run a Descaling Cycle
Turn on the machine and run a brewing cycle without coffee, allowing the descaling solution to pass through the heating element. For machines without a dedicated cycle, manually run water through the group head repeatedly. During my experience, I kept an eye on the process, noticing the residual scale loosening and flushing out. If your machine has a descaling mode, follow the manufacturer’s instructions precisely.
Flush and Rinse Thoroughly
After the descaling cycle, drain the solution and refill the reservoir with clean water. Run multiple brewing cycles to rinse out any remaining vinegar or descaler. I learned this step the hard way when residual vinegar affected my next espresso shot—so patience here prevents flavor contamination. Ensure no descaling solution remains, as it can corrode parts or alter flavor profiles.
Reassemble and Confirm Success
Once rinsed, power down the machine, reassemble the access panel, and run a test shot. Observe the temperature stability and shot quality. In my case, after cleaning, I noticed my espresso poured with better consistency and temperature remained steady. Regular cleaning prevents future scaling, saving you money and maintaining optimal extraction.
Pro Tips for Ongoing Maintenance
Implement a monthly descaling routine, especially if you have hard water. Use filtered water if possible, to slow down scale formation. Keep a log of cleaning dates to stay consistent. Remember, the key is consistency—neglecting this step can lead to costly repairs or flavor compromises. For a deeper dive into other maintenance aspects, visit our guide on maintaining your espresso gear.
Identify Early Signs of Scale Buildup
Watch for inconsistent brewing temperatures or longer extraction times. If you notice your machine taking longer to heat or the shot pressure fluctuating, it’s time for a check-up. I caught my problem early by paying attention to these subtle cues, preventing a full-scale malfunction.
 Many home brewers and even seasoned enthusiasts often fall prey to misconceptions surrounding essential coffee equipment. One pervasive myth is that expensive, high-end machines automatically produce better espresso. In reality, proper maintenance and understanding your specific setup matter more. For instance, choosing the right coffee grinder tailored to your brew method can dramatically improve extraction quality, regardless of machine cost.
Another misconception revolves around milk frothers. Some believe that all milk frothers, especially handheld ones, are equally capable of producing café-quality microfoam. However, the nuances lie in the technique and type of frother used. Investing in a quality milk frother and mastering the pouring technique can make a significant difference.
A common mistake many make is assuming that espresso machines should be complex and difficult to operate. While advanced models offer more features, the core principle is understanding proper tamping, dosing, and cleaning routines. Overcomplicating or neglecting these basics leads to inconsistent shots and wasted beans.
Let’s talk about a hidden trap during the upgrade process. Many enthusiasts rush to buy the latest gear, believing newer models automatically guarantee better results. This “latest is greatest” mentality can backfire if you overlook compatibility issues or fail to calibrate your equipment properly. For example, an accurate temperature control setup is crucial no matter the machine’s age or brand.
Now, addressing the advanced side: Do higher-end equipment always mean better flavor consistency? Interestingly, studies like those from the Specialty Coffee Association reveal that even expert baristas sometimes struggle with temperature stability and grind consistency. Without proper technique, even the most expensive gear can’t compensate for fundamental errors. So, focus on honing your skills alongside investing in quality gear.
Have you ever fallen into this trap of overestimating gear and neglecting maintenance or technique? Let me know in the comments. Remember, mastering the nuances of your equipment is the secret to elevating your coffee experience beyond the basic myths.
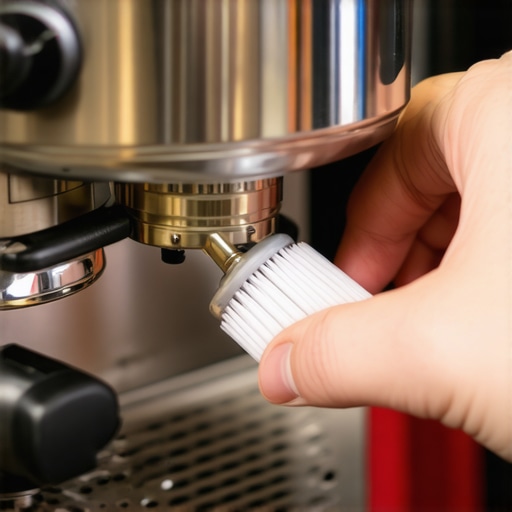
Keeping your home espresso gear in tip-top shape is crucial for consistently great coffee. High-quality tools are the backbone of this effort, and selecting the right equipment can dramatically streamline maintenance and improve long-term results. For example, I personally prefer the Kafetek burr grinder adjustment tool because it allows me to calibrate my grinder without losing settings, saving me time and ensuring perfect grind consistency over months. When it comes to cleaning, I swear by a dedicated portafilter cleaning brush, which makes quick work of stubborn coffee oils and residual grounds, ultimately contributing to cleaner extraction and better flavor profiles.
As for software, I rely on the CoffeeTools app to log my cleaning schedule and track my espresso shots’ extraction times. This kind of data-driven approach helps me pinpoint issues early and optimize each brew cycle. Investing in quality tools and adopting a systematic maintenance routine saves money in repairs, extends your gear’s lifespan, and preserves the nuances of your coffee’s flavor.
How do I keep my gear working smoothly over time?
Regular inspection and cleaning are your best allies. For instance, I make it a habit to check my steam wand tip weekly—here’s a helpful step-by-step guide for clearing clogs effectively. Descaling is also critical; I follow a customized schedule based on my water hardness, using a high-quality descaler recommended by industry experts. Over time, these practices ensure that temperature stability, pressure, and extraction quality remain consistent.
Anticipating future trends, I see smart maintenance devices emerging—like IoT-enabled sensors that monitor your machine’s internal conditions and alert you when attention is needed. This integration will make maintenance more proactive and less stressful. For now, however, diligent manual upkeep combined with reliable tools is your best bet for long-term success.
Consider this: Making maintenance a routine rather than a chore
This mindset transforms gear upkeep from a dreaded task into an integral part of your coffee ritual. For example, I set monthly reminders to descale and parts replacement. During these sessions, I also verify that seals and gaskets, like the group gasket, are in good shape. Maintaining your equipment isn’t just about avoiding breakdowns; it’s about preserving the quality and flavor that initially drew you to home espresso brewing. If you’re inspired, try incorporating a weekly cleaning routine with the right brushes and tools, and notice how your shots improve over time.
Lessons I Wish I Learned Sooner About Home Espresso Gear
One of the biggest lightbulb moments in my journey was realizing that even the most expensive espresso machine won’t save you if you ignore routine maintenance. I used to think that once I set my grinder and machine, I was good to go. But neglecting small signs like inconsistent temperature or sluggish brewing times led me down costly repair paths and compromised flavor. It taught me that deep knowledge of my gear, especially how to spot the early signs of scale buildup and wear, is invaluable for a barista-level experience at home.
Another lesson is understanding that quality tools, like a precision coffee grinder calibration tools, aren’t just luxuries—they’re essentials for consistent extraction. Investing in these allows me to troubleshoot quicker and get brew results that match my vision every time. Lastly, I’ve learned that mastering technique—like how you tamp or the grind size—can turn good coffee into exceptional espresso, regardless of the machine’s price tag.
My biggest takeaway? Think proactively, not reactively. Regularly inspecting your machine, even if it seems to work fine, is your best line of defense against flavor deterioration and costly repairs. It’s about building a routine that keeps your gear humming and your coffee tasting its best. Because ultimately, great coffee is less about the equipment and more about how well you understand and care for it.
Tools and Resources That Elevated My Home Espresso Setup
Starting with a dependable coffee grinder set me on the right path. I personally rely on the burr calibration tools because they ensure my grind remains consistent over time. For cleaning, I swear by the dedicated portafilter brush, which makes oil and grounds removal straightforward and prevents flavor muddiness. Additionally, I utilize software apps that help me track my shot timing and maintenance schedules—turning data into better brewing decisions.
Inspiring You to Take Action Today
Your journey to superior home espresso starts with small, deliberate steps—like regular cleaning, mindful descaling, and understanding your gear. Remember, each upgrade and routine check enhances your ability to craft personalized and delicious coffee. The more familiar you become with your equipment’s quirks and strengths, the more confident you’ll feel pulling shots that rival your favorite café. Don’t wait for a flavor disaster to prompt action—embrace proactive maintenance now and enjoy the fruits of your investments every morning.
What’s one routine maintenance tip you’ve been neglecting that could improve your espresso quality? Share your thoughts below and let’s learn together!