How to Replace Your Grinder Burrs Without Losing Your Settings
I remember the first time I tried replacing the burrs in my coffee grinder. I was excited to give my espresso a fresh grind, but I ended up with a mountain of coffee grounds everywhere and a brew that tasted nothing like it used to. The worst part? I had no idea how to preserve my grind settings during the process. It was a frustrating, messy experience that left me wary of changing my burrs ever again. If you’ve faced this struggle, you’re not alone. Many home baristas dread the thought of swapping out burrs because they fear losing that perfect grind setting they’ve painstakingly dialed in.
Why Replacing Your Grind Burrs Feels Like Walking a Tightrope
Replacing the burrs in your coffee grinder is essential for maintaining optimal flavor and consistency. Over time, burrs dull or wear out, leading to uneven grind sizes and, consequently, inconsistent extraction. But here’s the thing: many of us avoid doing it ourselves because of the fear that we’ll lose our carefully set grind size. And honestly, I used to think that too—until I discovered a simple trick that changed everything. Knowing how to replace burrs without losing your settings can save you time, money, and countless wasted beans. Plus, it makes the whole process less intimidating and more routine.
Ever Felt Stuck Because You Weren’t Sure How to Keep Your Settings?
When I first attempted to replace my burrs, I made a rookie mistake. I thought I needed to completely recalibrate from scratch after each change, which was both time-consuming and frustrating. Early on, I didn’t realize that many grinders have a way to lock in or record your settings before taking everything apart. According to coffee pros, preserving your grind setting is crucial to maintaining consistency—an essential tip I wish I had known sooner. For specific guidance on how to get this right, check out our detailed guide to adjusting grind size that also covers calibration tips.
So, if you’re tired of starting from scratch every time you change your burrs, stay tuned. I’ll walk you through straightforward steps to swap out your grinder burrs confidently—without losing your perfect grind. It’s easier than you think, and once you master it, you’ll wonder why you ever hesitated. Ready to become a pro at burr replacement? Let’s dive in!
Prepare Your Workspace and Gather Necessary Tools
First, clear a clean, well-lit space on your countertop. Have your burr replacement kit, a screwdriver suited for your grinder, and a small container to hold screws ready. I once replaced my burrs on my Mazzer grinder in a cluttered corner, which made reassembly a headache. Keeping tools organized saves time and prevents losing tiny screws.
Record and Lock Your Current Settings
Before disassembling, measure your current grind setting—most grinders have a clear number or dial position. Take a photo or mark the dial with a fine-tip marker. For example, I used painter’s tape to mark my dial, ensuring I could replicate the setting precisely later. This step is crucial, especially if your grinder lacks an official locking mechanism.
Remove the Old Burrs Carefully
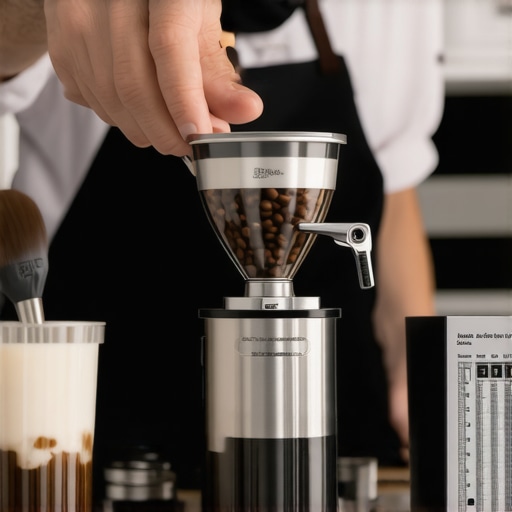
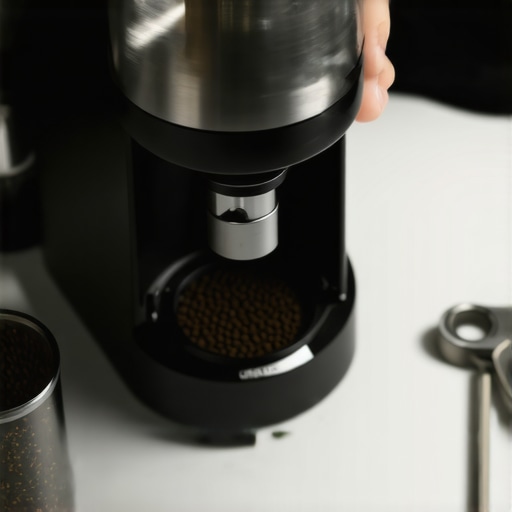
Unplug the machine to ensure safety. Depending on your grinder, you may need to unscrew the hopper, then locate and unscrew the top or side panels. Gently lift out the existing burrs, noting their orientation and tightness. My experience was messy—coffee grounds fell everywhere—so working over a small tray or towel helps contain the mess.
Identify and Match New Burrs
Check that your replacement burrs are compatible with your grinder model. If uncertain, consult your user manual or supplier. Matching the orientation of the old burrs is vital; misalignment can cause uneven grinding or damage.
Install the New Burrs Correctly
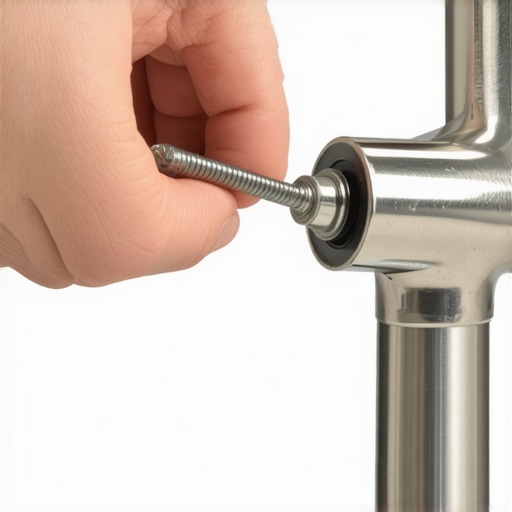
Position the new burrs in the same orientation as the old ones, aligning any notches or grooves. Tighten screws gradually and evenly to prevent misalignment. During my first attempt, I noticed a slight misfit, leading to uneven grind size. Carefully adjusting the burrs and re-tightening solved the issue.
Reassemble and Re-Calibrate Your Grinder
Replace any removed panels or hoppers, then plug in the grinder. Using your recorded setting, dial in your grind size. This process resembles tuning a guitar string—small adjustments make a big impact on flavor. I recommend pulling a test shot or grind sample and measuring the results to fine-tune.
Test and Fine-tune for Consistency
Prepare a shot of espresso, observing the extraction time and crema. If the shot sags or pulls too quickly, adjust the grind finer; if it slows down excessively, go coarser. Remember, humidity and beans’ freshness can affect settings, so fine adjustments may be necessary. For more insights on perfecting your grind, visit how to adjust your grind size based on humidity.
While many home baristas believe that choosing the most expensive espresso machine guarantees perfect shots, this is a misconception. In reality, equipment quality is crucial, but mastering technique and understanding nuances have a greater impact on your brew. For instance, advanced users often overlook the importance of proper temperature stability, which significant research shows directly affects extraction quality (source).
Are High-End Machines Always Better for Precision?
Contrary to popular belief, high-end machines can sometimes be more forgiving for novices, but they also require expert knowledge to operate optimally. Many enthusiasts fall into the trap of constantly upgrading gear instead of refining their skills. Remember, a well-calibrated mid-range machine combined with consistent technique often outperforms a poorly used top-tier model.
Another common myth persuades people that expensive milk frothers automatically produce silky microfoam. This is only half-true; the real secret lies in technique. The right steaming technique and milk texture control (see this guide) matter more than the frother’s price. Many users wrongly assume that equipment alone can compensate for poor technique, leading to disappointing results repeatedly.
Do Barista Gear and Tools Significantly Improve Home Espresso?
Offerings like calibrated tampers, temperature-controlled scales, and programmable shot timers can enhance consistency, but only when used correctly. Focusing solely on gear without understanding their proper application often causes more harm than good. An often overlooked mistake is over-tightening tampers or neglecting routine cleaning, which impacts extraction and flavor. Rather than obsess over the latest gadget, invest your time in mastering fundamental skills such as dialing in your grinder and temperature control.
Another nuance that many miss involves humidity’s effect on grind size and extraction. An advanced trick involves adjusting grind settings based on environmental factors, as detailed in this article. Ignoring such details can lead to inconsistent shots, even with sophisticated equipment. Remember, mastering your gear’s subtleties often makes more difference than just having premium tools.
Have you ever fallen into this trap? Let me know in the comments. Understanding these nuances empowers you to elevate your home espresso game from hopeful beginner to confident home barista.
Keeping Your Espresso Gear in Top Shape
Owning high-quality espresso equipment is just the start; regular maintenance is crucial to preserve performance and extend the lifespan of your machines and accessories. From cleaning routines to specialized tools, knowing what to use and how often to service your gear can mean the difference between consistently great shots and disappointing pulls.
For starters, investing in a good milk pitcher thermometer is a game-changer. Precise temperature control during steaming ensures silky microfoam without risking overheating the milk—a common mistake among home baristas. I personally prefer digital thermometers with fast response times and hold functions, which help me dial in steam texture precisely every time.
Tools I Recommend for Long-Term Maintenance
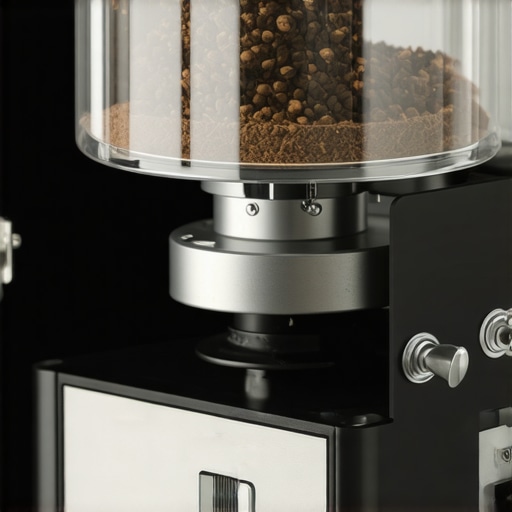
One essential tool is a quality grinder chute cleaner. It allows for regular, thorough cleaning without dismantling the entire grinder, saving time and reducing the risk of misalignment. I use a specially designed synthetic brush that reaches deep into the burr chamber, removing coffee oils and grounds that can compromise grind consistency over time.
Another advanced but invaluable device is a PID temperature controller. Proper calibration stabilizes your espresso machine’s temperature, ensuring each shot is pulled at the optimal heat. As temperatures fluctuate during brewing, a well-calibrated PID minimizes variance, leading to more predictable results—perfect for those wanting barista-level consistency at home.
How do I maintain my equipment over time?
Consistency is key. I recommend establishing a weekly cleaning schedule for your espresso machine’s group head, steam wand, and drip tray. Use dedicated cleaning tablets and descaling solutions as recommended by your machine’s manufacturer, and always flush the system thoroughly to prevent buildup. For grinder maintenance, a monthly deep clean of the burrs using a cleaning cartridge can substantially improve grind uniformity and flavor extraction.
Looking ahead, the future of espresso maintenance might involve smart sensors that monitor grinder burr wear or machine temperature in real-time, alerting you before issues become critical. For example, some innovative brands are exploring app-connected systems that log usage patterns and recommend maintenance schedules—keeping your setup in prime condition with minimal guesswork.
If you’re serious about elevating your home espresso experience, I challenge you to try using a precision tamping tool combined with regular grinder calibration checks. These small, specific actions can dramatically improve your shot consistency and flavor clarity, saving you frustration and beans in the long run. Remember, the secret is in the details—so keep your tools sharp, clean, and well-maintained, and your espresso setup will reward you with rich, aromatic brews every time.
Lessons the Baristas Won’t Tell You About Home Espresso Mastery
- After countless trial and error, I realized that the true secret isn’t just high-quality gear, but knowing precisely how to maintain it. Regular calibration and understanding your machine’s quirks can prevent many common issues, saving you frustration and beans.
- I used to think that replacing burrs meant starting all over. The lightbulb moment came when I discovered how recording and locking in my grind settings made repairs seamless. Now, I can swap burrs without losing my perfect shot profile.
- The most overlooked tip was recognizing environmental impacts, like humidity, affecting grind consistency. Adjusting my settings based on the weather has leveled up my espresso game beyond what I thought possible.
- Mastering steam wand technique was another game-changer. Using a quality thermometer and proper frothing angles, I produce microfoam rivaling the best cafés, proving that technique beats expensive equipment every time.
My Essential Arsenal for Peak Home Espresso Performance
- Investing in a precision tamping tool transformed my extraction consistency. Coupled with an accurate scale, it ensures every shot is just right. I recommend this detailed guide to calibrate your setup effectively.
- A good grinder maintenance kit, like a descaling and cleaning brush, is vital for fresh grounds and even particle size. My daily routine involves a quick clean with these simple tools.
- Monitoring your brew temperature with a PID controller has stabilized my shots. It’s a worthwhile upgrade that helps keep variables in check, especially during seasonal shifts.
- Additionally, I swear by a quality milk pitcher thermometer to achieve perfect microfoam every time. Proper steaming technique, combined with the right tools, makes all the difference.
Your Next Step: Elevate Your Espresso Journey Today
Embracing these insider tips and curated tools can turn your home setup into a barista-level station. Remember, the key is consistency. Small adjustments and routine maintenance elevate flavor and reliability, transforming your daily coffee ritual into a true craft. Don’t wait—start applying these insights now and savor the difference in every cup. What’s the first upgrade you’re planning to make? Share your thoughts below and let’s chat about taking your home espresso to new heights!
**[Have you ever struggled with maintaining your grind settings during burr replacement? Let me know below.]**