The Truth About Coffee Freshness and Degassing
I remember the first time I brewed a shot that tasted dull and flat, despite using what I thought were fresh beans. It was a frustrating moment—like watching a masterpiece turn into a forgettable sketch. That realization hit me hard: I didn’t fully understand how coffee freshness and degassing play a crucial role in achieving that rich, vibrant flavor we all crave. If you’ve ever been disappointed after what you believed was freshly ground coffee, you’re not alone.
Why Freshness Isn’t Just a Number on the Bag
Many of us assume that buying coffee beans labeled “fresh” guarantees a perfect cup. But the truth is, freshness is a nuanced game—one that involves the degassing process, which continues even after roasting. Think of coffee beans like a freshly opened can of soda—they release carbon dioxide (CO2) gas as they settle. This degassing is essential for flavor extraction during brewing. If you brew before the beans have finished degassing, your espresso might taste sour, flat, or overly bitter.
What surprised me early on was discovering that even roasted beans lose their optimal flavor window surprisingly quickly—sometimes within a week. I made the mistake of believing that beans are best when they’re brand-new. That led to many underwhelming brews. Once I understood the science—supported by experts like the Coffee Quality Institute—it became clear that proper degassing isn’t just a technical detail; it’s the key to unlocking consistent flavor.
Have you faced this dilemma—waiting for your beans to settle but unsure if you’re delaying your brew unnecessarily? If so, understanding the ins and outs of coffee degassing can transform your home espresso game.
But how do you know when your beans are ready for that perfect extraction? That’s what we’ll explore next, along with practical tips to time your grind and brew for maximum freshness and flavor. Ready to stop guessing and start brewing like a pro? Let’s dive into the secrets of coffee degassing and freshness management.
Set Your Beans Aside for Degassing
After roasting, spread your freshly roasted beans on a tray and wait for about 24 hours before grinding. This initial rest allows excess CO2 to escape, preventing sour or flat flavors. I once hurried the process, grinding beans straight from the bag, which resulted in a sour shot. Waiting for the right degassing window made a noticeable difference in flavor.
Assess the Degassing Period
Monitor your beans’ aroma; a fresh, lively scent indicates they’re still releasing gases. If your beans smell overly grassy or have a sharp aroma, they might need more time. I learned to smell my beans to judge their readiness, avoiding the mistake of brewing too early. Typically, 2-4 days after roasting is ideal, but this varies with roast level and bean type.
Time Your Grinding Properly
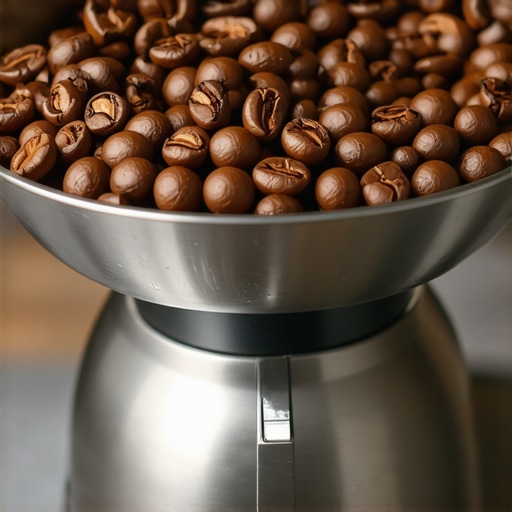
Grind your beans just before brewing. Use a quality grinder to achieve a consistent powder, which promotes even extraction. When I switched to a burr grinder and ground seconds before espresso, my shots improved instantly. Prioritize grinder calibration to match your beans and desired brew strength. Check out [how to select the perfect coffee grinder](https://espressotechguide.com/how-to-select-the-perfect-coffee-grinder-for-your-brew) for tips.
Listen for Gas Release During Extraction
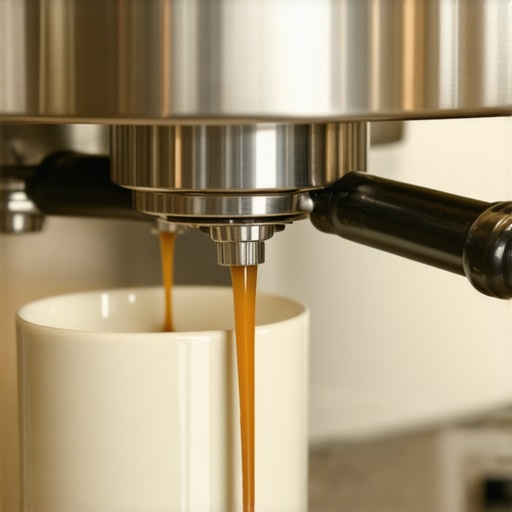
Begin brewing and observe if you notice popping or hissing sounds. These indicate residual gases escaping; a steady, controlled flow suggests optimal degassing and fresh enough beans. If you encounter excessive sputtering, wait a few more days before brewing again.
Adjust Brew Timing Based on Bean Age
As beans age past the optimal window, flavors tend to diminish. Be proactive in adjusting your extraction time—shorter for very fresh beans, and longer as they age — to maintain flavor balance. I found that experimenting with shot times improved with experience, preventing under- or over-extraction.
Implement Consistent Storage
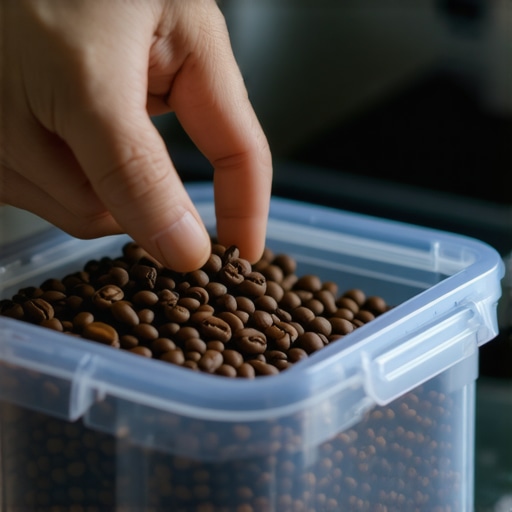
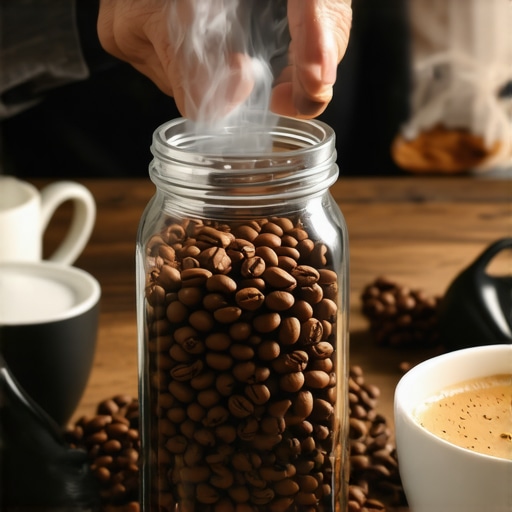
Store beans in an airtight container, away from light and heat, to preserve their flavor while they degas. Avoid freezing or leaving them exposed to air, which accelerates flavor loss. Proper storage ensures your beans remain at their peak from roast to brew, giving you more control over freshness.
Use Your Senses to Judge Readiness
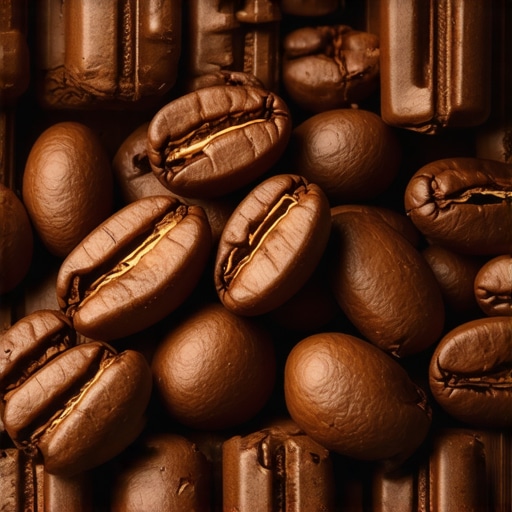
Develop a routine: smell, look, and listen to your beans and process. The aroma should be vibrant, the bean color uniform, and you should hear a gentle hissing during roasting. This multi-sensory approach prevents premature brewing and guarantees a rich flavor profile.
Many enthusiasts believe that investing in high-end coffee equipment guarantees perfect results, but in reality, most common assumptions about milk frothers, espresso machines, and grinders overlook critical nuances. For instance, a widespread myth is that all milk frothers produce microfoam automatically; however, many home frothers struggle with thick or protein-rich milks, demanding advanced techniques or specialized devices.
Why do some milk frothers fail to produce silky foam, and what are the subtle tricks that baristas use?
Understanding these details can make a significant difference in your brewing quality, yet many home baristas are unaware of potential pitfalls.
Another misconception concerns home espresso machines: many assume that more expensive machines fetch better shots without considering calibration and maintenance complexity. As I’ve learned from industry experts, even top-tier machines require precise pressure profiling and temperature stabilization—details often overlooked by amateurs. This ignorance can lead to overextraction or underextraction, diminishing flavor and crema quality. To truly elevate your setup, study the intricacies of machine calibration and consider integrating tools like a PID controller, which stabilizes temperature for consistent shots.
When it comes to coffee grinders, there’s a tendency to prioritize burr size over grind consistency, but in reality, the quality of the grind uniformity matters more than mere burr diameter. Many users buy into the myth that larger burrs are always better; yet, a well-calibrated small-burr grinder with sharp blades can outperform a larger, cheaper one. I recommend referring to detailed comparisons and expert reviews to understand how burr quality impacts extraction.
What advanced techniques can truly optimize grind consistency beyond size and basic calibration?
Furthermore, understanding grinder retention and static buildup is often neglected—errors that lead to uneven dosing and inconsistent shots. Using anti-static measures or improved dosing methods ensures a more uniform coffee bed, resulting in better extraction. For a deep dive on these nuances, check out our article on masterful grinder calibration.
Finally, a widespread error lies in misusing barista gear—like tamping pressure variance or portafilter handling—which affects shot consistency. Advanced baristas employ precise, measured tamping and temperature management, often overlooked by casual users. Incorporating these practices involves understanding the physics of fluid dynamics within the espresso puck and how micro-level adjustments translate into macro-level flavor shifts. Experts emphasize that refining these techniques can yield profound improvements—without necessarily investing in more expensive equipment.
Have you ever fallen into this trap of oversimplifying your coffee gear? Let me know in the comments. Mastering these subtle details unlocks the full potential of your home setup, transforming your brewing from good to extraordinary.
Keep It Running: The Key to Consistent Coffee Quality
If you’re serious about elevating your home espresso experience, investing in the right tools and knowing how to maintain them is crucial. A well-maintained setup not only prolongs the lifespan of your equipment but also ensures each brew hits that perfect balance of flavor and crema. From regular cleaning routines to selecting reliable gear, let’s explore the strategies that keep your barista tools performing at their best.
Prioritize Quality and Ease of Maintenance in Your Equipment Choices
I personally recommend choosing an espresso machine like the top-rated espresso machines for 2025—these models often come with robust build quality and user-friendly interfaces that simplify routine upkeep. Similarly, a high-quality grinder with easily accessible burrs makes calibration and cleaning straightforward, preventing flavor contamination. When selecting gear, I look for models with modular components, which ease disassembly for cleaning and parts replacement, ultimately saving time and preventing breakdowns.
Develop a Regular Maintenance Routine
Consistency in maintenance is key. I schedule weekly cleaning of my portafilter baskets and regularly backflush my espresso machine using manufacturer-approved cleaning tablets. Implementing a detailed maintenance calendar helps track tasks like descaling, gasket inspection, and steam wand cleaning, which are vital for machine longevity. Don’t underestimate the value of a dedicated cleaning brush, like the best cleaning brush, to reach all those tiny crevices. According to barista research, neglecting these routines can lead to blockages and poor extract flavor as described in “how to maintain your espresso machine.”
Explore Advanced Tools That Simplify Upkeep
Investing in tools like a commercial-grade water filter plays a pivotal role. It minimizes mineral buildup, reducing descaling frequency and preserving boiler health. I also use a PID controller to maintain precise temperature, preventing stress on components and ensuring stable shots over time. Additionally, some enthusiasts have adopted automatic cleaning cycles integrated into their machines, which can be programmed weekly, saving effort and ensuring thorough cleaning.
Plan for Long-Term Results and Scaling Up
As your home setup matures, consider scaling strategies such as adding a rotary pump or upgrading to a commercial-grade grinder. These investments demand ongoing maintenance like lubrication of moving parts and calibration checks. Learning to troubleshoot common issues—like boiler pressure fluctuation or inconsistent grind size—is essential. Regularly consulting resources like mastering home espresso tips keeps your skills sharp and machinery in top shape. Prioritize a clean workspace, proper storage of tools, and keeping spare parts on hand to minimize downtime.
How do I maintain my coffee gear over time?
Long-term maintenance involves a combination of routine cleaning, parts inspection, and timely replacements. For example, replacing worn gaskets prevents leaks and uneven pressure, which directly impacts shot quality. Periodic descaling with citric acid or dedicated descaling solutions extends boiler life and maintains optimal temperature consistency. Establishing a habit of inspecting your equipment after each session ensures issues are caught early. According to industry experts, consistent calibration and cleaning routines are integral to sustainable high-quality brewing. Try implementing a weekly cleaning checklist, and you’ll see significant improvements in both equipment lifespan and brew reliability.
After years of brewing, often the biggest breakthrough was realizing that freshness is a moving target—it’s not just the date on the bag but how we handle degassing, storage, and timing that truly unlocks exceptional flavor. My journey taught me that the hardest lessons were about patience and sensory awareness; trusting my nose and ears became my secret weapons. Making small adjustments, like waiting a bit longer for degassing or calibrating my grinder meticulously, transformed my daily brew into a moment I genuinely look forward to. Remember, the path to a perfect cup is paved with attention to detail and a willingness to learn from each shot that doesn’t meet expectations. Keep experimenting, stay curious, and don’t settle for less—your perfect coffee awaits just beyond the horizon of routine.