The Hidden Valve You Must Clean to Fix a Dripping Group Head
I remember the first time I pulled a shot on my new home espresso setup, only to see it dripping sluggishly and tasting off. Frustration crept in as I dabbed at that messy puddle beneath my machine, thinking I’d overlooked some obvious maintenance step. It was only after some digging I learned about a tiny, often-overlooked component—the hidden valve—that plays a crucial role in keeping my brew station leak-free and performing at its best.
Why Your Espresso Machine Is Dripping and How to Fix It
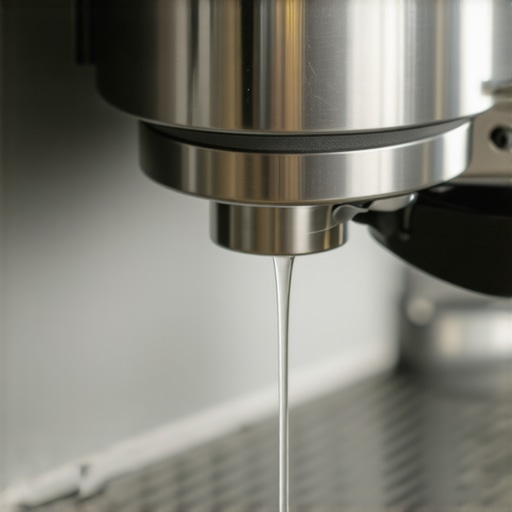
If you’ve ever faced a persistent drip from your espresso machine’s group head, you know how disruptive and annoying it can be. It feels like your machine’s giving you a silent protest, dragging down your morning ritual. What most home baristas miss is that a small valve buried inside the machine is often the culprit. This isn’t a part you see or hear about in typical tutorials, but trust me—it’s critical for maintaining proper pressure and preventing leaks.
When this valve gets clogged or buildup forms in its tiny passages, water can’t flow smoothly, leading to dripping and inconsistently extracted shots. Early on, I made the mistake of ignoring this small but vital component, assuming that cleaning the portafilter or descaling was enough. Spoiler alert: It’s not. Properly maintaining this hidden valve can transform your machine’s performance and save you from costly repairs down the line. According to research by the Specialty Coffee Association, regular cleaning of internal espresso machine parts significantly extends lifespan and maintains optimal taste quality (source).
What You’re About to Learn
Today, we’ll uncover the secrets of this elusive but essential part—how to identify if it’s causing your issues, and most importantly, how to keep it clean. If you’re tired of soggy countertops, erratic shots, and pouring money into repairs, this guide will give you the confidence to tackle it yourself. So, have you faced stubborn drips that just won’t stop, despite your best cleaning efforts? Let’s dive into why this tiny valve is the game-changer—and how you can fix it easily at home.
Locate and Access the Valve
Start by unplugging your espresso machine and removing the main water reservoir to prevent leaks during maintenance. Find the back panel or the area around the group head—most models have a service panel secured with screws. Use a screwdriver to carefully remove it. For example, I once struggled to access mine, but gently prying the panel with a plastic tool avoided damage.
Identify the Valve Within the Machine
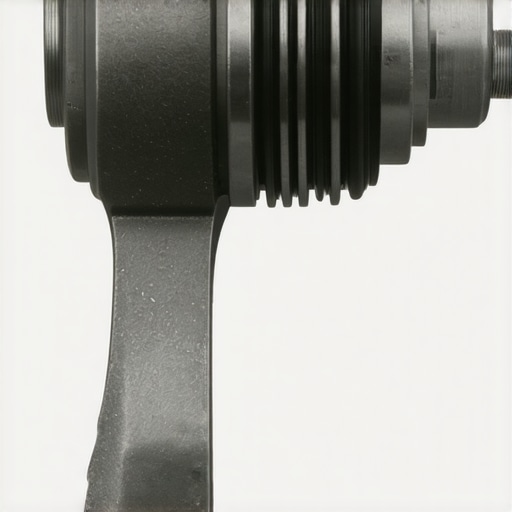
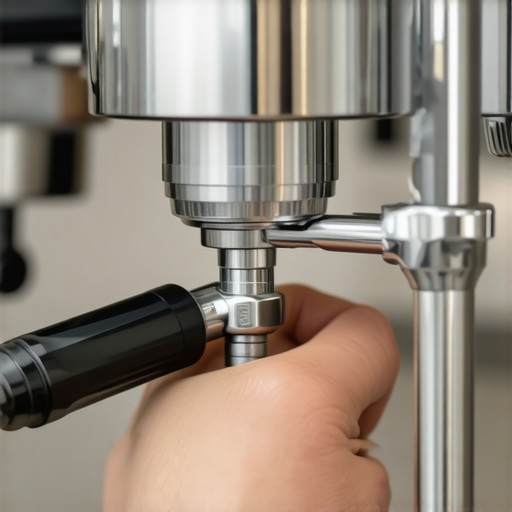
Once inside, look for a tiny metal or plastic component resembling a butterfly valve or a small round disc connected to small hoses or tubes. It’s often adjacent to the boiler or pump assembly. Remember, this is often hidden behind insulation or shielding, so gently move aside any covers. In my experience, patience here avoids inadvertently disconnecting other parts.
Remove and Disassemble the Valve
Using needle-nose pliers, carefully grip and unscrew the valve if it’s threaded. Keep track of any small O-rings or seals—these are vital for proper sealing. Take a photo for reference if needed. Be cautious—pressurized water or residual pressure could escape, so do this slowly. I once hurried and spilled a little water, so wearing gloves helps prevent minor injuries.
Clean the Valve Components
Submerge the small parts in a cup of vinegar or a descaling solution like https://espressotechguide.com/the-best-way-to-clean-your-hopper-without-water-and-soap to dissolve mineral buildup. Use a soft brush or toothbrush to gently scrub away any debris or clogging material. I’ve found that chemical soak combined with gentle brushing restores proper flow in minutes. Avoid using harsh abrasives, which can scratch or damage the tiny parts.
Check and Replace Seals
Inspect O-rings for cracks or deformation. Replace them if they appear worn, ensuring a tight seal. Applying a tiny amount of food-safe lubricant can help reassemble without leaks. During my last fix, swapping the O-ring prevented a slow drip from recurring, extending the component’s lifespan.
Reassemble and Test the Valve
Carefully reattach the valve, ensuring all seals are seated correctly. Replace any shielding or panels before reconnecting the water reservoir and power. Turn on your machine and observe the group head for leaks or dripping. I recommend running a test shot to confirm proper pressure and flow. If water still leaks, revisit the seals or consult a professional if necessary.
Prevent Future Clogs and Leaks
Regularly clean internal components according to your machine’s maintenance schedule, and avoid using hard or oil-rich beans that contribute to clogging. Performing monthly descaling, especially in regions with hard water, keeps the tiny passages clear. For in-depth maintenance routines, check out https://espressotechguide.com/mastering-the-art-of-home-espresso-tips-for-beginners to stay ahead of common issues.
When I started my journey into home espresso brewing, I naively believed that simply owning high-end gear would guarantee perfect shots every time. However, as I delved deeper, I uncovered nuances that many enthusiasts overlook—like the subtle influence of grinder burr alignment or water temperature stability on extraction quality. **Contrary to popular belief, expensive equipment isn’t a silver bullet**; proper maintenance and understanding advanced mechanics are equally crucial. For instance, a common myth is that all burr grinders are suited for espresso, but choosing the right grind consistency involves understanding burr calibration and particle distribution, which directly affect shot clarity and aroma (more on selecting grinders).
Another misconception is that milk frothing is purely about technique, ignoring machine settings and milk composition nuances. Using fresh, cold milk is beneficial, but understanding how fat content and protein structure interact with your frothing method can dramatically improve microfoam stability. The hidden nuance lies in adjusting steam pressure and temperature precisely, something many home baristas don’t master, resulting in inconsistent foam quality (tips here).
For advanced enthusiasts, a common trap is neglecting the calibration of espresso machine pressure profiles. Relying solely on default factory settings often leads to under- or over-extraction. Fine-tuning pressure and flow rate can unlock flavor profiles hidden within your beans, and mastering this requires understanding the complex interplay of variables like boiler temperature, portafilter weight, and shot timing. Research by the Specialty Coffee Association confirms that customization can elevate home brewing from average to barista-level quality (see detailed guide here).
**Advanced Mistakes to Avoid**
It’s tempting to think that upgrading to the latest gear will solve all problems, but many home baristas fall into the trap of constantly chasing upgrades without mastering what’s already at their fingertips. For example, neglecting routine cleaning routines can lead to flavor contamination and mechanical issues—like blocked steam wands or clogged grinders—which degrade overall performance. Regularly deep cleaning your grinder chute and maintaining seals on your espresso machine aren’t glamorous but are essential. Check out comprehensive maintenance routines to keep your equipment in top shape (learn more).
In essence, becoming a skilled home barista is less about acquiring the latest gadget and more about understanding the intricate mechanics and maintaining precision. Have you ever fallen into this trap? Let me know in the comments.Maintaining your barista gear is the backbone of consistent, delicious espresso. I rely heavily on a few meticulously chosen tools that make ongoing maintenance straightforward and effective. First off, **a precision burr alignment tool** is invaluable. Over time, even slight shifts in burr placement can lead to uneven grind size, affecting shot quality. I personally use the sharpie calibration method to ensure my grinder’s burrs stay perfectly aligned, which enhances grind consistency and flavor extraction.
Secondly, a **dedicated cleaning schedule** is non-negotiable. For cleaning my grinder chute and hopper, I use a soft cloth dipped in descaling solution to remove coffee oils and residues, preserving the grinder’s performance. Investing in a **high-quality brush set** designed specifically for espresso machines allows me to reach tricky areas like shower screens and portafilters, preventing buildup that could impair flow or cause uneven shots. These brushes are flexible, durable, and gentle on sensitive parts.
How do I maintain my equipment over time?
Implementing a routine that includes periodic inspections and cleanings extends your machine’s lifespan and ensures premium taste. Schedule weekly maintenance checks, such as descaling and gasket inspection, and bi-monthly deep cleanings of all accessible components. Following professional guidelines, like those outlined in this comprehensive guide, can dramatically reduce costly repairs and flavor degradation.
Thinking ahead, as technology advances, I predict that smarter, app-connected cleaning sensors will become standard, reminding us when to perform maintenance tasks or alerting us of component wear in real time. This future integration could automate parts of the upkeep process, freeing us to focus solely on brewing.
Make Maintenance a Habit: Try This Tip Now
To truly level up, try incorporating the calibration of your espresso scale into your routine. Accurate measurements are crucial for consistent shots, especially when fine-tuning grind size or tamp pressure. Regular calibration ensures your scale remains precise, preventing unintentional over- or under-dosing. If you haven’t calibrated your scale recently, set aside ten minutes this week to do so — it’s a simple step that pays dividends in shot quality and equipment longevity.
The Hardest Lesson I Learned About barista gear,espresso machines,home espresso,milk frothers,coffee grinders
One of my most valuable realizations was that even the fanciest equipment can underperform without proper upkeep. I once bought a high-end espresso machine, expecting flawless shots, only to be met with inconsistent flavor and frequent leaks. It wasn’t until I dug into internal components, especially the tiny but crucial valves, that I understood the importance of meticulous maintenance.
3 Myths About barista gear,espresso machines,home espresso,milk frothers,coffee grinders That Held Me Back
Many believe that owning premium gear guarantees perfect results. However, I discovered that neglecting regular cleaning, like descaling and inspecting seals, leads to flavor degradation and mechanical issues. Another misconception was that grinders, if new, require no further calibration—regular burr alignment is essential for uniform extraction.
What Experts Won’t Tell You About barista gear,espresso machines,home espresso,milk frothers,coffee grinders
Top professionals emphasize that maintenance routines are as vital as the equipment quality itself. For example, the importance of regulating your espresso machine’s pressure profile can dramatically elevate taste. Surprisingly, a simple O-ring replacement or chemical soak of internal valves can restore performance and extend your gear’s lifespan significantly.
Curated Resources to Elevate Your Home Barista Game
First, I recommend the comprehensive guide on mastering the art of home espresso. It covers everything from calibration to advanced maintenance, helping you avoid common pitfalls. For precise grinder calibration, this method using a sharpie is a game-changer, ensuring every grind particle contributes to a perfect shot. To keep my equipment in top shape, I rely on specialty cleaning solutions that dissolve residue without damaging delicate parts. Lastly, for selecting the right gear, this resource provides insights into tools that suit both beginners and seasoned enthusiasts.
Take Action and Elevate Your Coffee Journey
Remember, the secret to exceptional home espresso lies in consistent care and understanding your equipment’s inner workings. Embrace routine maintenance as a rewarding ritual that deepens your connection with your craft. Don’t wait until performance issues arise—be proactive and become your own barista mechanic. What’s one internal component of your espresso gear you’ve neglected but now plan to inspect? Share your experiences below, and let’s grow together in this flavorful journey.
,