How to Get the Weird Smell Out of Your New Espresso Machine
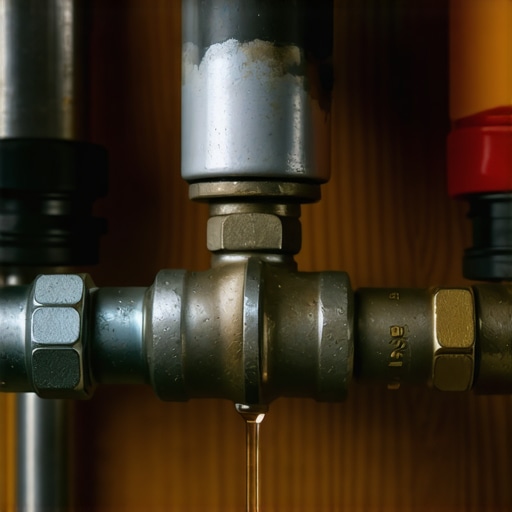
I remember the moment vividly. I had just unpacked my brand-new espresso machine, eager to craft the perfect shot. But as I brewed my first cup, an unsettling, strange smell wafted up—the kind you wouldn’t expect from a shiny, pristine new appliance. Instead of that inviting coffee aroma, I was met with a pungent, off-putting odor that made me question whether I had wasted my money or if I had missed a crucial step in the setup process.
Why That Unpleasant Smell Happens and Why You Should Care
That initial odor isn’t just an unfortunate quirk; it can impact the taste of your espresso and even affect your health if left unaddressed. Most new espresso machines come with manufacturing residues, oils, or packaging materials that haven’t fully off-gassed. These substances release odors that linger even after the machine is unboxed and set up. Overlooking this can suppress the delicate flavors you’re striving to unlock, turning your daily coffee ritual into an unpleasant experience. Plus, certain residues could potentially be harmful if inhaled regularly, especially for those with sensitivities or allergies.
Getting rid of that smell is more than just a matter of comfort; it’s essential for ensuring the quality and safety of your brewing process. I learned this the hard way early on—making a mistake I now help others avoid. Instead of rushing into brewing, I ignored the initial odors, thinking they would dissipate naturally. That oversight led to a few less-than-perfect cups and a lingering sense of doubt. Now, I always take the proper steps to clear out those initial residues, and I want to share these tips with you.
Is Overcoming the Odor Worth the Effort?
You might wonder if it’s really necessary to go through all this fuss. Honestly, it is. A fresh, clean machine makes all the difference in taste—no one wants a cup that tastes like plastic or burnt rubber. Plus, handling this correctly from the start can save you a lot of headaches later, especially if you plan on using your espresso machine regularly. Skipping this step might seem minor, but it’s part of establishing good habits that will keep your gear in top shape and your coffee tasting stellar.
One mistake I made early on was neglecting to thoroughly rinse out the internal components before brewing my first espresso. This small oversight introduced unwanted odors and even affected the final flavor. That’s why I recommend you follow a dedicated cleaning routine, especially during the initial set-up. For insights about choosing the best gear to elevate your home barista skills, check out this guide.
Now that you understand why this matters, let’s dive into the practical steps you can take to banish that weird smell and start brewing your best espresso yet. Trust me, a little effort upfront pays off with richer, more satisfying coffee—and a happier, less skeptical mug each morning.
Flush Out Residues Immediately
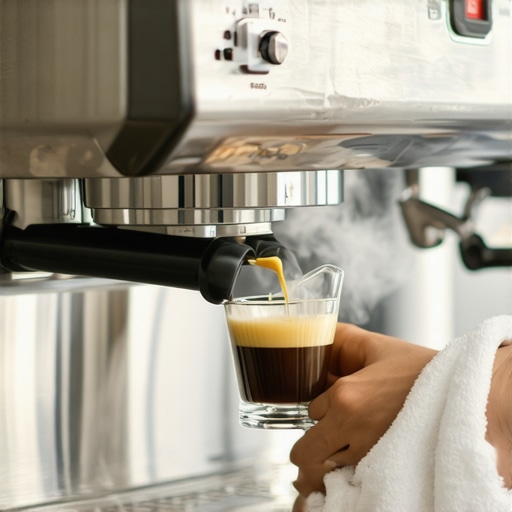
Right after unboxing, run a blank cycle with just water through your machine’s brew path. Use filtered water if possible to minimize mineral deposits, which can trap manufacturing oils.
Practical Tip
Earlier, I poured in water and pressed start without any setup, and the smell intensified. The result? A bitter aftertaste that took hours to wash out. Now, I always follow this initial rinse, which effectively pushes out factory residues.
Clean Internal Components Thoroughly
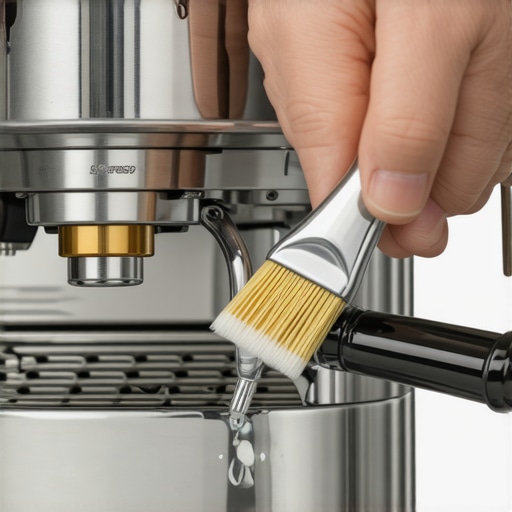
Disassemble removable parts like the portafilter, brew basket, and drip tray. Wash these with hot, soapy water, then rinse well. Use a soft brush to scrub grime in small crevices. For machines with a brew group, apply a damp cloth to clean internal areas carefully—never submerge or immerse electronic parts.
Micro-Story
Once, I nearly skipped this step, and my first espresso tasted like rubber. When I finally disassembled and deep-cleaned the brew group, the odors vanished, revealing rich coffee flavors I hadn’t experienced before.
Descale and Clear Out Old Oils
Use a descaling solution suitable for your machine. Follow the manufacturer’s instructions precisely, typically running the solution through the brew cycle. This breaks down mineral build-up and flushes residual oils that promote odors—think of it as giving your machine a shower.
Analogy
Just like a dirty dishwasher smells bad if not cleaned regularly, your espresso machine needs descaling to prevent sour smells and ensure optimal brewing temperature.
Use Specialty Cleaning Products
Apply a dedicated espresso machine cleaning powder to the brewing components. These products are formulated to dissolve stubborn oils without damaging sensitive parts. Run a cleaning cycle afterward, using fresh water, to rinse away any leftover residues.
Actionable Step
I once tried just rinsing with water and noticed faint odors returning quickly. After switching to a professional cleaning powder, the smell stayed gone for weeks, significantly improving flavor clarity.
Air Out and Vent Your Machine
After cleaning, leave the machine door open in a well-ventilated space. Allow the internal parts to dry completely—this prevents capturing new odors in moisture. This step is critical, especially in humid climates.
Extra Advice
Place a small bowl of white vinegar with water on top of the machine overnight. Vinegar neutralizes lingering smells. Just remember to rinse thoroughly afterward—acidic residues can affect taste and equipment longevity.
Regular Maintenance to Keep Freshness
Implement monthly cleaning routines, including backflushing your machine if applicable. Use filtered or bottled water to slow mineral build-up and oil residues. Maintaining cleanliness prevents future odor issues and improves coffee quality long-term.
Personal Reflection
During my first few weeks, I overlooked these steps, and every cup had a strange aftertaste. Now, with consistent maintenance, my espresso is vibrant and aromatic—proof that these actions pay off over time.
By following these practical steps, you’ll transform your espresso experience from unpleasant to perfection. Remember, a clean machine doesn’t just smell better—it brews richer, better-tasting coffee that truly satisfies.
Many enthusiasts believe that simply owning a high-end espresso machine or a fancy milk frother guarantees perfect coffee. However, the truth is, there’s a lot more beneath the surface that can trip up even seasoned home baristas. For example, many assume that cheaper grinders are always inferior, but in reality, many affordable burr grinders, when properly maintained, can produce excellent results for the home. The secret lies in understanding the nuances of grind consistency and how static buildup can influence dosing precision. Don’t fall into the trap of thinking that owning top-tier gear alone will solve all your brewing issues. Instead, focus on mastering the maintenance and calibration of your equipment.
One common myth surrounding espresso machines is that brewing temperature and pressure are fixed and unchangeable. The reality is, advanced users often benefit from adjusting these parameters to suit different beans and roast levels. For instance, slightly lowering the brew temperature can reduce sourness in high-acid beans, leading to a more balanced shot. This is supported by expert insights suggesting that manual control over extraction variables can significantly elevate the quality of your espresso. Yes, it requires a bit of learning curve, but the payoff is a more personalized and satisfying brew.
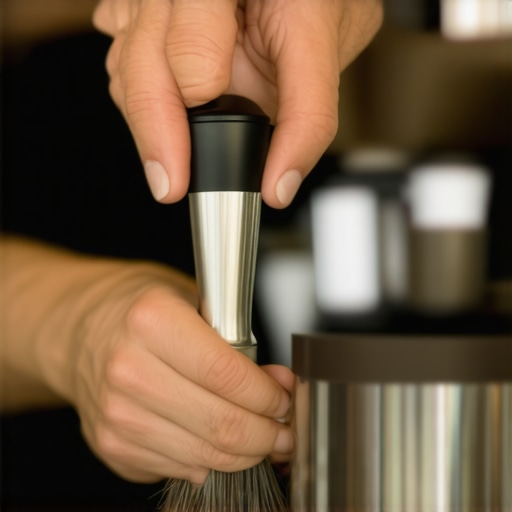
Now, consider the frequent mistake of neglecting to clean your grinder regularly. Static buildup can cause coffee grounds to cling to burrs and chute, leading to uneven grinds and misdosed shots. An often-overlooked action is using a dedicated grinder brush or periodic deep cleaning with grain-cleaning solutions to eliminate residual oils and dust. These small but impactful habits help maintain consistent extraction and flavor profile.
> What’s the impact of static electricity on grinding and dosing?
> Static can cause grounds to stick to the grinder’s components, leading to uneven dosing and channeling during extraction. To combat this, some baristas recommend using anti-static dosing powders or simply tapping the grinder to dislodge static-charged grounds before tamping. For further insights on maintaining grinder consistency, you might explore [this in-depth guide](https://espressotechguide.com/how-to-clean-a-milk-frother-without-scratching-the-non-stick-coating).
Another advanced mistake is misusing the tamping process. Many believe that firm tamping equals better extraction, but applying too much pressure can actually hinder the flow and create channeling. The key is consistency and a level tamp that evenly distributes pressure across the puck. This nuance can be the difference between a bland shot and a rich, sweet espresso.
Lastly, some overestimate the importance of expensive accessories, like precision tampers or dosers, neglecting that proper technique and regular cleaning often outweigh gear investment. A high-quality grinder with dull burrs, for example, won’t produce optimal results unless the burrs are replaced or sharpened periodically. Setting your machines correctly and understanding their limitations is crucial.
Have you ever fallen into this trap? Let me know in the comments. Remember, mastering these details elevates your home espresso from good to exceptional, and it’s often what separates amateurs from true enthusiasts. Dive into the finer points of your gear, keep experimenting, and enjoy the journey towards perfect coffee.
Investing in Quality Tools and Maintenance Strategies
Maintaining your espresso gear is crucial for consistent, high-quality brews. From grinders to steam wands, each component requires specific tools for proper upkeep. Personally, I rely heavily on a dedicated grinder brush and calibration kits to keep my setup in peak condition. These might seem like small investments, but they significantly extend the lifespan of my equipment and ensure uniform grind size, which is vital for taste.
For precise calibration, I use a coffee scale combined with calibration weights to fine-tune my grinder regularly. This practice prevents static buildup and uneven particle distribution, issues that can dramatically alter extraction quality. As trends lean towards automation, I predict that smart, connected maintenance tools will become standard, allowing real-time diagnostics and remote troubleshooting. Embracing these technologies today can future-proof your setup.
How do I maintain my espresso setup over time?
Routine maintenance is your best friend. Implement a monthly deep-cleaning routine that includes descaling, cleaning portafilters, and inspecting rubber gaskets. Remember, the calibration of your grinder and scale is not a one-time task. Regular adjustments keep your espresso consistent, especially if you change beans or roast levels. Never neglect your steam wand—descale and clean it weekly using specialized cleaning tools to prevent clogs and microbial build-up.
To simplify this, I use a monthly cleaning checklist that covers all essential parts. This proactive approach reduces the risk of breakdowns and costly repairs. Plus, it maintains optimal flavor profiles by preventing residues from accumulating. For guidance on selecting the best barista gear to complement your routine, check out this resource.
The Future of Equipment Maintenance
Upcoming innovations will likely include AI-powered diagnostic apps and self-cleaning components, making maintenance more intuitive and less time-consuming. For now, investing in reliable tools like quality brushes, calibration kits, and maintenance solutions is the smart move. These investments pay off by reducing downtime and ensuring your coffee always hits its mark.
Try integrating a calibration routine with your grinder this week. It’s a game-changer for consistency and will immediately improve your brew quality. Proper maintenance might seem tedious, but with the right tools and habits, it becomes an effortless part of your coffee ritual.
What No One Tells You About Perfecting Your Home Espresso
One of the most eye-opening lessons I learned was that even top-tier equipment can fall short without proper maintenance and technique. I used to believe that buying high-end gear guaranteed perfect shots, but I soon discovered that routine cleaning, calibration, and understanding the nuances of my machine played a bigger role than I had imagined. This realization pushed me to dive deeper into maintenance routines and refine my skills, transforming my everyday coffee into an art form.
My Top Tools for Elevating Coffee Crafting Experience
Over the years, I’ve come to trust certain gear that truly makes a difference. A dedicated calibration kit ensures my grinder stays consistent, while a high-quality espresso machine from my trusted brands guarantees durability and performance. Additionally, a good milk frother helps me craft velvety microfoam, elevating my lattes. These tools, combined with ongoing education, have been invaluable in my coffee journey.
Seize the Day and Brew with Confidence
Embarking on your home espresso adventure might seem daunting at first, but remember—every expert was once a beginner. By paying attention to maintenance routines, investing in the right tools, and practicing mindful brewing, you can unlock flavors and textures you never thought possible. Your perfect cup is not a distant dream but a reachable goal that starts with a single step today.
So, what’s the most surprising lesson you’ve learned on your coffee journey? Share your story below—I’d love to hear about your experiences and discoveries!