Why Your Bottomless Portafilter Only Sprays When You Use Light Roasts
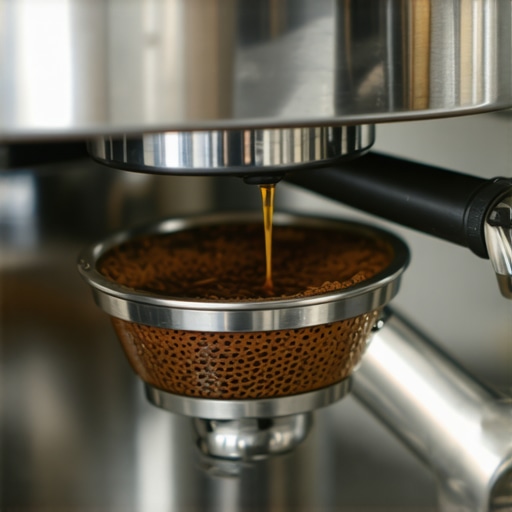
It was a morning like any other — I eagerly pulled out my espresso setup, eager for that perfect shot. But as I placed the bottomless portafilter under my espresso machine, I was greeted not with a steady stream but with a chaotic spray of coffee. My heart sank. Why did it only happen when I used light roasts? That light, delicate brew seemed to cause a mess every time. It was a lightbulb moment for me: light roasts, with their higher soluble solids, can behave very differently in a home espresso setup. And if you’ve faced this spray dilemma, you’re not alone. Today, I want to help you understand why this happens and how to eliminate that annoying spray once and for all.
Getting to the Bottom of the Spray Problem
When I first encountered this issue, I thought it was just a quirk of my machine or unimportant. But it turns out that the problem runs deeper — linked to how light roasts interact with extraction pressure and grind size. Light roasts are denser and less brittle, which makes them harder to extract evenly. This uneven extraction can cause channeling and, ultimately, that messy spray. Early on, I made the mistake of believing that simply increasing tamping pressure would fix the problem. Spoiler: it didn’t. Instead, I realized that I needed to address the grind size and distribution to prevent those disruptive channeling issues. Fixing this situation relies on understanding the nuances of light roasts and how they behave during extraction. For more insights on optimally selecting your grinder settings, check out [how to select the perfect coffee grinder for your brew](https://espressotechguide.com/how-to-select-the-perfect-coffee-grinder-for-your-brew). Now, let’s explore practical steps to turn that spray mess into smooth, elegant espresso shots.
Adjust Your Grind for Consistency
Start by setting your grinder to a slightly coarser setting than usual. During my first attempt, I lowered the grind fineness too much, which caused the high-pressure light roast coffee to channel and spray. By moving the grind dial a small step coarser—about a quarter turn—I reduced the pressure buildup that led to spray. Photographically, think of your coffee bed as a trampoline: too tight, and it risks bouncing out; too loose, and the ball bounces unevenly.
Dial in gradually to avoid overcorrection
Every time I played with the grind, I pulled a test shot. The goal was to find that sweet spot where water flows evenly and the shot pulls smoothly without spraying. For more detailed grinder calibration, check how to select the perfect coffee grinder for your brew.
Sock the Tamp and Distribution
Next, focus on distribution and tamping. I used a distribution tool to level the coffee bed evenly—imagine smoothing out a rough landscape—then applied a firm, even tamp. Initially, I pressed with too much force, which compacted the coffee unevenly, causing channeling and spray. Instead, I pressed with consistent pressure—roughly 30 pounds of force—and made sure the surface was flat. Think of this like leveling a table for a stable surface.
Watch for uneven surfaces
Always inspect the puck after tamping; any dips or ridges can cause water to find the path of least resistance, creating spray. For more on perfect tamping, visit mastering the art of home espresso.
Control Your Extraction Variables
Pressure plays a crucial role—if it’s too high, it’ll force coffee unevenly and cause spray. I installed a pressure gauge to monitor extraction pressure, aiming for around 9 bars. If your machine doesn’t have a built-in gauge, consider a portable one—knowing your pressure helps prevent unwanted sprays. When I saw pressure spike above 10 bars, I slowed the pump or adjusted the grind. To prevent mineral buildup that can affect pressure, regular descaling is essential; learn more about the hazards of improper cleaning in descaling your copper boiler.
Experiment with Dose and Tamping Technique
The dose of coffee in your basket influences how water passes through. I found that reducing my dose from 18 grams to around 16 grams helped prevent over-compactness, easing water flow. Additionally, tamp with a consistent, straight motion—imagine pressing a doorstop evenly against the door. A wobbling tamp can cause channeling, which leads to spray. Use a high-quality tamper with a flat base, and practice applying even pressure. For precise techniques, check how to properly align your burrs.
Test and Fine-Tune Your Settings
After adjustments, pull a test shot. Observe the extraction: water should flow steadily and evenly, and the coffee should look glossy and even. If you still encounter spray or uneven flow, revisit grind size, tamp pressure, and dose. It’s about iterative fine-tuning—small changes cumulatively make a big difference. I recommend keeping a shot log to note what adjustments yield the best results.
When diving into the world of home espresso setups, many enthusiasts believe that acquiring high-end equipment alone guarantees perfect coffee. However, this isn’t entirely accurate. A common myth is that more expensive grinders or machines automatically produce superior results, but in reality, understanding the nuances of your gear is crucial. For instance, many think that setting their grinder to the finest setting will yield the best shot, yet over-fining can lead to slow flow and channeling, negatively impacting extraction quality. Advanced baristas recognize that calibration and consistent technique are more vital than the equipment’s price tag.
Are All High-End Machines Truly Better for Precision?
It’s tempting to assume that premium espresso machines with numerous features are inherently more precise. Still, studies show that user technique, routine maintenance, and proper calibration often matter more than technological complexity. An overcomplication can lead to neglect or misadjustment, reducing the machine’s potential. Also, many overlook the importance of regular deep cleaning, which is essential for consistent performance and flavor extraction. Neglecting this can cause oils and mineral buildup, leading to bitter taste and uneven pressure—issues that only get worse in high-end equipment if not maintained properly. Furthermore, a prevalent mistake is relying solely on product specifications without considering your actual brewing environment. For example, a high-pressure pump may seem advantageous but could be detrimental if your home setup lacks stable power or proper water filtration. Experts recommend thorough research and personal calibration over blindly trusting brand claims. One often overlooked aspect is the barista gear’s compatibility with your workflow. For example, pairing a powerful grinder with a low-quality tamping technique can nullify the benefits of precise grind settings. Proper tamping and distribution are vital to prevent channeling and spray during extraction, regardless of equipment quality. To ensure you’re making the most of your gear, I suggest exploring detailed guides on mastering extraction techniques and equipment maintenance. For instance, learn how to maintain your [home espresso setup](https://espressotechguide.com/mastering-the-art-of-home-espresso-tips-for-beginners) for peak performance. Don’t forget that equipment is only part of the equation—routine maintenance, calibrated workflow, and understanding your gear’s limitations are keys to consistent, high-quality coffee. Have you ever fallen into this trap? Let me know in the comments and share your experiences with the gear that transformed your brewing process.Once you’ve dialed in your grind, tamping, and extraction techniques, maintaining your equipment becomes crucial to ensuring consistency and longevity. The right tools can make all the difference in keeping your coffee experience top-notch. For coffee enthusiasts committed to excellence, investing in high-quality gear isn’t just about initial purchase—it’s about ensuring everything works seamlessly over time.
How do I keep my espresso machine and accessories in peak condition?
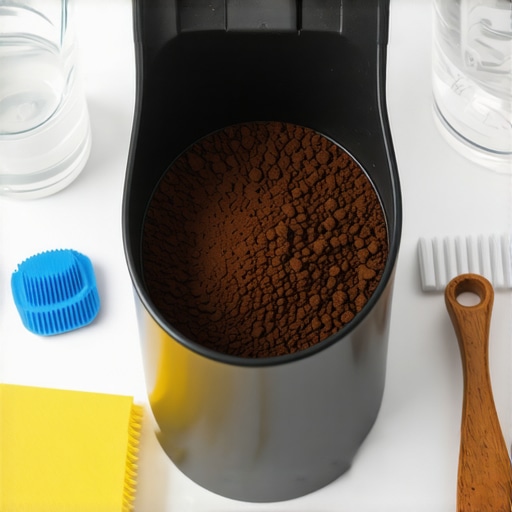
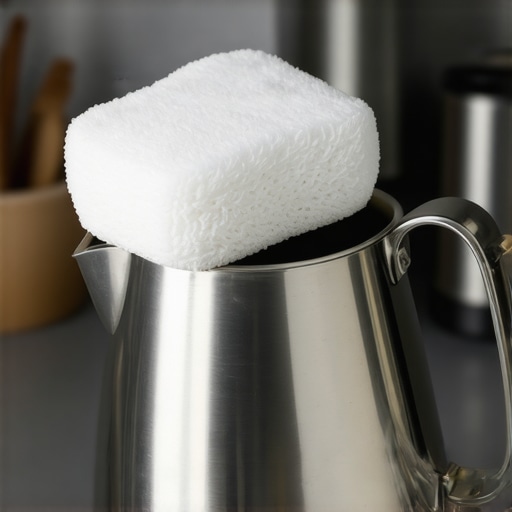
Regular maintenance is key. I personally rely on a few specific tools to keep my setup running smoothly. A good **group head cleaning brush** helps me remove coffee oils and residues from the shower screen, preventing buildup that can cause uneven extraction or clogged spray nozzles. I recommend the **WDT (Weiss Distribution Technique) tool** not only for initial distribution but for periodic adjustments to ensure an even puck before tamping, which reduces channeling and ensures consistent results. Proper grinder maintenance is also essential; using a brush designed for burrs prevents oil buildup and clogs that could affect grind consistency. For milk frothers, I swear by quick cleaning routines that prevent bacteria and ensure quality foam every time. The key is regularity—set a weekly schedule for descaling and cleaning, especially if you use hard water, to prolong your machine’s lifespan and preserve flavor integrity. Keeping a set of descaling tablets handy and following manufacturer instructions ensures mineral deposits don’t impair heating elements or pressure valves.
Forecasting the future of barista gear and maintenance tools
I predict that future tools will increasingly incorporate smart features—automated cleaning reminders, real-time performance monitoring, and even AI-guided calibration. Some of the latest models now offer app-controlled diagnostics, which can alert you to issues before they become costly repairs. This trend will make home barista life more convenient, minimizing downtime and maximizing your coffee’s quality.
Best practices for long-term gear health
To keep everything working optimally, always use filtered water to reduce scale buildup, and avoid over-tightening fittings during maintenance—this prevents gasket damage. Additionally, high-quality filters can extend the intervals between descaling, saving time and hassle. Incorporate routine checks for wear parts, such as seals and gaskets, and replace them proactively. When you notice any change in pressure or temperature stability, consult detailed guides—like those found here—to diagnose and fix issues promptly. From my experience, using dedicated tools for cleaning the group head (e.g., a paddle brush) and understanding your machine’s specific needs can significantly improve your long-term results. Don’t underestimate the power of a disciplined maintenance routine; it keeps your gear performing at its best and your coffee tasting exceptional. Try scheduling a deep clean this weekend, incorporating the latest descaling techniques and tools. Your future self will thank you for it! Let me know which maintenance tip works best for you or if you’re curious about specific gear upgrades to streamline your routine.
Lessons I Wish I Learned Before My First Light Roast Shot
One of the most profound insights I’ve gained is the importance of patience with light roasts. They demand a different touch—more precise grind size, closer attention to tamping consistency, and meticulous pressure control. Rushing through these steps often led to sprays and inconsistent flows, but once I embraced the delicate nature of light roasts, my espresso clarity improved dramatically.
The second lesson is the power of small adjustments. Initially, I believed bigger changes would solve my spray problem. Instead, adjusting grind size by fractions and tamping with intention unlocked a new level of control. This taught me that mastery in home espresso is a series of tiny refinements, each crucial for preventing channeling and spray.
Finally, I recognized the significance of equipment calibration. Regular routine checks for grinder burr alignment and pressure gauges made a visible difference. You can’t underestimate the value of knowing your gear intimately—understanding its quirks enables you to troubleshoot spray issues swiftly and with confidence.
Elevate Your Home Barista Skills with Carefully Chosen Tools
In my journey, certain tools transformed my approach to light roast espresso. A high-quality grinder cleaning kit keeps burrs sharp and uniform, preventing uneven grind sizes that cause sprays. A calibrated pressure gauge helps me stay within optimal extraction ranges, especially crucial for delicate roasts. Finally, a trusted milk frother guarantees my texture matches my refined extraction, completing the perfect cup. These tools, combined with consistent technique, form the backbone of a successful home espresso operation.
Fuel Your Passion and Keep Brewing Bright
The journey to mastering light roast espresso is ongoing and filled with learning. Don’t let initial spray mishaps discourage you—every small tweak brings you closer to your ideal shot. Embrace curiosity, invest in your gear wisely, and remember that even seasoned baristas face challenges that push their skills further. Your commitment to constant improvement will bring richer flavors, cleaner extractions, and more satisfying mornings. So, why not experiment with your current setup today? Share your experiences or ask questions in the comments—your perfect shot might be just a tweak away!