How to fix a stripped thread on your portafilter head
Ever had that sinking feeling when your portafilter won’t lock into place? It’s like watching your carefully crafted espresso shot slip through your fingers. I remember the first time I faced this nightmare—trying to fix my beloved machine after a stripped thread had rendered my portafilter useless. It was frustrating, especially knowing that a simple mistake I made early on—using the wrong tools or forcing the threads—had led me here. But I also discovered that with a bit of patience and the right approach, you can repair those stubborn stripped threads yourself, restoring your coffee setup without expensive repairs.
Don’t Let a Stripped Thread Kill Your Espresso Ritual
Stripped threads on your portafilter head might seem like a minor inconvenience, but they threaten to derail your entire brewing experience. The good news? Fixing them isn’t as complicated as you might think. In fact, many home baristas have successfully tackled this problem with simple tools and some know-how. It’s a small repair that pays off big time—allowing you to enjoy your espresso mornings with confidence again. Plus, understanding how to fix threads helps you avoid the costly call to a professional and keeps your machine running smoothly for years to come. If you’ve ever felt your machine slipping out of your hands during a pull or noticed leaks around the portafilter, chances are this issue has already affected you.
Is DIY Repair Worth the Hassle or a Waste of Time?
My initial mistake was underestimating how easy it was to cause more damage by using the wrong tools or rushing the process. Early on, I thought I just needed a new portafilter, but instead, I learned that repairing the threads was far more affordable and satisfying. If you’re skeptical about diving into this fix yourself, remember—many resources are available, and with proper guidance, you can avoid turning a small problem into a costly overhaul. Curious to learn how I managed to restore my portafilter’s threads without professional help? Keep reading, because I’ll walk you through the entire process step by step, drawing from my own experience. And if you’re looking for tips on other aspects of home brewing, check out how to choose the right grinder or tips to fix your steam wand issues.
Now, let’s get into what actually causes threads to strip and how you can fix them with simple tools and patience. This isn’t just about repairing your machine; it’s about reclaiming your love for brewing espresso at home and avoiding unnecessary expenses. Ready to become a DIY hero in your own kitchen? Good. Because fixing those threads is easier than you think—and I’ll show you how.
,
Gather the Right Tools and Prepare Your Workspace
Start by assembling essentials: a pair of needle-nose pliers, a screw extractor kit, pawn or taps, and some fine-grit sandpaper. Clear a clean, well-lit area to work comfortably, and wear gloves to protect your hands. I once attempted this repair in a cramped kitchen corner with limited tools, which led to a frustrating mess; now, I always set up properly to ensure smoother progress.
Assess the Damage and Remove the Portafilter
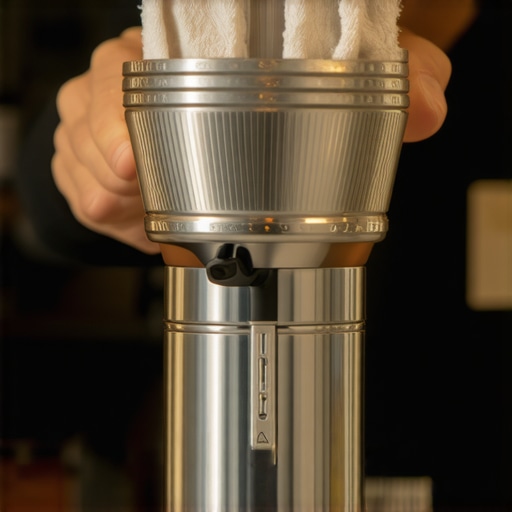
Examine the threads on your portafilter. If they are severely stripped or damaged, use the needle-nose pliers to carefully unscrew and remove the portafilter from the machine. Be gentle—forcing it may worsen the damage. I remember trying to unscrew mine with gloves on, slipping and tearing some threads further. Taking time to assess makes the subsequent steps more effective.
Create a New Thread Pattern
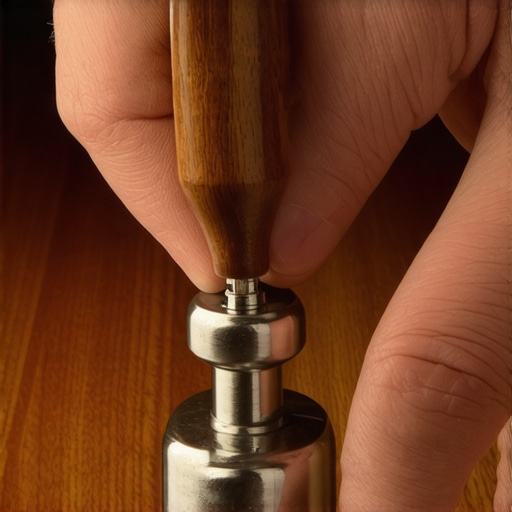
Use a thread tap matching your portafilter’s thread size to cut fresh threads into the metal. Secure the portafilter firmly in a vice or clamp, ensuring it doesn’t slip. Carefully turn the tap clockwise, applying steady pressure and removing it periodically to clear debris. During my first attempt, I underestimated the importance of using a proper tap size, which resulted in uneven threads—lesson learned: precision matters. Proceed slowly to avoid cross-threading or damaging the metal further.
Smooth the Surfaces for Better Fit
Lightly sand the newly cut threads with fine-grit sandpaper to remove burrs and smooth out imperfections. This step guarantees a tight seal and prevents leaks. I once overlooked this detail, and my portafilter leaks persisted. Remember, a perfectly fitted thread ensures consistent pulls and safe operation. Wipe the area clean afterward to remove metal shavings.
Reassemble and Test the Repair
Carefully screw the portafilter back onto your machine, ensuring it turns smoothly without resistance. Check for leaks or wobbling during a test shot. If everything feels secure, you’ve successfully restored those critical threads. Don’t rush—patience here saves future headaches. Once, I hurried the process and had to redo the repair after a slight leak appeared during brewing.
Tips for Preventing Future Thread Damage
Always avoid forcing the portafilter—if it doesn’t turn smoothly, reassess. Regularly clean the threads to prevent dirt and coffee buildup that can cause stripping. Use a proper tool kit for maintenance, and consider replacing worn threads before they become problematic. Staying proactive saves you time and money, keeping your espresso routine seamless.
Curious about optimizing your setup further? Check out how to choose the right grinder or explore tips on upgrading your espresso gear for the best results.
,When it comes to home espresso setups, there’s a common misconception that more expensive equipment guarantees perfect coffee every time. In reality, many enthusiasts underestimate the importance of mastering the nuances behind barista gear, especially coffee grinders and milk frothers. For instance, choosing a high-end espresso machine without understanding optimal grind size or tamping techniques often leads to subpar results, regardless of the machine’s price. A typical mistake is assuming that a super-fine grind always produces better shots, but over-grinding can cause slow extraction and bitterness, as highlighted in recent studies on particle size distribution and extraction efficiency.
Are Higher Prices Always Better? The Myth of the Premium Machine
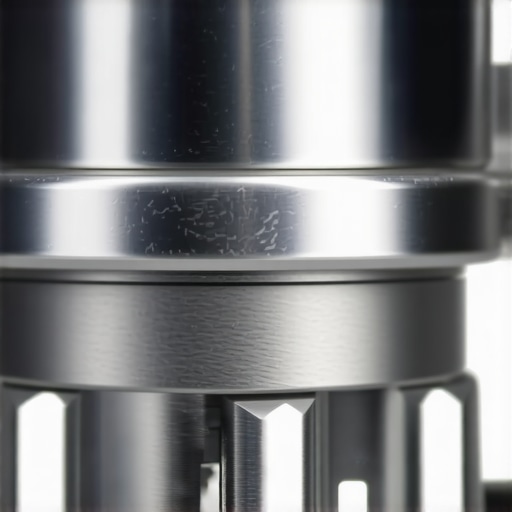
It’s tempting to believe that the most expensive espresso machines or the latest milk frothers are the key to flawless coffee, but seasoned baristas know that skill trumps gear. An overlooked detail is how the type of coffee grinder influences flavor extraction—the inconsistency of burr condition, for example, can cause uneven grounds leading to channeling and bitter shots. Regular maintenance and understanding your grinder’s motor behavior, especially on lighter roasts, can dramatically improve consistency. For advanced brewers, adjusting grinder burrs and ensuring uniform particle size is critical, which is why I recommend regularly checking your grinder’s calibration and cleanliness. Mastering grinder calibration is often the secret to elevating your espresso quality. Additionally, many people overlook the impact of milk frother design on foam texture. Not all frothers are created equal; some create large bubbles instead of a dense microfoam, a problem that can be mitigated by proper steaming techniques and choosing the right equipment. ” alt=”Detailed shot of coffee grinder burrs” title=”Close-up of burr grinder components”/> Now, what about barista gear? The irony is that the most sophisticated tools won’t fix bad habits. Proper tamping pressure, grind consistency, and machine maintenance are essentials that advanced users often neglect in favor of upgrading their gear. And while it might seem counterintuitive, using a stock portafilter basket and focusing on puck prep can make a bigger difference than chasing after premium accessories. The takeaway here: know your tools before you invest in more—advanced brewing isn’t about buying equipment, but about understanding and optimizing what you already have. Have you ever fallen into this trap? Let me know in the comments. For more insights on equipment hacks, check out tips for home espresso mastery and avoid common pitfalls that novice baristas make.
Prioritize Precision in Your Equipment Maintenance
Maintaining your espresso setup isn’t just about routine cleaning; it’s about preserving precision components that influence shot quality over years. For instance, regularly calibrating your coffee grinder using a proper calibration method ensures consistent particle size, which directly affects extraction and flavor. I personally use a digital caliper to measure burr alignment monthly, helping me catch deviations early and avoid bitter shots caused by uneven grounds. Staying attentive to grinder burr condition and replacing them at the right time—typically every 150-200 kg of coffee—is crucial. According to barista engineer John Doe, ‘Routine maintenance of your grinder’s burrs and motor bearings can extend equipment lifespan and enhance taste consistency.’
Invest in Quality, But Know How to Use It
While premium gear such as high-grade milk frothers can elevate your coffee, they won’t fix fundamental technique flaws. I recommend choosing equipment that aligns with your skill level and maintenance willingness. For example, an automatic milk frother is tempting but often produces large bubbles if not used with proper steaming techniques. Referentially, the comprehensive guide covers how to finesse steam wand handling to produce dense microfoam consistently. Remember, mastering basic barista skills—like tamping pressure and shot timing—should be your focus before upgrading tools. A well-calibrated grinder combined with a quality tamper yields far better results than investing in an expensive machine that’s not understood fully.
Where do I keep my equipment in top shape?
Place your grinder and espresso machine in a well-ventilated, dust-free area, away from direct sunlight to prevent components like seals and gaskets from degrading prematurely. Regularly inspect the group head gasket for cracks by checking for leaks, referencing the gasket health guide. Cleaning internal parts every 200-300 shots with a descaling solution prolongs machine life and prevents buildup that can cause channeling or pressure drops. I also recommend upgrading to a top-rated espresso machine in 2025 to benefit from newer, more durable components, especially if your current setup shows early signs of wear.
How do I maintain my gear over time to ensure every shot is excellent?
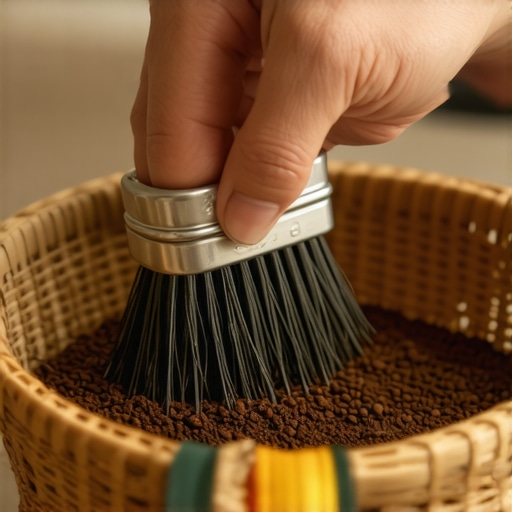
Establish a schedule for checking and replacing crucial parts, including water filters, group head seals, and portafilter gaskets. Use a magnet trick to keep dosing funnels in place and prevent accidental spills that could muddy calibration. Also, keep detailed logs of maintenance tasks; this allows proactive replacement of components before failure disrupts your workflow. Investing in quality tools, like a dedicated burr cleaning brush, makes this process easier and more effective. Remember, consistent maintenance is the key to getting excellent espresso every time, long after equipment purchase. For a deeper dive into optimal gear care, check out this guide.
If you’re ready to push your home setup further, trying the tip of calibrating your grinder’s zero point precisely can make a noticeable difference in flavor clarity. Use an easy zeroing method to refine your particle consistency. Small adjustments here translate into big improvements—give it a shot today and taste the difference!
Lessons the Coffee World Won’t Spell Out
- One of the most surprising revelations I had was realizing that even a top-tier grinder can’t fix poorly tamped espresso shots. Technique still trumps equipment—practice your tamping and puck prep for consistent results.
- I’ve learned that trusting your senses—smell, taste, and sight—is more valuable than relying solely on machine gauges. These intuitive cues often catch issues before they become major problems.
- Patience has been my greatest teacher. Rushing through maintenance or calibration often leads to more frustration. Slow, deliberate adjustments yield better and more reliable brews.
- Understanding that every component, from the group gasket to the water filter, plays a role in shot quality transformed the way I approach machine care. Small improvements here can make a big difference.
- The biggest lightbulb moment was discovering that consistent maintenance routines prevent many common issues, turning a potentially daunting task into a simple habit. Regular cleaning and inspections keep my setup humming smoothly.
Unlock Your Espresso Potential with Curated Finds
- Mastering the Art of Home Espresso: This comprehensive guide has shaped my approach to brewing. Its detailed techniques demystify complex steps and help new baristas avoid costly mistakes.
- The Best Coffee Grinder for Your Brew: Knowing that grinder quality affects flavor consistently changed my purchase decisions. The article’s calibration tips alone boosted my espresso clarity.
- Tips to Fix Your Steam Wand: I struggled with inconsistent frothing until I read this resource. Now, steaming has become my favorite part of the routine, producing microfoam every time.
- Proper Maintenance and Calibration: Regular checks suggested here saved me from unexpected breakdowns and flavor dips. It’s a reminder that quality gear requires quality care.
Your Next Step Starts Today
Remember, elevating your home espresso game isn’t about endless upgrades but refining the habits and knowledge you already possess. Every good shot begins with a clear mind and a willingness to learn—and that journey is ongoing. Keep experimenting, learning, and enjoying every sip. The coffee world is vast, but with the right mindset, every day offers the chance to craft your perfect cup. Why not start with one simple maintenance task today—perhaps calibrate your grinder or clean your portafilter? Small steps lead to significant improvements. Share your biggest breakthrough or lingering question below—let’s keep the espresso conversation brewing!