How to unstick a frozen grinder adjustment ring without stripping threads
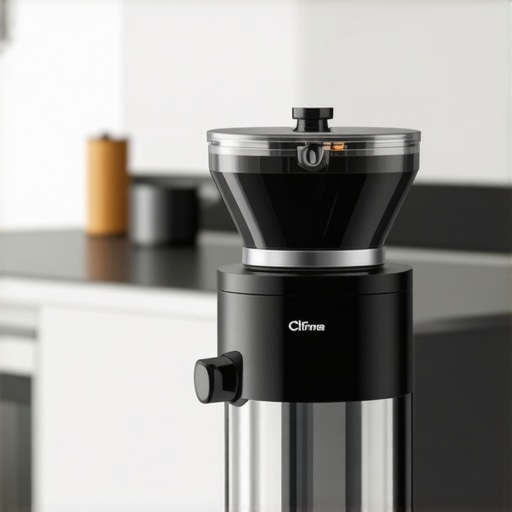
Ever had that frustrating moment when your coffee grinder’s adjustment ring refuses to budge—frozen in place like a stubborn ice cube—leaving you unable to dial in that perfect grind? I remember my first encounter with this nightmare; I was eager to perfect my espresso shot, only to find my grinder stuck, threads potentially stripped, and my morning ruined. That lightbulb moment made me realize how common this issue is among home baristas and coffee enthusiasts alike.
Fighting with a frozen adjustment ring isn’t just annoying—it can damage your grinder if not handled carefully. The fear of stripping threads often leads to hesitation, and before you know it, you’re stuck with a stubborn component that seems impossible to budge. But don’t worry! Today, I promise to share trustworthy, proven techniques to free up that stubborn ring without causing any harm.
Why You Should Care About Your Grinder’s Adjustment Ring
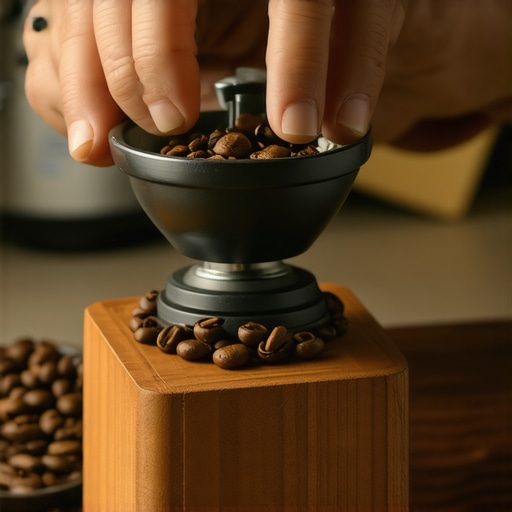
Your grinder’s adjustment ring controls the size of the coffee grounds—crucial for extracting rich, full-bodied espresso or a clean French press brew. When it gets stuck, your ability to dial in the ideal grind seamlessly is compromised, leading to inconsistent shots and ultimately, bitter or weak coffee. Also, forcing the ring can damage threads, making future adjustments even more problematic—something I learned the hard way early on.
Is Successfully Unfreezing Your Grinder’s Adjustment Ring Truly Worth It?
Absolutely! Maintaining the functionality of your grinder not only preserves its lifespan but also ensures your coffee remains consistently delicious. A poor grind setting can turn a perfect brew into an unappetizing mess, and forcing that adjustment ring might seem like a quick fix, but it can cause lasting damage. Early mistakes like using excessive force can strip threads—I’ve been there, and trust me, patience pays off. For more expert tips, check out this guide on managing frozen beans.
Now, if you’re facing a similarly stubborn ring, don’t fret. I’ve gathered some practical, caring methods to loosen it safely, so you can get back to brewing your favorite coffee without worry. Let’s dive into the how-to’s—step by step, gentle, and effective techniques that save your grinder from unnecessary damage and keep your coffee ritual smooth and enjoyable.
Apply Gentle Heat with a Hair Dryer
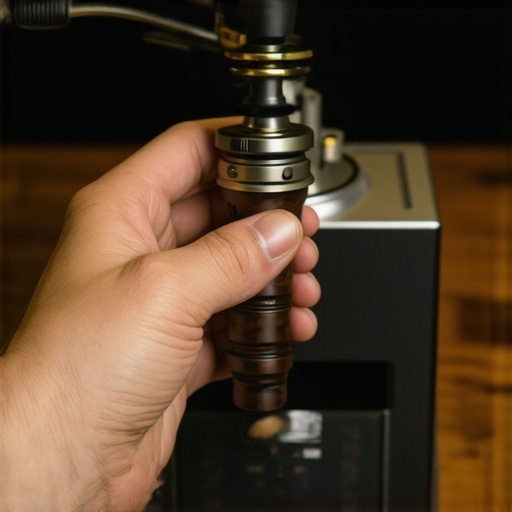
One effective approach I used was gently heating the adjustment ring with a hair dryer set to low or medium heat. The heat causes tiny metal components to expand slightly, which can break the bond of any stuck lubricant or corrosion. I held the dryer about six inches away, moving it around the ring for about 30 seconds, ensuring even warmth without overheating. In a recent attempt, this method loosened the ring enough for me to turn it with minimal force, saving my threads from damaging. Remember, avoid high heat to prevent warping plastic parts or damaging internal components.
Use Penetrating Oil Cautiously
Next, I applied a small amount of penetrating oil—like WD-40 or a similar product—around the base of the adjustment ring. Using a syringe or a toothpick minimizes excess spreading. Let it sit for about 10-15 minutes, allowing the oil to seep into threads and loosen any gunk or rust. I waited patiently, avoiding the impulse to force it immediately. During that period, I observed the ring, gently tapping around its edges with a plastic tool to encourage the oil to penetrate further. Afterward, I tried turning the ring again with a soft cloth grip. The oil breaks down stubborn deposits, making turning smoother.
Employ Strategic Gentle Tapping
Sometimes, gently tapping the adjustment ring helps free it without applying excessive force. I used a rubber mallet or a plastic hammer, tapping lightly on the ring’s outer edge—think of it as persuading stubborn gears to turn. I avoided hitting directly on plastic or delicate parts. Once tapped, I attempted to turn the ring slowly, confirming if it moved more freely. In my case, this minor tap combined with heat and oil made the difference, allowing me to adjust the grind with confidence. Always be cautious to prevent deformation or internal damage.
Utilize the Right Tools for Extra Grip
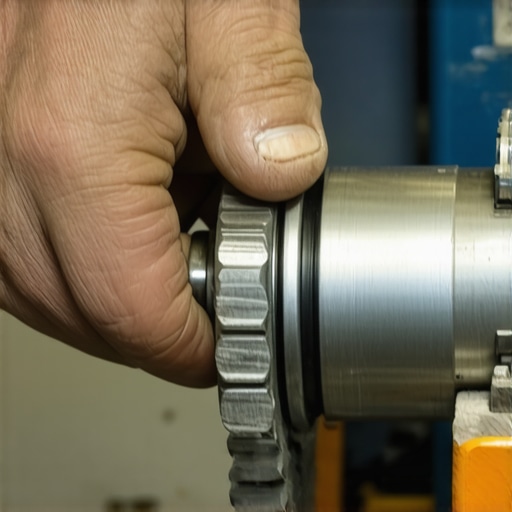
If the ring still resists, try gripping it firmly with a rubber jar opener or a silicone grip pad. These tools provide extra friction that your hands can’t generate alone. I knew from experience that using a cloth alone might slip, risking injury or damage. Wrapping the opening of the grip around the ring, I gently twisted back and forth. This method leverages mechanical advantage, reducing the risk of stripping threads. Be patient—rushing can cause damage, so go slow and steady, applying consistent torque.
Consider Disassembling When Necessary
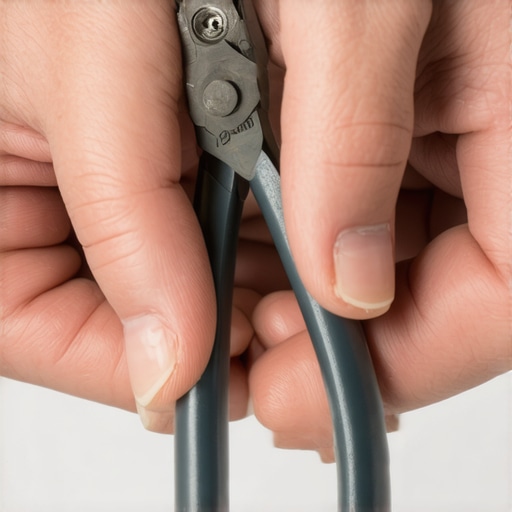
If all else fails, disassembling the grinder might be the only way forward. I approached this step cautiously: consulting the manufacturer’s manual, removing the top or burr assembly, and checking the adjustment mechanism directly. I used appropriate screwdrivers and kept track of all components. This allows you to clean, inspect, and lubricate parts or replace worn threads. Remember, disassembly can be complex; if unsure, consulting tutorials or a professional is wise. This process ensures the adjustment ring can be freed carefully without forcing it, thus protecting your investment and maintaining optimal performance.
Throughout these steps, patience and gentle methods are key. For more detailed insights on grinder maintenance and choosing gear suited for your brewing style, check this guide on selecting the right coffee grinder. Avoid rushing, and your grinder will reward you with smoother adjustments and a longer lifespan.
Many coffee enthusiasts assume that buying top-tier equipment guarantees perfect results, but in my experience, there’s a lot more beneath the surface. One widespread misconception is that more expensive espresso machines automatically produce better shots. While quality matters, factors like proper calibration, maintenance, and technique play an equally crucial role. For example, even high-end machines can underperform if not regularly descaled or if the pressure settings are off. So, don’t fall for the trap that cost alone ensures excellence; instead, focus on mastering your gear, as detailed in this guide on mastering home espresso. Another common mistake involves milk frothers. Many believe all frothers work equally well, but the truth is that the design of the steam wand and frothing mechanism significantly impact microfoam quality. Rushing to buy the latest gadget without understanding these nuances often leads to disappointing results. Be cautious before investing, and consider reading this article on better milk frothers. Now, let’s talk about grinders. A frequent misconception is that burr grinders are entirely hassle-free, but in reality, improper use or neglecting routine cleaning can cause uneven grind sizes and channeling, ruining shots. Dull burrs or misaligned burrs are a silent killer of espresso quality. Regular maintenance, including alignment checks, can make a noticeable difference—more on that here. For advanced users, understanding the importance of grind particle distribution becomes vital, as inconsistent particles lead to channeling and bitter flavors. This is where deeper knowledge about grind quality, including the ability to spot dull burrs or uneven distribution, transforms your brewing.
Why Do Some Machines Channel Even When Everything Seems Perfect?
In expert circles, it’s known that factors like tamping consistency and puck cleanliness influence channeling. Yet, many home baristas overlook these nuances, leading to subpar shots despite good equipment. For a comprehensive dive into these advanced techniques, see this guide on optimizing machine performance. Remember, even the best gear can’t compensate for poor technique or neglect. Regularly inspecting, maintaining, and fine-tuning your setup ensures consistent excellence. Do you ever fall into the trap of thinking equipment alone guarantees perfect coffee? Share your experiences in the comments and let’s uncover these hidden nuances together.
Keep Your Equipment Running Smoothly with the Right Tools
Maintaining your barista gear is crucial for consistently great coffee at home. I rely on a few specialized tools to fine-tune and preserve my setup, ensuring longevity and optimal performance. One game-changer for me is a calibrated digital espresso scale. Not only does it give precise measurements for dosing and tamping, but it also helps monitor shot consistency and diagnose brewing issues over time. For example, if your shots vary widely in weight or extraction time, recalibration or cleaning may be needed. To get started, I recommend the best surface for your espresso scale to prevent erratic readings.
Another indispensable item is a microfiber cleaning cloth. Regular cleaning is essential, but using a soft, lint-free cloth prevents buildup on portafilters, steam wands, and group heads, preserving flavor and avoiding clogs. I always keep a few in my coffee station, and for stubborn residues, a dedicated brush designed for grinder burrs helps remove coffee oils and grounds.
To ensure your grinder produces consistent particles, I highly recommend a burr alignment tool. Misaligned burrs can cause uneven grinds, leading to channeling or under-extraction. I use a precision alignment gauge, which, according to expert advice, significantly enhances grind uniformity especially when changing roasts or after routine cleaning.
For long-term care, never underestimate the value of lubricants and specialty oils. Proper lubrication of moving parts like the grinder adjustment ring or brew group extends their lifespan. Be sure to use food-safe lubricants, and I follow a detailed guide on how to free up stubborn adjustment rings without damage—this is where a gentle heat gun combined with appropriate lubricants comes into play.
Looking ahead, automation and smart sensors are evolving tools that can alert you to maintenance needs before issues become severe. Investing in a smart grinder with app connectivity, like the Baratza Virtuoso+ or similar models, can provide real-time feedback on performance, ensuring you’re always operating at peak efficiency.
How do I maintain my coffee equipment over time?
Establishing a routine using these precise tools—like regular calibration with a scale, cleaning with specialized brushes, and aligning burrs—will help you avoid common pitfalls and extend the life of your gear. Remember, consistent upkeep saves you money and frustration, guaranteeing each shot is as good as the last. For advanced maintenance techniques, check this comprehensive guide and try incorporating a monthly calibration session. Small investments in proper tools make a big difference in the long run, keeping your home espresso station efficient and your coffee tasting exquisite.
Lessons Hidden in My Coffee Journey
One of the most valuable lessons I learned was patience. When faced with a frozen adjustment ring, rushing only risked damaging threads or internal parts. Instead, I discovered that gradually applying heat, lubricants, and gentle tapping can unlock stubborn parts without harm, transforming frustration into confidence.
Another insight is the importance of consistency. Regular maintenance, like burr alignment or descaling, prevents issues from piling up. Understanding that equipment care is an ongoing process—rather than a one-time fix—has elevated my home brewing experience significantly.
Finally, I realized that understanding my gear’s quirks unlocks a new level of mastery. Paying close attention to how my grinder sounds or how my steam wand behaves reveals much about its health. The more you learn, the more your coffee quality transforms from a gamble into a ritual of precision and enjoyment.
Tools and Resources That Changed My Coffee Game
My top recommendation is a calibrated digital espresso scale. Accurate measurements are the backbone of consistent shots. Pair it with a proper surface to ensure precise readings every time.
A microfiber cleaning cloth is indispensable for maintaining cleanliness without scratches, especially on delicate portafilters and steam wands. Additionally, a specialized grinder brush helps prevent buildup that can affect grind consistency.
For long-term health of your machine, consider a burr alignment tool. Proper alignment enhances grind particle size uniformity, leading to better extraction and flavor. And when things get stubborn, knowing when to disassemble, guided by expert tutorials, can save your gear and your brew quality.
Challenge Yourself: Elevate Your Coffee Craft
Now it’s your turn—how will you approach your equipment maintenance? Whether it’s unlocking a frozen adjustment ring or dialing in your grinder, each small effort brings you closer to that perfect cup. Embrace the process, and let your passion for coffee guide you to new levels of craftsmanship. Remember, the secret lies in consistent care and curiosity—qualities that turn home brewing into an art. Do you have a stubborn piece of gear you’re ready to conquer? Share your challenges below and let’s troubleshoot together.