The Simple Paper Shim Trick to Align Your Flat Burrs Faster
I’ll never forget the moment I watched my perfectly dialed-in espresso shot go awry because I couldn’t get my flat burrs aligned properly. Frustration crept in as I fiddled endlessly, trying to sync those stubborn burrs without any real luck. It felt like a never-ending game of trial and error, and I knew I wasn’t alone in this struggle. If you’ve ever spent precious mornings battling your grinder just to get consistent results, you understand exactly what I mean.
Why Proper Burr Alignment Can Make or Break Your Coffee
Ensuring your flat burrs are aligned correctly isn’t just a petty technicality—it’s the backbone of consistent extraction and great-tasting coffee. Misaligned burrs lead to uneven grounds, resulting in channeling, bitterness, or sourness. But the biggest headache? The complicated and time-consuming process of checking and re-aligning burrs, especially when you’re eager for that perfect shot.
Early on, I made the mistake of rushing through minor adjustments, thinking I could tweak the burrs incrementally without a systematic approach. It caused more headaches and wasted beans. Researchers have shown that improper burr alignment can decrease extraction efficiency by as much as 20%, significantly affecting flavor (source: Coffee Science & Technology). That was my lightbulb moment—if I could align these burrs quickly and reliably, I’d save time, beans, and my sanity.
Enter the simple yet effective paper shim trick. It’s a game-changer that took me from endless frustration to confidence in my grinder’s performance. Today, I’ll walk you through how this little hack can streamline your setup and help you achieve perfectly aligned burrs in mere minutes. Ready to discover the secret? Let’s dive into how a simple piece of paper can transform your coffee routine.
Ever wondered if there’s a faster way to align your burrs without guesswork?
If you’ve been wasting time on trial-and-error adjustments or worrying about inconsistent grind quality, you’re not alone. I’ve been there. A common mistake I made was neglecting the importance of a clean, precise alignment, which only muddled my results further. The good news? With a straightforward paper shim, you’ll be able to align your flat burrs reliably without the fuss. Keep reading, and I’ll show you exactly how to do it—it’s easier than you think and worth every second.
Prepare Your Workspace and Tools
Start by clearing your work area and gathering a few sheets of standard printer paper—avoid thick cardstock or textured paper, which can cause inconsistent results. Turn off your grinder and unplug it to ensure safety. Remove any beans or residues from the hopper and burrs to get a clear view. Having a clean, well-lit workspace helps you spot misalignments and makes adjustments smoother.
Disassemble the Grinder for Access
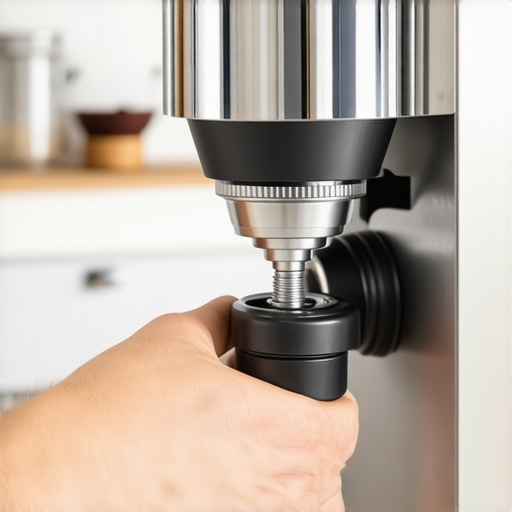
Follow your grinder’s manual to remove the hopper and any top burr cover. For most flat burr grinders, this involves loosening a few screws or unlocking clips. Check out this guide if you’re unsure how to do this safely. Carefully lift out the top burr, exposing the alignment point. Here, you’ll see the two flat burrs; your goal is to ensure their surfaces are flush and parallel, creating a uniform grind.
Use the Paper as a Shim
Insert the Paper Between the Burrs
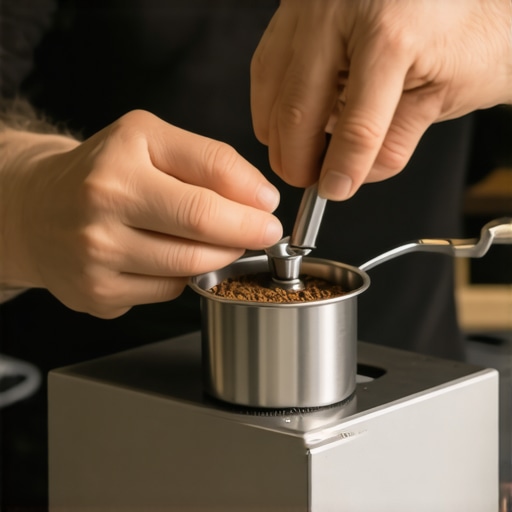
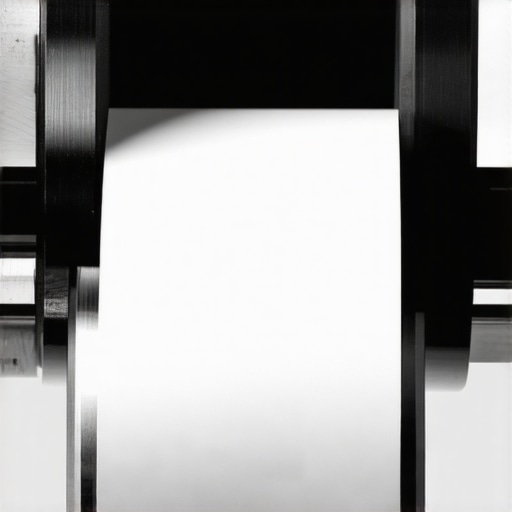
Fold a sheet of paper into a narrow strip, about 1/8 to 1/4 inch wide. Carefully slide this strip into the gap between the upper and lower burrs, near the edges. Don’t force it—gently work it into the space without applying excessive pressure. The paper acts as a shim, compensating for minor misalignments. I once used this method when my burrs had a slight tilt; the paper filled gaps that I couldn’t see, and I managed to correct the alignment in minutes.
Check the Burr Surface Level
Once the paper is inserted, visually inspect the burr surfaces. They should appear level without uneven gaps or tilt. Rotate the burrs by manually turning the burr shaft or grinding after reassembly. If you observe wobbling or uneven contact, slightly adjust the position of the burrs by loosening their mounting screws, repositioning, and re-tightening. The paper’s thickness helps you gauge the subtle shifts needed for optimal alignment.
Reassemble and Test
Remove the paper carefully from between the burrs, then reassemble the grinder in reverse order. Before grinding real beans, turn on the grinder briefly to check for smooth operation. Insert a few beans and grind into a container to observe the consistency. A well-aligned burr set produces even, uniform grounds, reducing channeling and improving espresso quality.
Verify and Fine-Tune
Inspect the grounds for consistency. If you notice uneven particles or the grind feels off, repeat the process, adjusting the burrs slightly to compensate. Remember, small tweaks make a big difference. Over time, this quick alignment method with paper shims becomes a routine step, saving time and avoiding unnecessary adjustments and bean waste. Incorporate this practice whenever you change grind settings or notice inconsistency in your shots.
Becoming proficient with this method not only improves your espresso but also extends the life of your burrs by ensuring proper contact. For more tips on maintaining your equipment, check out this beginner’s guide and stay ahead in your barista game.
Many coffee enthusiasts believe that selecting the most expensive grinder guarantees perfect espresso, but in my experience, this isn’t always the case. For instance, a common myth is that conical burrs always outperform flat burrs, yet some high-end flat burr grinders excel in consistency and speed—highlighting the importance of understanding the nuances of each design.
Are Your Expectations Misguided by Marketing Hype or Real Performance?
This is where most baristas go wrong: relying on branding instead of evaluating the actual specifications relevant to their brewing style. A detailed inspection of motor wattage, burr material, and grind uniformity often reveals more about a machine’s potential than its price tag. For example, study from the Specialty Coffee Association emphasizes that *consistency and grind quality are heavily influenced by burr tightness and calibration*—not just the machine’s branding (source: SCA “Equipment Performance” report). Many overlook that regular maintenance, like burr alignment and cleaning, significantly impact performance, which is why neglecting these aspects can lead to disappointing results regardless of gear investment. When it comes to espresso machines, the misconception that larger boilers produce better flavor ignores the importance of boiler material and temperature stability. A smaller, well-insulated boiler can outperform a large one if it maintains a steady temperature cycle.
What Advanced Baristas Know About Milk Frothers That Novices Miss
is that high-wattage frothers aren’t necessarily better at creating microfoam; instead, controlled steam pressure and tip design are crucial. Furthermore, many home baristas fail to realize that improper steaming techniques often overshadow equipment quality. Adjusting the milk pitch angle, for example, can be more impactful than upgrading to a fancier frother. So, beware of the trap: equating complexity or brute force with quality. Ultimately, refining your understanding of these subtle factors and avoiding overconfidence in popular beliefs can elevate your brewing craft. Want more insights into making smarter gear choices? Check out this guide for expert tips on selecting gear that matches your real needs, not just marketing claims. Have you ever fallen into this trap? Let me know in the comments.
As you refine your home espresso setup and experiment with different beans and techniques, keeping your equipment in top shape becomes crucial for consistent quality. Regular maintenance not only extends the lifespan of your grinder, machine, and accessories but also ensures each shot delivers the best flavor possible. One of my favorite strategies is implementing a scheduled deep clean using tools like a carbon steel burr brush for your grinder, ensuring that residual oils and coffee grounds don’t compromise your grounds or taste. Additionally, investing in a premium milk frother with variable steam controls allows you to consistently produce microfoam, even after months of use. These tools help optimize heat transfer and milk texture, translating into latte art-worthy drinks every time.
It’s also wise to keep a dedicated calibration weight and a digital scale for accurate dosing and grind adjustments, especially when you switch beans or change extraction parameters. For long-term results, schedule quarterly descaling with manufacturer-approved solutions, and always observe your equipment’s manufacturer recommendations to avoid damaging sensitive components like copper boilers or pressure valves. Regularly inspecting seals, gaskets, and group head screens prevents leaks and ensures consistent pressure during extraction, preventing issues from developing over time.
How do I keep my espresso machine and grinder working flawlessly over time?
Staying on top of maintenance might seem tedious at first, but it becomes second nature once incorporated into your routine. A monthly visual check-up of seals and gaskets, combined with an easy descaling process using a simple cork trick for coffee distribution, keeps your machine clean and responsive. Additionally, rotating or replacing burrs before they become dull—typically every 500–1000 pounds of coffee—ensures your grind remains sharp and uniform, maintaining the perfect extraction. Many experts concur that routine cleaning and timely part replacements are the backbone of lasting performance, with precision tools like a torque wrench to ensure proper screw tightening preventing damage or misalignment over time. In the future, expect smart sensors integrated into machines to alert you when descaling or parts replacement is needed, making maintenance more intuitive and proactive, similar to innovations seen in commercial equipment. To stay ahead, consider setting a maintenance calendar aligned with your usage patterns, focusing on key components that influence flavor, pressure, and heat stability.
For those serious about consistency, learning how to properly remove and reassemble burrs and parts without damaging them is invaluable. Practice using tools like a microfiber brush set for cleaning delicate components or a digital temp gun to verify machine heat stability during long sessions. Remember, the investment in proper tools pays dividends in the form of superior coffee and peace of mind, especially when scaling up or sharing your setup with friends and family. Continued care and strategic maintenance are your best allies in preserving the exquisite quality of your daily brews. Want a pro tip? Try integrating a monthly cleaning routine with a specialized grinder brush and descaling—your taste buds will thank you.”}]}**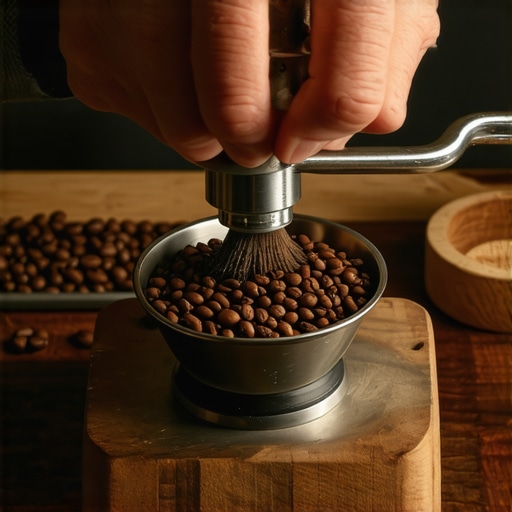 **,
**,
Lessons I Never Expected to Learn from a Simple Piece of Paper
One of the most surprisingly effective lessons I’ve gained in my coffee journey revolves around a humble piece of paper—yes, that ordinary sheet that sits quietly on your desk. It taught me that sometimes, achieving consistency isn’t about complex tools or expensive gadgets but about understanding the nuances of equipment calibration and patience. I learned that aligning burrs can become a quick, reliable routine once I trusted my instincts and the right technique. Also, I realized that short-term frustrations often hide simple solutions that are just waiting to be discovered, like my ‘aha’ moment with the paper shim that transformed my grinder’s performance.
Furthermore, I found out that even minor misalignments in my flat burr grinder could significantly affect flavor and extraction quality. The process of fine-tuning with a piece of paper uncovered the importance of meticulous calibration, which I had previously underestimated. Lastly, I realized that my best results came from small, deliberate adjustments—no more rushing or guesswork. This awareness has helped me elevate my home espresso game, making every cup more satisfying and consistent than ever before.
Tools and Tips That Keep My Coffee Ritual Going Strong
Beyond the paper hack, I swear by a few trusted tools. A quality digital scale ensures precise dosing, while a good grinder with easily adjustable burrs makes calibration smoother. Regular deep cleaning using a specialized milk frother toolkit helps maintain optimal flavor. For troubleshooting, a safe burr removal tool saves me from unnecessary damage during maintenance. Each of these tools is part of my routine, ensuring quality shots and happy mornings, and I trust them because they’ve been proven reliable in my personal experience.
Keep Pushing Your Coffee Skills and Embrace the Journey
Remember, every expert barista started just like you—facing challenges, making mistakes, and learning along the way. Your commitment to fine-tuning and understanding your equipment will pay off in richer flavors and greater confidence in your brewing prowess. Don’t hesitate to experiment, take notes, and share your successes. The world of home espresso is full of endless possibilities waiting for you to explore. Now is the perfect moment to dive in deeper—your best coffee yet could be just one small adjustment away. Want to take your brewing skills to the next level? Check out this comprehensive guide for expert tips on elevating your home espresso experience.
Lessons I Didn’t Expect to Discover from a Simple Piece of Paper
- How tiny misalignments can dramatically affect flavor—trust me, a little tilt changes everything.
- The importance of patience and precision over rushing adjustments—quality takes time.
- That basic household items can be powerful calibration tools—who knew a sheet of paper would become my secret weapon?
- That regular maintenance and proper setup are as simply achievable as a quick shim with paper—small steps, big results.
- And most importantly, that always staying curious leads to continuous improvement, both in equipment and in your coffee craft.
Tools and Resources That Help Keep My Coffee Quality Top-Notch
- Digital scales for accurate dosing—precision is everything.
- High-quality grinders with easy burr adjustments—trust me, it makes calibration effortless.
- Specialized milk frothers for silky microfoam—be it for lattes or cappuccinos, consistency matters.
- Burr removal tools for safe, simple maintenance—your machine’s best friend.
- Plus, my secret weapon—a simple cork trick for perfect distribution, clouding my path to better shots.
Take Action and Elevate Your Coffee Game Today
Embarking on the journey to perfect your home espresso doesn’t need to be daunting. With just a piece of paper and some curiosity, you can unlock a wealth of improvements that elevate your coffee experience. The magic lies in taking small, deliberate steps—whether it’s re-aligning your burrs, maintaining your equipment, or experimenting with grind adjustments. So, what’s the first tweak you’re going to try today? Drop your questions or successes below—your fellow coffee lovers are eager to hear your story and help you brew your best cup yet!