The Simple Cork Trick for Ground Coffee Distribution
Ever poured a fresh batch of ground coffee into your espresso basket, only to find it unevenly distributed? That frustrating moment when you realize your shot will suffer because of a tiny imbalance—it’s happened to me more times than I care to admit. I used to spend ages tamping, hoping that gentle pressure would straighten things out, but still ended up with channeling and underwhelming flavor. It felt like a game of chance: will this shot be good, or will it taste flat and bitter?
The Missing Piece in Your Coffee Routine
After multiple frustrating attempts and a fair share of wasted beans, I stumbled upon a surprisingly simple yet effective solution—the cork trick. This quick trick dramatically improved my ground coffee distribution, leading to more consistent extractions and richer flavors. The best part? It takes just seconds and costs almost nothing.
Is this tiny cork hack too good to be true?
Early on, I was skeptical. I wondered if a simple cork could genuinely make a measurable difference. I also made a mistake many beginners do—tamping with too much pressure, thinking it would compensate for uneven grounds. This resulted in channelling and uneven water flow, which severely impacted my espresso quality. But once I started incorporating the cork to level the grounds before tamping, the results were eye-opening. It’s amazing how small adjustments can drastically improve your espresso game and save you time and frustration. For more tips on grinder maintenance and avoiding clogging issues, check out this guide on steam wand leaks.
So, if you’ve ever faced uneven grounds or ugly, runny shots, I promise this tiny cork trick might just become your new best friend. Ready to see how it works? Let’s dive into the simple steps to elevate your coffee routine to a professional level.
Prepare Your Workspace and Equipment
Start by clearing a clean, flat surface near your espresso machine. Gather your workspace essentials: freshly ground coffee, a tamper, your cork, and a dedicated espresso basket. Ensure your grinder is dialed into the appropriate setting for your beans, referencing this guide if needed for troubleshooting. A tidy setup prevents accidental spills and makes the process smoother.
Fill and Level the Ground Coffee
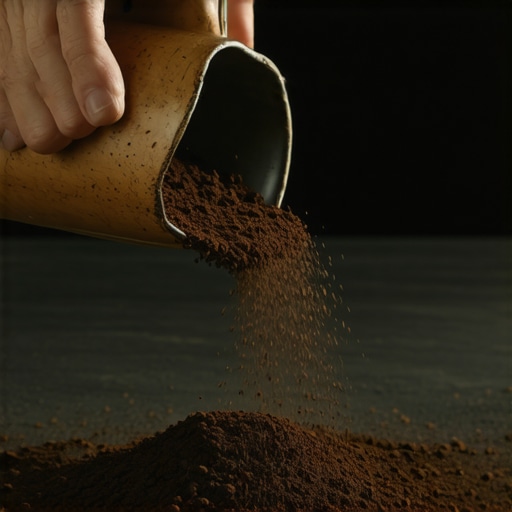
Using your grinder, dose the recommended amount into your basket—typically 18-20 grams for a double shot. Use a distribution tool or your finger to lightly level the grounds, avoiding tapping or tamping yet. Muted unevenness in grounds causes channeling, so focus on a consistent distribution.
Inserting and Positioning the Cork
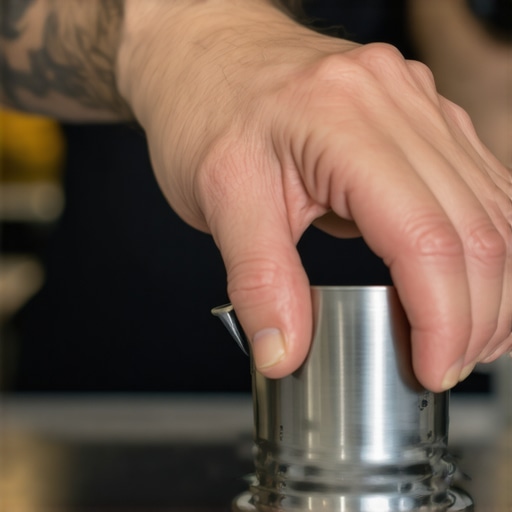
Take a clean, food-safe cork (a wine cork works well) and gently place it atop the coffee bed. The cork should sit just above the surface, not pressed down into the grounds. The idea is to act as a smoothing tool—pressing the grounds evenly when you distribute. Position it centered to ensure balanced pressure.
Distribute the Grounds with the Cork
Hold the tamper horizontally over the basket, with the cork in place. Using a gentle, circular motion, rotate the tamper to spread the grounds evenly. The cork acts like a leveling bump, filling in low spots and creating a flat, consistent surface—like flattening a mountain range into gentle hills. This is crucial for even water flow during extraction.
Pro tip: For best results, glide the tamper in a circular motion with medium pressure—aiming for uniform coverage without compacting the grounds prematurely. During my first attempt, I was surprised how much smoother my tamp felt, after employing this method, my shots became noticeably cleaner and more consistent.
Remove the Cork and Tamp Now
After distribution, carefully lift the cork straight up—revise your Coffee Grounds with a quick visual check. You should see a perfectly flat surface. Now, proceed with a firm, even tamp—applying approximately 30 pounds of pressure—using this tamping technique for controlled pressure. The even ground prevents channeling and ensures optimal extraction.
Inspect Your Puck and Adjust
Post-tamp, your puck should be level and dense. If you notice unevenness or loose grounds, repeat the distribution with the cork process. This method is especially useful when brewing with fine or lightly roasted beans, which are prone to uneven extraction.
Remember, consistency is key. Practice this cork trick multiple times to incorporate it into your routine. Over time, you’ll find that each shot aligns with the previous—improving flavor, body, and crema.
For additional tips on maintaining your grinder and preventing clogging issues, be sure to check this troubleshooting guide or explore the magnetic magnet trick for grinder chutes.
Challenging the Myth of Perfect Gear
Many believe that investing in high-end espresso machines or fancy grinders guarantees stellar results. However, it’s a common misconception that gear alone transforms your coffee. In my experience, mastering the nuanced techniques and understanding equipment behavior is what truly elevates your brew. For instance, setting your grinder to the correct particle size isn’t just about dial positions—it’s about understanding how different beans respond to extraction and adjusting accordingly. Relying solely on a manufacturer’s suggested setting can lead to inconsistent shots, especially with varied roasts or grind freshness.
The Trap of Over-Tamping and Its Subtleties
One of the most pervasive misconceptions is that more tamp pressure equals better extraction. In reality, applying excessive force can compact the grounds unevenly, causing channeling and bitterness. Advanced baristas know that the myth of double tamping can lead to more problems than it solves. Consistency in tamping pressure—around 30 pounds—is more beneficial than brute force. Getting this right involves understanding your machine’s pressure profile and adjusting your technique accordingly, which is an often-overlooked nuance.
How does pressure profiling impact shot quality?
Pressure profiling allows precise control over brew pressure during extraction, enabling you to fine-tune flavors and body. Mastering this requires understanding your machine’s pressure gauge and the behavior of your piston or pump. Studies indicate that controlled pressure during different extraction phases enhances flavor clarity and reduces bitterness, an advanced technique beyond basic barista training.
Beware the Equipment’s Hidden Weaknesses
Most home enthusiasts overlook maintenance issues that dramatically impact performance. For example, a failing solenoid valve can cause inconsistent pressure, leading to uneven extraction. Regularly reading your pressure gauge can alert you to such problems before they worsen. Remember, even the best gear won’t compensate for worn-out parts or improper calibration, which are frequent pitfalls for many users.
Avoid the Milk Frothing Pitfall
Many believe that frothing milk is just a matter of steaming longer or hotter. In reality, milk temperature, protein structure, and pitcher motion all contribute to perfect microfoam. Using correct temperature settings and attentive technique are keys to avoiding large bubbles or separation. Oversteaming can cause curdling or a lack of smoothness, a common mistake even among experienced home baristas.
Conclusion: Master the Fine Details
While premium gear helps, the real distinction lies in your understanding of how to leverage subtle differences, such as grind behavior, tamping consistency, pressure profiling, and maintenance. These details often make the difference between a good shot and an extraordinary one. Don’t fall prey to the myth that gear alone guarantees excellence. Instead, focus on mastering these nuances—the true hidden skills of expert baristas.
Have you ever fallen into this trap? Let me know in the comments. For more insights on optimizing your espresso setup, check out our comprehensive guides and avoid common pitfalls that even seasoned enthusiasts overlook.
Keeping your espresso setup in top shape requires the right tools and consistent maintenance routines. Over the years, I’ve refined my toolkit to include specific items that not only streamline my workflows but also ensure long-term reliability of my equipment. Investing in quality gear might seem costly upfront, but it pays off through optimal performance and fewer breakdowns down the line.
Why a Precision Calibrated Grinder Is Non-Negotiable
First and foremost, your grinder’s performance directly impacts shot quality. I personally use a digital caliper to measure burr alignment periodically. This simple step helps me verify that my grinder remains within optimal parameters, preventing motor strain and uneven grounds—which can lead to motor stall issues, especially with coarse settings. This guide illustrates how misaligned burrs cause stalling problems. Regular calibration with these tools keeps my grinder running smoothly and extends its lifespan.
How do I maintain my grinder over time?
To keep your grinder in excellent condition, schedule monthly cleanings and use compressed air or a dedicated brush to clear out fine dust and residual coffee particles. Also, replace burrs as recommended by the manufacturer—dull burrs not only impair grind consistency but also put unnecessary strain on the motor, risking overheating or stalling during busy mornings. A smart habit is to keep a spare set of burrs and use a magnetic magnet trick to clear tricky grinder chutes, reducing clogs and cleaning time.
Streamlining Tamping with Proper Tools
A quality tamper with a consistent weight—around 30 pounds—improves shot reproducibility. I find that a calibrated tamper with a firm, flat base ensures even pressure and minimizes the myth of over-tamping. For extra precision, I use a magnetic mirror to check tamp depth and alignment without awkward bending, saving time and reducing errors.
Embracing Automation and Software for Long-Term Gains
Tracking and analyzing your shots are crucial for consistent quality. I recommend investing in a high-quality espresso scale with timer functionality, combined with software such as SmartCoffee or CoffeePot apps to keep logs of grind settings, tamping pressure, and shot times. These tools empower you to detect subtle deviations over weeks—early signs of equipment drift—and preemptively address issues before they escalate. It’s the future of maintaining a professional-grade setup at home.
Making Maintenance a Ritual
Establishing a weekly checklist—deep cleaning your machine’s group head, flushing the steam wand, and inspecting pressure gauges—can dramatically improve durability. Routine filter replacements and descaling prevent mineral buildup, which hampers heat transfer and pumping efficiency. Think of maintenance as an investment; the more consistently you perform these simple tasks, the fewer unexpected failures you’ll face, prolonging the life of your gear and ensuring each shot is as perfect as the first.
For a detailed look into troubleshooting issues like pressure drops or solenoid failures, I recommend reading our pressure gauge diagnostic guide. Try integrating a monthly calibration session using your calipers and test your setup’s consistency—it’s a game-changer.
Remember, the right tools combined with disciplined routines are the backbone of a reliable, long-lasting espresso setup. Embrace these practices today to enjoy barista-quality brews every morning.
Over the years, I’ve learned that becoming an exceptional home barista isn’t about having the fanciest gear—it’s about understanding and refining the tiny details that make each shot stand out. The cork trick taught me that sometimes, a simple, resourceful hack can bridge the gap between good and extraordinary espresso. When I first started, I often battled uneven grounds and inconsistent shots, but incorporating that small cork into my routine unlocked a new level of control and confidence.
Lessons That Took My Espresso Game Seriously Off the Rails
- The illusion of perfect gear: I used to think that upgrading my espresso machine or grinder would instantly elevate my results. But I realized that mastery of technique always trumps equipment—it’s about dialing in variables and embracing the learning curve.
- Tamping pressure isn’t everything: Applying brute force often leads to channeling. Finding the right consistent tamp—supported by tools like calibrated tampers—was a game changer. Less force, more finesse.
- Routine beats impulse: Regular maintenance routines, from cleaning the group head to calibrating grinders, kept my setup performing at its best. It’s not glamorous, but it’s the backbone of great espresso.
- The power of subtle adjustments: Small tweaks, like using a magnetic mirror for tamp alignment or measuring burr alignment with a caliper, consistently improved shot quality. Sometimes, the tiniest shifts yield the biggest leaps.
Where I Find My Inspiration for Next-Level Coffee
- Espresso Tech Guide articles: The comprehensive guides on troubleshooting and maintenance—especially grinder motor stalling and pressure gauge reading—have saved me countless hours and beans.
- Barista Communities: Sharing insights and troubleshooting with fellow enthusiasts reveals real-world hacks and honest feedback that no manual can replace.
- Household tools turned barista arsenal: Small items like food-safe corks, magnetic mirrors, and calipers are surprisingly effective—resources I always keep handy for quick adjustments and repairs.
- Barista-centric literature: Books like The World Atlas of Coffee deepen understanding of flavor profiles and extraction science, inspiring experimentation beyond the basics.
Take Action and Elevate Your Espresso Today
Remember, the journey to barista-level craft at home is rooted in patience and attention to those priceless, minute details. Whether it’s mastering your tamping pressure, incorporating simple hacks like the cork trick, or maintaining your gear diligently, every effort compounds into a more satisfying, richer coffee experience. Embrace the challenge and keep tweaking—your perfect shot is within reach. What’s the next small adjustment you’ll try in your espresso routine? Share your plans below and let’s elevate our coffee game together.