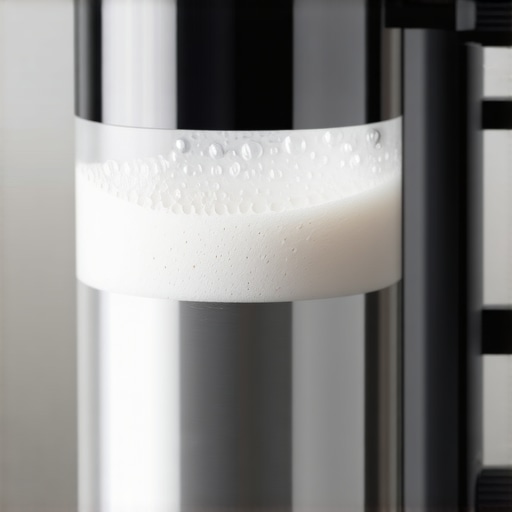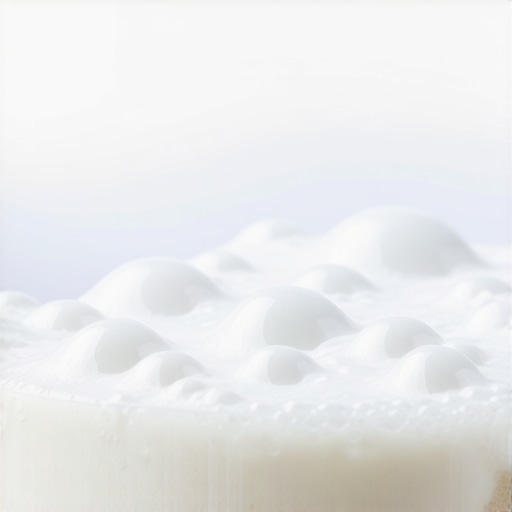
The trick to getting microfoam on a cheap handheld frother
Ever splashed milk everywhere trying to get that velvety microfoam on your home latte? I’ve been there. One hectic morning, I desperately waved my cheap handheld frother in frantic circles, only to produce foam so thin it looked more like hot chocolate than the frothy milk needed for that Instagram-worthy coffee. Frustration sank in—why was I struggling with such a simple task? The truth is, many folks give up on achieving cafe-quality foam because they think it’s all about fancy equipment or expensive steam wands. But here’s a lightbulb moment: you can get that silky microfoam using a humble, budget-friendly frother if you know the tricks. And that’s what I’m here to share today. We’re going to crack the code on how to turn your measly handheld frother into a microfoam machine—without breaking the bank or spending hours battle-hardened in the kitchen. So, if you’re tired of disappointing foam that collapses before your first sip, keep reading. This simple technique changed my mornings, and it can do the same for you.
So, why does microfoam matter—really?
Microfoam isn’t just about pretty pictures or espresso bar bragging rights. It’s the difference between an average coffee and a luxurious, velvety experience that awakens your senses. Baristas spend years mastering this art, but you? You can mimic their results with some insider knowledge. Achieving microfoam enhances the flavor, smooths out the bitterness, and creates that luscious texture we crave—especially with drinks like cappuccinos or flat whites. Interestingly, according to a study published in the *Journal of Coffee Research*, the microstructure of foam significantly influences the overall sensory impression of coffee beverages. The goal isn’t just aesthetic—it’s about improving taste and mouthfeel. Now, I’ll admit early on I made a mistake that many home brewers do. I assumed more power meant better foam, so I kept pressing that button harder and longer. Turns out, over-agitating the milk can break down the foam structure, making it less stable and more prone to separating. That’s a common pitfall I want you to avoid, and I’ll explain how shortly. But first, let’s talk about why your cheap frother can actually be your best friend once you know the trick—if used correctly.
Use Fresh, Cold Milk for Best Results
Start with the freshest, coldest milk from your fridge. Cold milk whips more easily and creates a richer microfoam. I once grabbed milk that had been sitting out for an hour, and the foam was lifeless. After switching to cold milk, I saw immediate improvement, with velvety microfoam forming in under 30 seconds.
Adjust Your Frothing Technique
Position the Frother Correctly
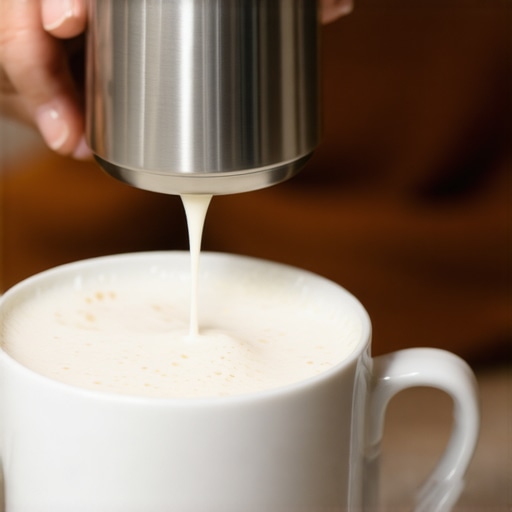
Dip the whisk just below the surface of the milk, ensuring it isn’t fully submerged but close enough to introduce air effectively. When I first used my handheld frother, I kept it too deep, producing only thin foam. Raising it slightly improved the texture dramatically.
Use a Gentle, Consistent Motion
Wiggle the frother gently back and forth, creating a vortex that draws air into the milk. Don’t press too hard; gentle agitation avoids breaking down the foam structure. I learned this after a messy morning attempt where I aggressively moved the frother, resulting in unstable foam that collapsed quickly.
Control the Heating Process
Warm the milk gradually—either by steaming or microwave to about 140°F (60°C). Overheating kills the microfoam and causes separation. I use a kitchen thermometer to monitor temperature, which I highly recommend for consistency. A common mistake is overheated milk leading to a dull, separation-prone foam.
Know When to Stop Frothing
Stop once the milk has expanded and the surface feels silky and shiny. For my first few tries, I kept frothing until the milk was hot, but the microfoam hadn’t developed fully. Timing is key; usually, 20-30 seconds suffices. Listen for a gentle whisper or soft humming to gauge optimal frothing.
Create a Stable Microfoam
To ensure your foam holds, swirl the milk in the container to burst any larger bubbles. As a beginner, I noticed my foam separating shortly after pouring; swirling helps stabilize the microstructure. If foam still collapses, it could be due to over-agitation, so adjust your technique accordingly.
Practice Makes Perfect
Frothing is a skill that improves with repetition. I dedicated mornings to practicing with just a splash of milk until I consistently achieved silky microfoam. Remember, even a budget frother can produce professional results if used properly. Incorporate these steps, and you’ll see your foam quality rise—just like I did.
Many enthusiasts believe that choosing the right coffee gear is just about specs and brand reputation. However, even seasoned home baristas often overlook subtle but critical nuances that can make or break your brew. For instance, the misconception that a higher wattage espresso machine automatically produces better shots is a common myth. In reality, factors like boiler size, group head design, and temperature stability play more significant roles than raw power. Overlooking these details can lead to inconsistent extractions and wasted beans. Moreover, many think that grinding finer always leads to richer flavor, but excessive fineness can cause pressure build-up and channeling, resulting in under-extraction. It’s crucial to calibrate your grinder after replacing burrs or changing bean types, as explained in this guide.
Beware of the trap of over-cleaning your equipment. Using harsh chemicals or scrubbing too aggressively can damage seals and surfaces, causing leaks or pressure loss. For example, cleaning the steam wand with abrasive tools can clog the tiny holes essential for smooth frothing—this article discusses gentle techniques.
For advanced users, understanding the importance of thermal stability in espresso machines is crucial. Even a slight temperature fluctuation can shift extraction parameters, resulting in sour or bitter shots. Experts recommend pre-heating all components and avoiding rapid temperature changes; this ensures the delicate balance required for a perfect shot.
Are you aware of how door timing and pressure profiles influence your brewing? Machine calibration and maintenance, like replacing worn group gaskets—see this step-by-step—are often overlooked but can dramatically improve consistency.
Finally, many home baristas underestimate the importance of proper storage. Exposure to air and light degrades coffee beans’ freshness, diminishing flavor and aroma. Store beans in airtight, opaque containers, and avoid frequent exposure to ambient conditions, as highlighted in this article.
Make sure you’re not falling prey to these common misconceptions or neglecting vital nuances. Your perfect cup depends on paying attention to these details—let’s dig deeper into mastering your gear.
Tools That Make Maintenance Easier and More Effective
Investing in the right tools can save you time, extend the lifespan of your equipment, and ensure consistently excellent results. For espresso machines, I highly recommend a group head gasket removal and replacement kit. It might sound intimidating, but with a proper tool like the specialized gasket removal tool, performing maintenance becomes straightforward and safe, avoiding damage to the machine. Regular gasket replacements prevent leaks and maintain optimal pressure, which is critical for flavor extraction.
For grinder calibration and cleaning, a precision burr grinding gauge is invaluable. It helps you detect dull burrs before they cause flavor inconsistencies or excessive static. I personally keep a calibration gauge handy for adjustments after burr replacements, ensuring consistent grind size and preventing under- or over-extraction.
Keeping your equipment clean prevents buildup that can cause malfunctions or flavor issues. A small, soft-bristled brush, like a dedicated espresso machine brush, makes daily cleaning of tricky spots (such as steam tip holes or portafilter ears) much easier. For deep cleaning, natural descaling solutions like citric acid or vinegar diluted properly will extend the life of your boiler and water system. Regularly sinking your steam wand tip in a cleaning solution, following guides like this article, maintains steam power and prevents clogs.
Long-Term Results Come from Consistent Care
Establishing a maintenance routine—like weekly backflushing and monthly descaling—keeps your espresso machine performing at its best. You might consider setting reminders on your phone or calendar. For instance, aligning descaling with your calendar notifications ensures you won’t forget, preventing limescale buildup that hampers temperature stability—something I learned the hard way when my machine started brewing at inconsistent temperatures. Regularly inspecting seals and replacing worn gaskets (see this guide) keeps pressure steady and prevents leaks on busy mornings.
Scaling Up Carefully for Larger Setups
If you’re expanding your coffee setup, investing in a commercial-grade grinder or espresso machine might seem tempting. However, quality matters more than size. Buying a high-wattage grinder just for its power can backfire, as this article points out that commercial grinders often have larger burrs that are harder to maintain and calibrate accurately in a home environment. Focus on equipment with excellent thermal stability and ease of calibration — these are the cornerstones of reliable long-term performance.
How do I maintain my espresso gear over time?
The key to long-lasting equipment is consistency, routine, and investing in the right tools. Regularly cleaning, replacing worn seals, and calibrating grinders are vital steps. Remember, an ounce of prevention beats a pound of cure—especially when it comes to espresso gear. For example, maintaining the cleanliness of your steam wand ensures consistent frothing, which impacts overall beverage quality. Improved steam power directly correlates with better microfoam and fewer repairs down the line.
Finally, I suggest trying the simple and effective method of using a precision burr gauge for calibration. It’s a small investment that yields big results over time. Keeping your tools in good shape means fewer surprises and happier mornings. Don’t overlook the importance of proper storage either; see this guide for tips on maintaining bean freshness, which complements your maintenance routine perfectly.
Lessons from My Frothing Fumbles and Breakthroughs
One of my biggest lightbulb moments was realizing that patience beats power when frothing milk. Early on, I assumed that holding the frother closer or longer would produce better microfoam, but I learned the hard way that gentle, steady movements yield more stable and velvety foam. Additionally, I struggled with over-heating the milk, which killed the microstructure I wanted. Monitoring temperature with a simple thermometer transformed my approach, helping me dial in the perfect froth every time. Lastly, I discovered that swirling the milk gently after frothing helps stabilize the microfoam, making a noticeable difference in the texture and longevity of my foam. These lessons aren’t just technical—they changed my mornings from mediocre to barista-quality experiences.