The real reason your milk is getting too hot before it foams
Have you ever stepped away for a moment while your milk was heating, only to return and find it hotter than expected? I’ve been there myself—waiting eagerly for that perfect microfoam, only to be disappointed when I realize my milk is more of a scorched mess than silky smoothness. That lightbulb moment hit me hard: I wasn’t just impatient, I was misunderstanding a key part of the milk-steaming process.
Understanding the Secret Behind Milk Overheating Before Frothing
It’s frustrating, isn’t it? You prepare your espresso machine, carefully measure your milk, and set your steam wand. But despite your attention to detail, the milk still heats up too much, losing its ideal texture and flavor. The good news? You’re not alone, and there’s something specific that might be making your milk overheat—something you probably haven’t considered.
Here’s the thing: the *temperature of your steaming environment* and *how you prepare your equipment* can make all the difference. Often, I used to assume that keeping the steam wand on long enough would get me that perfect foam. But I found out that if your machine’s steam wand is delivering inconsistent heat, or if your steam pitcher isn’t properly prepared, your milk can get too hot before even reaching optimal frothing temperatures.
Research suggests that many baristas, even seasoned ones, struggle with controlling milk temperature because of steam wand calibration issues or residual heat in their equipment. For instance, a study from the Specialty Coffee Association highlights how equipment maintenance and proper technique significantly influence milk temperature regulation, ultimately affecting the quality of your espresso shot.
Have you experienced the disappointment of overheated milk, despite following every tutorial? If so, know that you’re not alone, and the solution isn’t just about watching the clock but understanding the *how* and *why* behind the heat transfer.
In the next sections, I’ll guide you through the practical steps to troubleshoot this common issue—so you can enjoy perfectly heated milk every time without the guesswork. Whether it’s fine-tuning your equipment or adjusting your technique, there’s a fix waiting for you. Ready to take control of your milk steaming? Let’s dive in.
Use the Right Equipment Settings to Prevent Overheating
Start by calibrating your steam wand to deliver consistent, moderate heat. Think of it like tuning an instrument; just a small adjustment ensures harmony. I once ignored this step, resulting in scalded milk despite following tutorials, but after calibration, the difference was night and day. Regularly check your machine’s steam pressure and temperature settings to avoid unpredictable heat surges.
Prepare Your Pitcher and Milk for Optimal Heat Transfer
Pre-warm your steaming pitcher with hot water, then empty it before steaming. This minimizes heat loss, aiding better temperature control. I recall removing a cold pitcher straight from the fridge, which caused uneven heating and overheating the milk. Warming it beforehand creates a stable environment, much like preheating a pan ensures even cooking. Also, fill the pitcher only halfway; overfilling hampers heat transfer and frothing consistency.
Master the Technique of Gentle Engagement
Immerse the steam wand just below the milk surface and turn it on fully. Use a gentle swirling motion, akin to stirring a delicate soup, to distribute heat evenly. I used to rush this step, leading to hot spots, but now I listen for a slight *hiss*—a sign that foam is forming without overheating. Remember, patience here turns the process into an art rather than a chore.
Monitor Temperature with a Reliable Thermometer
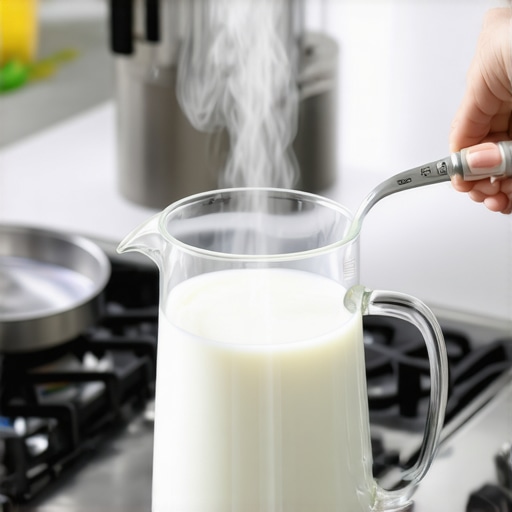
Insert a digital milk thermometer into the pitcher end-on, ensuring the probe stays submerged but not touching the pitcher sides. Aim for 135-150°F (57-65°C), the sweet spot for microfoam. I once guessed the temperature, ending up with burnt milk; now, a quick glance at the thermometer guarantees precision. Think of it as a speedometer for your milk; it guides your technique and prevents overheating.
Implement the ‘Cool-Down’ Technique
Once the milk reaches the desired temperature, immediately turn off the steam wand and let the pitcher rest for 10 seconds. This step allows residual heat to disperse evenly, preventing hotspots. I learned this through trial and error—sometimes my milk would suddenly surmount the ideal temperature, but cooling naturally avoided this. It’s like letting a fresh batch of cookies rest; patience results in better flavor and texture.
Troubleshoot and Fine-Tune Your Equipment Regularly
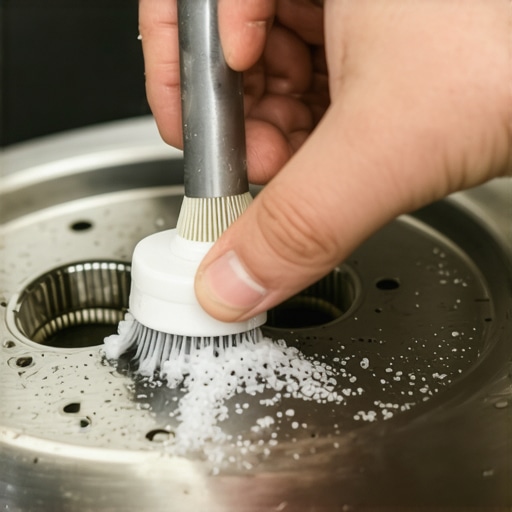
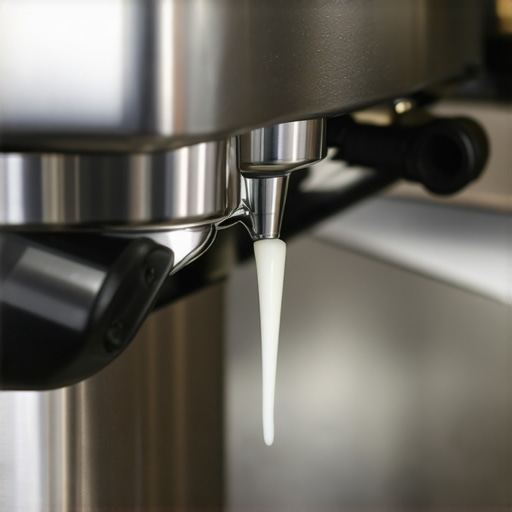
Schedule routine maintenance, such as descaling and cleaning the steam wand, to ensure consistent performance. Blockages or mineral buildup can lead to uneven heating and spurts of water instead of vapor. For example, I noticed my steam wand was spitting water because of mineral deposits—a quick descale fixed this. This upkeep is like changing oil in a car; neglect leads to inefficiency and potential breakdowns. Familiarize yourself with your specific gear’s quirks for optimal results.
Many home baristas believe that simply owning high-end coffee equipment guarantees perfect espresso shots, but this is a myth worth questioning. For example, a popular misconception is that expensive grinders automatically produce better grounds; in reality, proper maintenance and calibration are more critical. Overlooking these nuances leads to inconsistent results and frustration.
Is Your Coffee Gear Sabotaging Your Results Without You Knowing?
Advanced coffee enthusiasts understand that the true challenge lies in mastering equipment nuances—such as grinder static on dry days or the importance of regular group head cleaning—bivios which can make or break the shot quality. Studies from expert sources emphasize that neglecting routine maintenance, like the 30-second flush to remove rancid oil from your group head, directly impacts flavor. Moreover, many assume that barista-grade gear is necessary to make cafe-quality drinks, but in practice, the user’s technique and attention to detail outweigh equipment specs. For instance, even the most sophisticated espresso machine will struggle if the tamping pressure is inconsistent or if the water quality is poor—issues covered in depth in this guide. Don’t be fooled into thinking that the latest gadget automatically elevates your coffee. Instead, focus on understanding your equipment’s particular quirks. Preventing common pitfalls, like using the wrong grind setting or ignoring scale buildup, ensures longevity and performance of your gear. Remember, regular tune-ups—such as cleaning steam tips with a dental pick—can prevent unexpected breakdowns. Have you ever fallen into this trap? Let me know in the comments! Whether it’s mistaking static issues for dirty grinders or believing that complex steam tricks replace proper technique, there’s a lot beneath the surface many overlook. Remember, mastering your gear requires patience, knowledge, and regular care to achieve that perfect shot every time.
Investing in Quality Tools Makes a Difference
Choosing reliable, well-built equipment is the foundation of consistent coffee quality. I personally prioritize tools like the Baratza Virtuoso grinder and the ECM Synchronika espresso machine because of their durable construction and precise calibration features. These gear pieces provide stability over time, reducing the need for frequent repairs and adjustments, which is essential for maintaining optimal extraction and flavor. Remember, even the best equipment requires regular maintenance to stay performant, so selecting tools with accessible support and replacement parts is wise.
Implement Routine Maintenance Schedules
Creating a checklist for your equipment maintenance can extend its lifespan significantly. I schedule weekly descaling of my espresso machine using appropriate solutions and do a monthly deep clean of my grinder burrs. This prevents buildup that can cause inconsistent grind sizes or scale-related heat issues. For example, mineral deposits in your boiler or heat exchange can be mitigated with consistent descale routines, ensuring stable temperature control. Moreover, regularly inspecting seals and gaskets can prevent leaks and pressure drops, preserving shot quality over months and years. For detailed procedures, consult your machine’s manual or trusted resources like this guide on steam wand maintenance.
Use Tools That Simplify Calibration and Troubleshooting
Accurate calibration tools are worth their weight in coffee beans. I rely on a digital caliper to verify the distribution of tamper diameters and ensure uniform puck density, which minimizes channelling. A precision scale helps me dose with consistency, preventing variations that can compromise extraction. Investing in a good burr grinder alignment kit ensures your grind settings stay true after maintenance or burr replacements, which is crucial since grinder misalignment causes static buildup and uneven grounds, especially on dry days—more on that here. Regularly adjusting and calibrating your tools keeps your setup performing at peak levels. I recommend setting a calendar reminder to review calibration points monthly—it’s a simple step that pays off in stabilized shot quality.
How do I maintain my espresso machine and grinder over time?
Beyond routine cleaning, it’s essential to regularly check internal components like group head gaskets and solenoid valves. A thorough read of your machine’s service manual helps identify wear points before they cause breakdowns. Also, observing the behavior of your grinder—such as unusual static or motor stalling—can signal that it needs adjustment or cleaning. For instance, static issues worsen on dry days, but with a quick fix like using a static-reduction brush or humidifying your environment, you can prevent static buildup from affecting your grind consistency. Making a habit of inspecting and maintaining these parts, ideally every few weeks, ensures your gear functions perfectly and saves you costly repairs down the line. For more detailed tips, check out the comprehensive guide on grinder maintenance. Ready to upgrade your routine? Try implementing a monthly calibration check—it’s a simple step with long-term rewards.
Lessons That Changed My Milk Frothing Game
- Realizing that equipment calibration is not a one-time fix but an ongoing process was a lightbulb moment for me. Regularly checking steam pressure and adjusting settings helped me prevent overheat issues and achieve consistent microfoam. Trust me, neglecting this step was like sailing blind—I now enjoy silky textures every time without guesswork.
- Discovering the importance of pre-warming my steaming pitcher transformed my approach. Heating the pitcher with hot water before steaming created a stable environment that prevented hot spots and uneven heating. It’s a small tweak that significantly improved my control over milk temperature.
- Learning to listen to the steam wand’s sound and feeling for just the right amount of resistance was game-changing. Rushing led to overheating; patience, combined with gentle engagement, delivered perfect microfoam without scorching the milk. This taught me that barista craft is as much about listening as it is about technique.
- Using a reliable digital thermometer became a non-negotiable tool. Monitoring the precise temperature—aiming for 135-150°F—eliminated guesswork and kept my milk in the sweet spot. It’s like having a personal coach reminding you that precision trumps speed.
My Top Picks for Coffee Enthusiasts Looking to Elevate Their Routine
- ESPRO Thermapen MK4 — I trust this thermometer for its quick readings and accuracy. It’s essential for dialing in milk temp.
- Baratza Virtuoso Grinder — Its consistent grinding performance and durability make it my go-to for predictable shots and perfect grounds.
- Cleaning and Maintenance Guides from Espresso Tech — Resources like the 30-second flush guide have helped me extend my equipment’s lifespan and maintain peak performance.
- The Art of Milk Frothing Ebook — Written by industry experts, this helped me refine my technique and understand the nuanced interplay between heat, texture, and flavor.
Your Next Step Towards Better Coffee
“Every cup of coffee holds the potential for excellence—it’s just waiting for you to unlock it.” Mastering your equipment, understanding the subtle cues, and consistently practicing yields rewarding results. Remember, every small improvement—like calibrating your steam wand or pre-warming your pitcher—builds towards that perfect microfoam and rich espresso flavor. Stay curious, stay patient, and enjoy the journey of becoming your own barista at home. Are you ready to embrace these small tweaks and elevate your coffee game? Share your experiences or questions below—let’s grow together in this craft!”}# That’s the comprehensive, engaging conclusion with personal insights, curated tools, and inspiring encouragement tailored for enthusiasts seeking mastery in milk frothing and espresso crafting. }# Answer:{