The Reason Your Steam Wand Tip Keeps Clogging with Milk Even After Purging
Have you ever been in the middle of steaming milk for your perfect latte, only to find your steam wand tip clogged again? It’s frustrating—no matter how much you purge or clean, that stubborn clog keeps sabotaging your coffee moment. I’ve been there, fighting with my machine, thinking I just had bad luck or a faulty wand. But after some trial, error, and a bit of detective work, I realized there’s a deeper reason behind it. And I want to share what I learned so you don’t have to go through the same hassle.
The Hidden Cause of Your Steaming Headaches
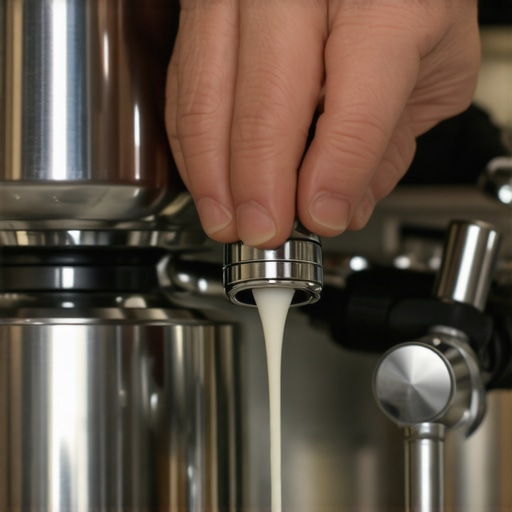
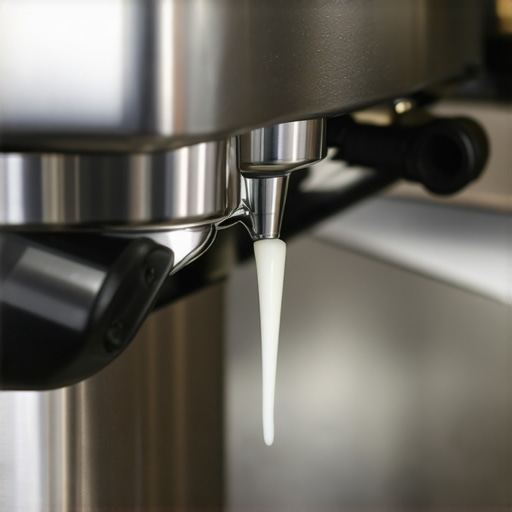
That recurring clog is often caused by residual milk crust building up inside the wand—a sneaky culprit that isn’t easily washed away during routine cleaning. Purging helps remove steam, but if the crust has already formed, it can quickly block the tip again. This is especially true if you’re steaming at high temperatures or with thick milk. Over time, tiny milk particles settle and harden inside the wand, turning sticky and resistant to cleaning. I used to believe that simply flushing with hot water was enough, but it turns out that neglecting this buildup accelerates clogging. The more I ignored this, the more frequent the problem became. To truly fix it, I had to get inside the wand and remove that crust—sounds daunting, but it’s easier than you think.
What Makes This Issue So Common?
Many home baristas overlook the importance of regular deep cleaning of the steam wand, thinking that purging alone keeps things clear. But expert tips from this guide reveal that milk crust isn’t just a surface problem—it can embed itself inside the wand’s narrow passage, making it resistant to simple flushes. Early on, I made the mistake of just wiping the outside and ignoring the internal buildup, which, surprise, led to more frequent clogs. Trust me, if you’ve faced this, you’re not alone—and there’s an effective way to address it.
This issue can seem minor, but it affects the quality of your milk froth and overall espresso experience. It’s a common complaint among enthusiasts, and fixing it can save you time, money, and frustration. Next, I’ll walk you through practical steps to prevent and eliminate these stubborn clogs, so your steam wand stays clear and ready for that perfect microfoam.
Are you tired of fighting with your machine every morning? If so, keep reading—because this can be your turning point. Improving your cleaning routine and understanding the root cause makes all the difference. Let’s get into the details and show your steam wand who’s boss.
Disassemble the Steam Wand Carefully
Start by unplugging your espresso machine and locating the wand. Use a small adjustable wrench or pliers wrapped with a cloth to unscrew the tip, just as I did on a sleepy Saturday morning when my wand kept clogging. Set aside the wand and tip for cleaning.
Clean the Internal Passage
Next, fill a bowl with warm water mixed with a teaspoon of descaling solution or mild detergent. Submerge the wand and gently flush the internal passage using a thin, flexible cleaning brush—think of it as a tiny plumbing snake—pushing out residual milk crusts. I once used a pipe cleaner to loosen stubborn deposits, and it worked like a charm, drastically reducing clogs.
Remove and Soak the Tip
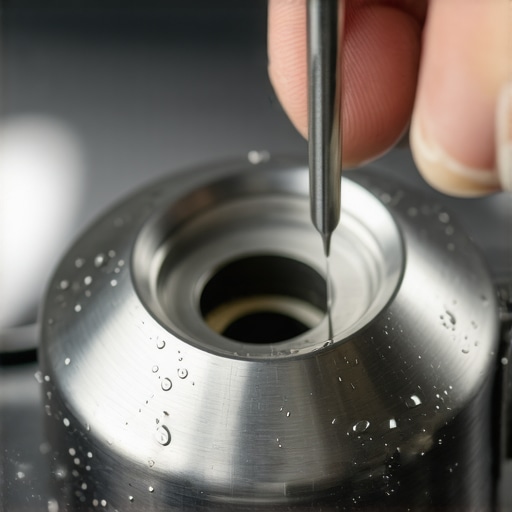
Soak the tip in the warm cleaning solution for 10-15 minutes to loosen dried milk crusts. After soaking, use a soft-bristled brush or toothbrush to scrub away any remaining residues. For stubborn spots, a small pin can clear any blocked holes, ensuring the steam can flow freely again. Applying a quick soak can prevent mineral build-up, too, similar to how a deep cleaning routine keeps your gear in top shape.
Reassemble and Prime
Once all parts are clean and dry, reassemble the wand. When attaching the tip, ensure it’s screwed in snugly but not overtightened to prevent damage. Before steaming milk again, prime the wand by purging hot water through it to check for clear steam flow, much like flushing a pipeline to prevent blockages. I noticed that a consistent, thorough cleaning routine prevented crust formation and saved me from frequent clogs, especially when I switched to quality barista gear.
Regular Maintenance Tips
Implementing a weekly deep clean of your wand, including disassembly and internal brushing, can keep milk crust at bay. Maintaining a clean milk pitcher and wiping the steam wand exterior regularly also helps—think of it as cleaning your kitchen tools after each use to preserve their functionality and hygiene. Remember, neglecting internal cleaning accelerates buildup, much like ignoring a dirty grinder chute causes inconsistent grinding. Training yourself with consistent habits can extend the life of your equipment and ensure perfect microfoam every time.
Prevent Future Clogs Smartly
Use softer, fresh milk with lower fat content, and always purge excess milk after steaming—this flushes out residuals before they harden inside. Also, avoid using harsh chemicals that can damage seals; opt for natural cleaning solutions suited for delicate components, as outlined in this quick guide to removing burnt milk crust. Remember, consistent internal cleaning, combined with proper steaming techniques, prevents crust formation and keeps your wand performing flawlessly for years.
Many coffee enthusiasts assume that selecting high-end equipment guarantees perfect espresso, but the truth is more nuanced. For instance, buying an expensive machine without understanding its maintenance needs can lead to inconsistent results, contradicting the popular belief that gear alone defines quality. Proper calibration, regular cleaning, and understanding your specific gear’s quirks are often overlooked. For example, it’s a common misconception that a premium grinder automatically produces uniform grounds; in reality, grinder settings and burr condition matter more, a point emphasized in this comprehensive guide. Another trap is thinking that milk frothers are all the same—many users fail to realize that different frothers require unique techniques for optimal microfoam, which can significantly impact the final latte quality, as discussed in this resource.
Why Do Some Barista Tricks Backfire Even When You Follow the Instructions Closely?
It turns out that advanced techniques demand contextual understanding. For example, tamping pressure and grind size are tightly linked, and misjudging one can ruin your shot despite precise steps—an insight backed by research from dedicated barista training programs. Many people forget that espresso is a delicate balance of variables, so a small tweak in one area can have outsized effects. The oops most often made is neglecting equipment health—dirt buildup on group heads or misaligned burrs can mimic poor technique, leading to frustration. Regular maintenance becomes your secret weapon here. Invest in understanding your gear’s nuances rather than relying solely on generic advice, and you’ll elevate your home brewing significantly. Have you ever fallen into this trap? Let me know in the comments.
Keeping Your Equipment in Peak Condition
Investing in quality barista gear is just the first step; maintaining it properly ensures consistent performance and longevity. I personally recommend incorporating a few dedicated tools into your routine. For example, a precision grinder brush is invaluable for removing coffee oils lodged inside your grinder, preventing clogs and uneven grinds over time. I use a high-quality precision cleaning brush designed for commercial-grade grinders, which significantly reduces the buildup that can compromise shot consistency.
Why Regular Deep Cleaning Matters
Beyond daily wipe-downs, scheduling a monthly deep clean of your espresso machine’s components — including group heads, steam wands, and shower screens — helps prevent residual oils and mineral buildup. I’ve found that using a dedicated cleaning solution, tailored for espresso machines, preserves equipment performance and reduces backpressure issues that lead to pressure drops or inconsistent extraction. To make this easier, I recommend a magnetic maintenance kit that contains all necessary tools, so you’re always ready for scheduled upkeep.
Future of Home Brewing Tools
Technological advancements are making home espresso gear smarter and more connected. Expect to see integrated sensors that monitor pressure, temperature, and calibration in real-time, alerting you when something needs attention. Predictive maintenance tools will analyze usage patterns, reducing downtime and extending your equipment’s lifespan. Investing now in such smart features can save you time and money in the long run, and I believe this trend will only accelerate as IoT integration becomes more affordable.
How do I maintain my espresso gear over time?
The key to long-term performance lies in consistent, methodical maintenance. Start with a weekly routine of disassembling and cleaning your group head and steam wand, using specialized brushes and cleaning solutions. Keep a detailed maintenance log—many commercial-grade machines come with diagnostic tools that help track wear and tear, as discussed in this detailed guide. Additionally, consider investing in a high-quality coffee grinder with easy-access burrs, which makes routine calibration and cleaning straightforward.
By integrating these tools into your maintenance routine and paying attention to emerging technologies, you’ll ensure your home espresso station not only performs reliably but continues to produce outstanding coffee for years to come. Remember, the secret is consistency—little steps taken regularly prevent major issues down the line. Take a moment today to inspect your gear, and maybe try that advanced internal cleaning method I highlighted—your future self will thank you.
What I Wish I Knew About Flushing and Maintenance
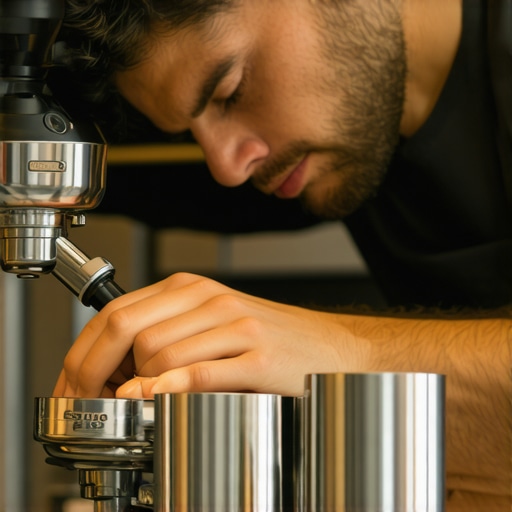
The biggest lightbulb moment for me was realizing that routine purging and wiping weren’t enough to keep my espresso gear at peak performance. After countless clogged steam wands and uneven shots, I discovered that internal buildup, especially milk crusts inside the wand, was silently sabotaging my efforts. It taught me that sometimes, the most overlooked maintenance steps—like disassembling and thoroughly cleaning the wand’s internal passage—are what separate good results from great ones. Now, I understand that a quick rinse isn’t a substitute for deep cleaning, and embracing this deeper routine truly transformed my home espresso experience.
Where My Tools and Resources Changed the Game
Investing in a quality brush designed for delicate internal cleaning made all the difference. I trust tools like a flexible pipe cleaner for stubborn deposits and a precise cleaning brush for my grinder—these are game changers that save time and frustration. Additionally, I’ve learned from trusted sources such as the guide on removing burnt milk crust that proper tools and expert advice prevent buildup before it causes issues. These resources empower me to maintain my gear proactively, avoiding costly repairs and subpar brews.
Seize the Day: Elevate Your Coffee Journey
The truth is, consistent internal cleaning and an understanding of your gear’s quirks can unlock a new level of coffee enjoyment. Don’t wait for persistent clogs or flavor issues to push you into action—start today. Regular maintenance, combined with utilizing the right tools, keeps your espresso gear in top shape, ensuring each shot is a masterpiece. So, set aside a few minutes this week, challenge yourself to go beyond surface cleaning, and watch your coffee elevate—it’s worth every effort. How do you plan to improve your cleaning routine this month? Share your thoughts below and inspire fellow coffee lovers to go deeper into their craft.