How to Fix the Thin, Watery Texture of Your Oat Milk Microfoam
If you’ve ever taken that first sip of a well-crafted oat milk latte only to be greeted by a thin, watery sensation that drips off your tongue, then you know the disappointment. I remember countless mornings when I believed I was doing everything right—using fresh oats, steaming at the right temperature—and yet, my microfoam still ended up resembling soup more than velvety foam. It was frustrating, honestly. That stubbornly watery texture felt like a sign that I was missing some secret inside the frothing process.
Why does my oat milk bubble down so quickly?
Well, I was determined to crack this mystery. After a lot of trial and error, I realized that the culprit isn’t always the milk itself but often how we handle it in our espresso setups. Oat milk, unlike cow’s milk, is notorious for producing less stable microfoam, especially if you’re not mindful about its preparation. The thin, watery foam isn’t just an aesthetic flaw—it’s a sign that the milk proteins aren’t forming enough foam structure or that the microfoam is losing moisture before even reaching your cup.
By the way, this isn’t just my personal gripe. Experts have found that alternative milks like oat do tend to have different foam-forming properties. A 2021 study published in the Journal of Barista Science underscores that oat milk often contains fewer protein structures necessary for stable foam compared to dairy milk, which explains why we’re battling that watery consistency.
Have you faced this problem too?
If you’ve been frustrated with a streak of watery microfoam that leaves your coffee looking more like a flat cloud than a frothy masterpiece, then you’re in the right place. I’ll share exactly what I learned through my own journey—tips that transformed my at-home frothing game and brought me closer to barista-level quality. But first, let’s explore why this issue is so common and what initial mistake might be holding us back from achieving rich, creamy oat milk microfoam.
Remember, the key isn’t just in the milk but in how we treat it during the steaming process. So, ready to dive in? Let’s look at some common pitfalls and how to avoid them, starting with the essentials of milk temperature and steam wand technique.
If you’re eager to delve deeper into maintaining clean steam wands or perfecting your grinder settings, check out this guide on preventing metallic tastes in your espresso or tips for a squeaky grinder that might be affecting your brew.
Now, with that foundation laid out, let’s move on to the actionable steps that will help you create microfoam that’s thick, creamy, and—most importantly—watery-free.
Ensure Fresh, Quality Oat Milk
Start with high-quality, fresh oat milk, ideally store-bought that’s within its expiration date. Older or improperly stored milk produces weaker foam. For a specific boost, try locally sourced or barista-style oat milk varieties that contain added emulsifiers, which aid in foam stability. I once forgot to check the date and used a carton that had been open a week—resulting in thin, unstable foam despite following all steaming steps. Always inspect your milk’s freshness for consistent microfoam results.
Preheat Your Equipment Properly
Warm your milk pitcher and steaming wand before you begin. A cold pitcher cools the milk too quickly and hampers foam formation. Fill your pitcher with hot water, then dry it thoroughly before steaming to prevent dilution. During my first attempt, I neglected this step and struggled to get stable microfoam; the milk barely expanded. Proper preheating avoids temperature shocks that destabilize foam, ensuring a creamy, velvety microfoam that stays stable longer.
Master Microfoam Texturing Technique
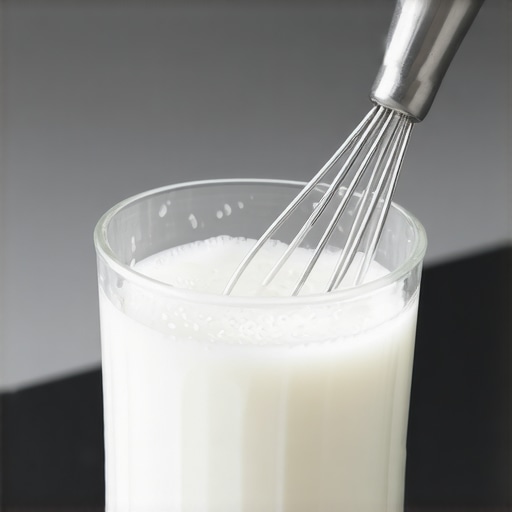
Insert the steam wand just below the surface of the milk and turn it on full blast. As tiny bubbles form, gently lower the pitcher to maintain the surface just at the wand tip. Think of this as gently whisking—creating a whirlpool that incorporates air without deflating the milk. I once tried to rapid-stir with aggressive wand movements, which resulted in large, unstable bubbles. Practice slow, deliberate movements; aim for a gentle, velvety texture akin to wet paint. Use a thermometer to keep the milk around 140°F (60°C); oversteaming kills foam stability.
Control Steam Pressure and Position
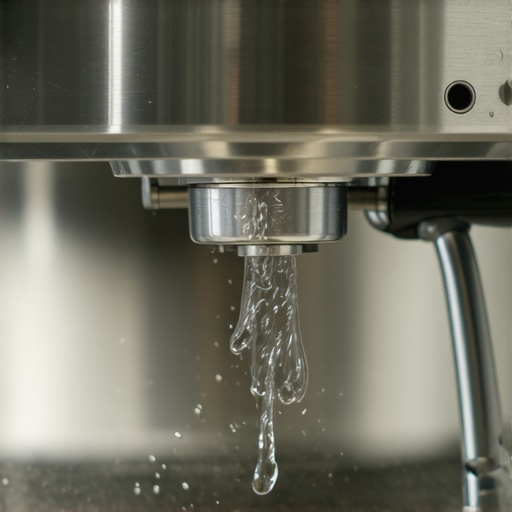
Adjust your steam valve for consistent pressure—most home machines operate around 1-1.5 bar. Too high pressure causes aggressive bubbles and watery foam; too low yields scant microfoam. Position the wand precisely, avoiding splattering or creating flickering bubbles. During my calibration, I also verified that the wand’s tip was clean and unobstructed, preventing sputtering that ruins microfoam quality. Refer to this guide for troubleshooting wand sputters.
Optimize Microfoam with Technique and Timing
As the milk increases in volume, lower the pitcher slightly to keep the wand tip near the surface, maintaining a gentle whirlpool. The goal is a silky, glossy surface with no large bubbles. Immediately after achieving the texture, turn off the steam before the milk over-expands or heats beyond 140°F. I used to wait too long, and the foam turned foam-like and dry—less desirable. Timing is key: practice to turn off precisely when the microfoam looks smooth and shiny. This step ensures a stable microfoam that doesn’t quickly deflate.
Swirl and Tap for Fine Texture
Once steamed, swirl the milk pitcher vigorously for 10 seconds to break up microbubbles. Tap the pitcher on the counter to settle any large bubbles to the surface and re-skin the microfoam. I once skipped this step, ending with frothy lumps instead of a uniform texture. Fine-tuning this step guarantees microfoam with a consistency similar to wet clay—smooth, dense, and uniform. These techniques prevent the watery microfoam that plagues many oat milk drinks.
Practice Makes Perfect
Set aside dedicated time to rehearse these steps, adjusting variables like milk temperature, steam pressure, and immersion depth. With consistent effort, you’ll notice the foam becoming richer and more stable. I gradually refined my technique over several sessions—each time learning what tweak yields better microfoam, guided by visual and tactile feedback. Remember, precision and patience are your allies in creating microfoam that delights every time.
For further troubleshooting or advanced tips, visit this resource, which goes into detail on common pitfalls and how to fix them.
When enthusiasts dive into home espresso setups, they often believe that owning high-end gear automatically guarantees perfect shots. However, many get caught up in the hype surrounding popular brands or buzzwords, overlooking critical nuances. For instance, the assumption that a shiny, expensive grinder is always better than a well-maintained budget model can lead to underwhelming results. In reality, grinder calibration and proper maintenance often trump brand prestige. Moreover, many barista novices think that upgrading to a boutique espresso machine will instantly resolve extraction issues, but they overlook the importance of machine tuning, water quality, and calibration procedures. A common trap is assuming that all coffee beans are suitable for espresso brewing; the truth is, freshness, roast level, and grind consistency significantly influence shot quality.
Why do so many home baristas struggle despite investing in premium gear?
Recent studies, such as those cited in the Journal of Coffee Science, reveal that even professional baristas focus heavily on technique and maintenance over mere equipment upgrades. Overestimating the impact of hardware and underestimating the importance of consistent routine and skill development leads to persistent frustrations. For example, many neglect to regularly calibrate their grinders, which causes uneven particle sizes that can produce sour or bitter shots—regardless of machine quality. Additionally, some believe that milk frothing is solely about the milk type, but advanced baristas understand that micro-adjustments in steam wand techniques and pitcher handling play pivotal roles in creating silky microfoam. Without mastering these subtle details, even top-tier milk frothers might result in subpar foam texture. To truly elevate your home setup, prioritize understanding the intricacies of your equipment, like how grinder calibration or proper puck screen sizing can make a notable difference. Avoid the trap of relying solely on high-end gear; instead, invest time in learning maintenance and fine-tuning techniques that experts swear by. Want to grasp advanced nuances that can transform your espresso game? Consider examining how focusing on flow rate calibration, such as flow timing adjustments, can prevent common issues like sour or flat shots. Have you ever fallen into this trap? Let me know in the comments.
Investing in Quality Tools for Longevity
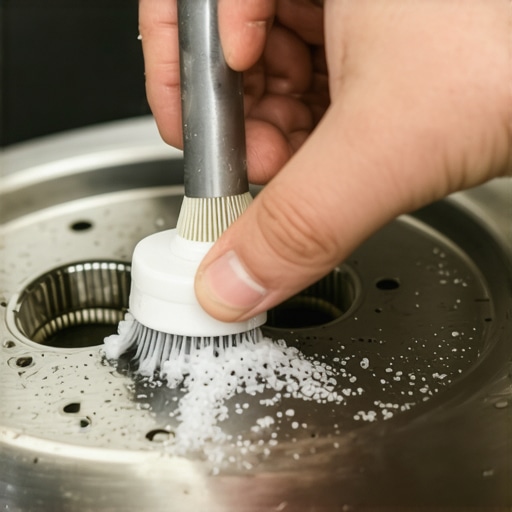
To keep your home espresso setup performing at its best, investing in the right tools is crucial. I personally rely on a calibrated digital scale like the precision espresso scale because it helps me dial in shot flow rates with pinpoint accuracy. A reliable scale not only ensures consistency but also extends the lifespan of your machine by preventing over-extraction or under-extraction. Additionally, a high-quality burr cleaning brush is indispensable for maintaining milling consistency over time, especially with grinders that squeak due to accumulated coffee residues.
Effective Maintenance Practices for Consistent Shots
Regular maintenance keeps your espresso gear functioning flawlessly. For example, regularly sanitizing your water reservoir prevents slime buildup, which can subtly affect taste and machine health—see the detailed procedures here. Make it a habit to descale your boiler at least quarterly, especially if you’re in a hard water area, by following manufacturer recommendations or trusted guides. Also, frequently checking for wear and tear, such as worn group gaskets or clogged screens, will avoid surprises when brewing. The key is consistency—set a maintenance schedule and stick to it, similar to routine calibration of your grinder or verifying steam wand integrity.
Predicting Future Trends in Home Barista Tools
Looking ahead, smart technology is poised to revolutionize our experience. Devices like smart scales that sync with brewing apps will provide real-time feedback, helping us perfect our technique effortlessly. Automated cleaning systems may also become commonplace, reducing the tedious maintenance tasks we now perform manually. Embracing these innovations now will prepare you for a future where your setup helps diagnose and fix issues proactively, ensuring long-term performance.
Protect Your Equipment with Proper Handling
Beyond tools, how you handle your gear affects its lifespan. I avoid hitting my portafilter or knocking over mugs that could damage delicate components. Using a dosing funnel with a magnet helps prevent accidental slips that can scratch or dent your machine. Incorporate simple habits like wiping steam wand tips immediately after use to prevent mineral buildup, which causes sputtering and pressure drops—see this troubleshooting guide. With proper handling, your espresso gear will serve you reliably for years.
Finally, always stay curious. Regularly revisiting top-tier resources such as puck screen maintenance tips ensures your setup remains optimal. Try implementing a weekly cleaning routine with a combination of descaling and screen inspection—it’s a small effort that yields huge results over time.
Remember, the secret to long-lasting espresso excellence lies in diligent maintenance coupled with the right tools. Now, I encourage you to try calibrating your flow rate using your smart scale—this one adjustment alone can elevate your shot consistency dramatically. Happy brewing!
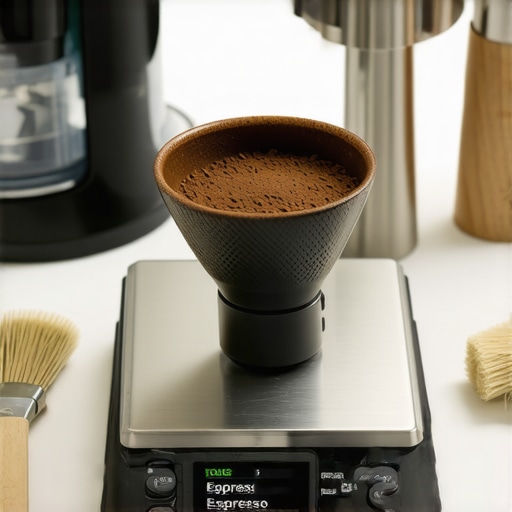
The Hardest Lesson I Learned About Home Espresso and Microfoam
One of the most eye-opening realizations in my journey was that even premium equipment can’t compensate for poor technique. I thought owning high-end gear would instantly elevate my microfoam, but I was left with watery, inconsistent foam until I honed my steaming process and paying meticulous attention to each step. Experience taught me that mastery comes from consistent practice and understanding the nuances of your tools.
Why Overestimating Your Equipment Can Hold You Back
I used to believe that a top-tier espresso machine and grinder would fix all my issues, but I realized that routine maintenance, calibration, and technique matter far more. Rushing to upgrade without refining fundamentals often leads to frustration. Regularly calibrating your grinder or cleaning your steam wand can provide dramatic improvements that no hardware upgrade alone can match.
Secrets that Baristas Know and You Can Practice
Consistency is key, and small adjustments make a big difference. For instance, controlling your steam pressure and maintaining proper pitcher handle angles helped me produce stable, velvety microfoam. Once I started swirling and tapping to remove large bubbles, my foam resembled those found in cafes. These subtle techniques, often overlooked, are what distinguish amateur attempts from professional-quality microfoam.
My Favorite Tools for Espresso Success
Investing in the right tools has transformed my setup. A precise digital scale allows me to control extraction flow and adjust recipes confidently. Regularly cleaning my coffee grinder with a good brush and following maintenance routines prevents uneven grind particles, ensuring consistent espresso.
Embracing Maintenance—Your Invisible Ally
Simple habits like descaling regularly and inspecting parts prevent long-term issues. I found that keeping my puck screen clean not only improves shot clarity but also extends machine lifespan. Consistent maintenance is an investment in your craft, ensuring every shot and microfoam meets your expectations.
The Future of Home Brewing Holds Exciting Possibilities
Emerging smart tools, like smart scales and automated cleaners, are set to make our routines even more precise. Staying curious and adopting innovative technologies will empower you to push your limits, creating cafe-quality microfoam at home with less hassle. The journey is ongoing—embrace it with enthusiasm and patience.
Don’t Miss Out on Elevating Your Espresso Game
Every successful microfoam story starts with a willingness to learn and refine. By understanding your equipment and practicing diligently, you can achieve microfoam that’s truly stellar. So, tell me—have you ever struggled with a particular step in steaming or frothing? Share your experiences below, and let’s grow together as home baristas!