How to Steam a Small Amount of Milk Without Wasting It
It was a morning just like any other, and I was eager to perfect my homemade cappuccino. I poured a little milk into the pitcher, only to realize I didn’t need that much. Panicked, I considered dumping the rest, but a lightbulb flickered in my mind—there had to be a better way. Has this ever happened to you? That frustrating moment when you want just a splash of milk for your coffee, but your equipment isn’t designed for such small quantities. It’s a common dilemma among home baristas and coffee enthusiasts who hate the waste and mess that often accompany frothing tiny amounts.
Why Wasting Milk When Frothing Is So Disappointing?
The truth is, most milk frothers and steam wands are built for larger volumes. They demand a certain amount of liquid to operate correctly—usually at least half a cup or more. When you’re only aiming for a small dollop, the excess often gets wasted, or worse, ends up spilled and stained on your countertop. Not only is this inefficient, but it can also be discouraging, especially if you’re committed to making a perfect latte art or just savoring a tiny, personal coffee treat.
In my early attempts, I made a *crucial mistake*: I tried using my standard steaming setup for tiny amounts of milk. It resulted in uneven microfoam, wasted milk, and a lot of cleanup. That experience was a wake-up call. I realized there had to be a smarter way—methods that cater to smaller quantities without sacrificing quality or creating unnecessary waste.
Here’s the good news: you don’t need expensive equipment or complicated techniques to steam a small milk portion efficiently. With some simple adjustments and a bit of know-how, you can enjoy your coffee moments without fuss or waste. In fact, mastering this can elevate your home barista game significantly. Want to learn how? Keep reading, and I’ll share proven strategies that have transformed my mornings—and can do the same for you.
Is It Really Worth the Fuss About Small-Scale Steaming?
There’s a common skepticism: “Is it really worth fussing over tiny milk amounts?” Honestly, I used to think so too, especially on busy mornings. But as I delved deeper into the craft of espresso and milk frothing, I discovered that it’s the small details that often make the biggest difference. Plus, wasting milk feels like throwing away money—money that adds up over time, especially if you’re a frequent coffee drinker. Did you know that some experts estimate that up to 10% of pantry waste in households can be milk that’s gone sour due to over-pouring or mishandling? (Source: *National Milk Producers Federation*) So, yes, it *absolutely* is worth optimizing how we handle small milk quantities.
By the end of this post, I’ll show you simple, practical techniques to froth small amounts of milk effectively, keeping your cleanup minimal and your beverage top-notch. Ready to ditch the waste and become a true home barista? Let’s dive in.
Use the Right Equipment for Tiny Batches
Start with a small pitcher, ideally 3-4 ounces, to better control your frothing process and minimize waste. I recommend a stainless steel milk pitcher with a narrow spout—this design gives you precision when pouring and helps create those perfect microfoam bubbles. One morning, I switched from my standard 12-ounce pitcher to a mini one when frothing just a few tablespoons of milk. The smaller size allowed me to keep better control, and I noticed a significant improvement in foam texture and consistency.
Preheat Your Tools to Improve Results
Warm your pitcher and your milk before starting. Run hot water over the pitcher for a few seconds, then dry thoroughly. Slightly warmed equipment retains heat better, enabling better microfoam formation. I learned this the hard way when cold tools caused the milk to cool down prematurely, leading to uneven foam. Warm tools make a noticeable difference, especially when frothing small amounts.
Adjust Your Frothing Technique for Small Volumes
Positioning the Tip Correctly
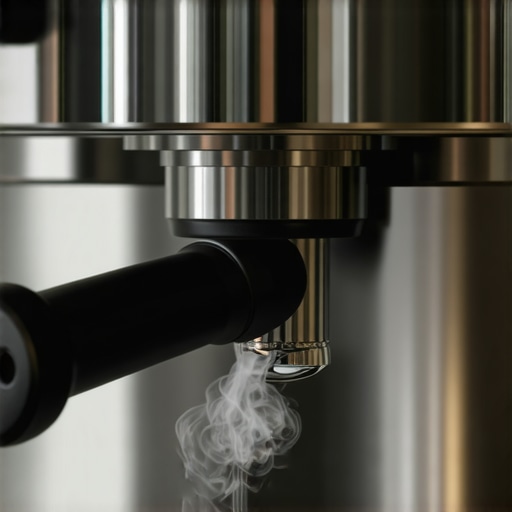
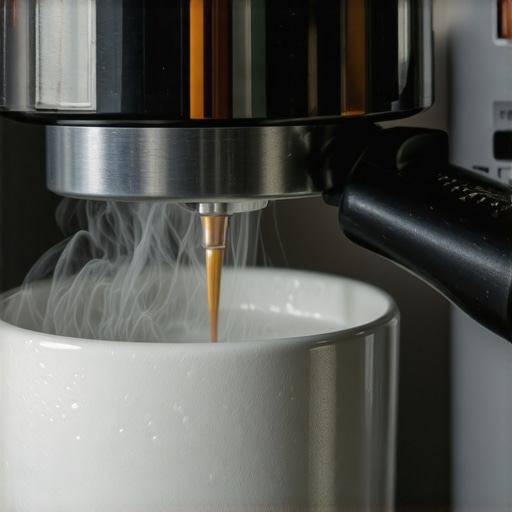
Insert the steam wand tip just below the milk surface, aiming at a 45-degree angle. Keep it close—about half an inch—so you can feel the gentle hiss and see tiny bubbles forming. When I attempted to froth tiny quantities, I found that a higher position made the milk whirl too aggressively, leading to spilling or uneven foam. Fine-tuning the wand depth is key for delicate amounts.
Control the Steam Power
Use a lower pressure setting or manually regulate the valve if possible. If your machine has adjustable steam control, turn it to a gentle flow. This prevents rapid overheating and helps produce smooth, creamy microfoam. I experimented by turning my steam valve halfway closed, which slowed the process but gave me better control over foam texture. It’s a small adjustment that yields big improvements for small frothing tasks.
Incorporate Gentle Movement and Timing
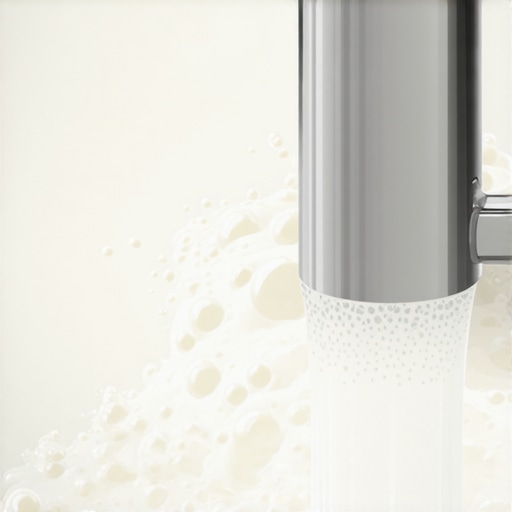
Allow the milk to spin in a whirlpool by slightly tilting the pitcher and dotting the milk with small, circular motions of the wand. Wait until you see tiny, uniform bubbles—then turn off the steam. Over-agitating the milk creates larger bubbles and ruins the delicate texture. Once, I over-stimulated the foam by moving the pitcher too vigorously; the result was an inconsistent, fluffy mess. Gentle, controlled movements are essential for refined microfoam.
Practice and Refine Your Technique
Expect a few messy attempts before achieving perfect microfoam in small quantities. Keep notes on the depth, timing, and pressure adjustments that worked best. I found that by dedicating a morning to practice, I could reliably froth just enough milk for my single-shot espresso—no waste, no fuss. With patience, fine-tuning your approach becomes second nature, turning small-batch frothing into a seamless part of your routine.
Many home baristas assume that investing in high-end equipment guarantees perfect coffee, but the reality is far more nuanced. For instance, a common misconception is that expensive grinders automatically produce superior grounds; however, even top-tier burrs can underperform if not properly calibrated or maintained, leading to inconsistent extractions. Regularly cleaning your coffee grinder is crucial—residue buildup can alter grind size and flavor, a detail often overlooked by amateurs who skip routine maintenance. Moreover, relying solely on a fancy espresso machine without understanding its specific settings may do more harm than good, as machine calibration directly impacts shot quality. An overlooked aspect is the importance of grind size consistency; studies show that even subtle variances can cause significant flavor deviations, emphasizing the need for precision in every grind.
Another trap involves milk frothing devices. Many believe that high-priced frothers will automatically create perfect microfoam, but without mastering steaming techniques—like positioning the wand correctly and controlling steam pressure—they often end up with large bubbles or burnt milk. The secret lies in understanding the subtle nuances: the angle of the wand, the timing of aeration, and the temperature control can make or break your texture. Advanced baristas know that equipment is only part of the equation; fine-tuning your technique is essential for that silky finish.
Crucially, many fail to appreciate the significance of water temperature and pressure when pulling espresso. An ideal shot requires precise control—150°F to 200°F—and a consistent pressure of around 9 bars. Deviating from these parameters leads to sour or bitter flavors, regardless of your other efforts. Investing in a quality brewing thermometer and pressure gauge can elevate your coffee significantly. Remember, it’s the harmony of equipment, technique, and calibration that creates excellence, not just the gear itself.
Have you ever fallen into this trap? Let me know in the comments.
By understanding these often-missed nuances—like maintaining your grinder, mastering milk steaming, and calibrating your machine—you’ll avoid common pitfalls and elevate your home espresso game. For a comprehensive guide on selecting the right gear, check out our article on [choosing the best barista gear for coffee enthusiasts](https://espressotechguide.com/choosing-the-best-barista-gear-for-coffee-enthusiasts). Mastery comes from attention to detail and continual learning—so invest time in fine-tuning your setup and technique, and you’ll enjoy café-quality coffee every day.
Investing in Durable, Precise Equipment
To keep your home espresso setup performing optimally over the years, selecting quality tools is crucial. I highly recommend the Baratza Sette 270Wi grinder—its electronic dosing and quick adjustment feature make it perfect for consistent grinds with minimal fuss. Pair it with the Rancilio Silvia Pro; its durability and temperature stability make it a favorite for long-term use. These tools withstand regular use and are easy to maintain, ensuring your coffee quality remains high.
Routine Maintenance for Peak Performance
Periodic cleaning of your espresso machine and grinder is vital. For instance, cleaning the hopper with a dry brush or dosing funnel prevents coffee dust buildup, ensuring uniform grounds. Regular backflushing your machine with a cleaning solution preserves the internal seals, preventing leaks and pressure drops. A proper schedule—such as weekly deep cleans—extends your equipment’s lifespan and maintains optimal flavor extraction.
What are the best tools to keep your equipment in prime condition?
Investing in a high-quality portafilter brush and a milk frother cleaning pen ensures thorough cleaning with minimal effort. Additionally, calibration tools like a precision scale help maintain consistent grind sizes and doses, which are vital for reproducible results. Remember, well-maintained equipment not only performs better but also lasts longer.
Anticipating the Future of Home Coffee Equipment
Looking ahead, I predict that smart, IoT-enabled coffee gear will become standard. Devices that automatically alert you when cleaning is due or pre-heat based on your schedule will simplify maintenance. Companies are already integrating sensors to monitor component wear, allowing for predictive servicing, which means fewer surprises and longer equipment life. Staying updated with these innovations can give you an edge in maintaining your setup efficiently.
How do I maintain my equipment over time?
Developing a regular maintenance routine is the key. Clean your grinder and machine thoroughly once a week, lubricate moving parts if applicable, and replace worn seals or gaskets as recommended by the manufacturer. Keep a maintenance log to track cleaning schedules and part replacements. For those interested in deep diving into expert protocols, the mastering the art of home espresso guide offers detailed advice. Try incorporating a monthly descaling process using vinegar or commercial descaling agents—this can dramatically extend your equipment’s life and improve taste quality.
By prioritizing ongoing maintenance and using the right tools, you’ll enjoy consistently excellent coffee and prolong your setup’s lifespan. Don’t wait—try implementing a cleaning routine tonight and notice the difference in your next shot!
What I Wish I Knew When I Started Frothing Tiny Batches
One of the biggest revelations was realizing that equipment designed for larger volumes isn’t necessarily adaptable for small ones. I learned that investing in a smaller pitcher and practicing with it transformed my microfoam quality. A simple adjustment like preheating my tools yielded leaps in texture and consistency, saving me frustration and waste.
Another lightbulb moment was understanding the importance of gentle wand positioning and controlled steam power. Rushing or misplacing the wand results in large bubbles or burnt milk. Slowing down and focusing on subtle movements turned my drinks from average to barista-quality.
Finally, the importance of patience and experimentation became clear. Each tiny batch has its quirks, and journaling my adjustments helped me refine my technique. These lessons aren’t just about saving milk—they’re about elevating your entire home coffee experience.