The Simple Trick to Prevent Your Milk Pitcher from Overheating
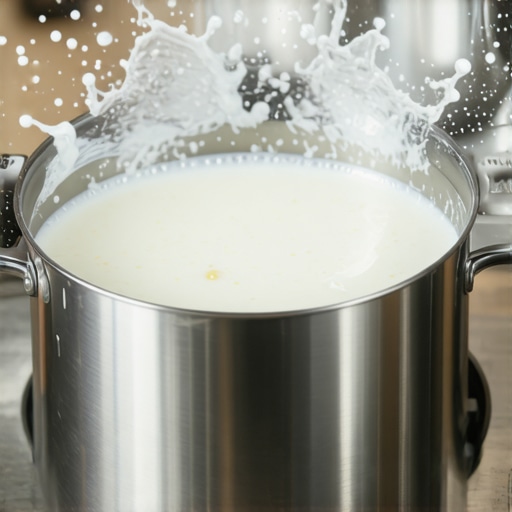
I’ll never forget the first time I over-hauled my morning routine, only to watch my carefully steamed milk turn into something closer to scalding lava. It was the moment I realized I was unknowingly sabotaging my own coffee experience. The culprit? An overheated milk pitcher that seemed to sabotage my perfectly crafted lattes every single time.
Why Your Milk Pitcher Overheats and How It’s Sabotaging Your Coffee
As a home barista, I used to think that frothing milk was just about the right steam and a little bit of luck. But I kept running into the same problem: my milk would suddenly get scorching hot, ruining the texture and flavor, and even risking a pesky burn taste that no amount of fancy beans could fix. It’s a common mistake I made early on—ignoring the heat buildup and not paying attention to my milk pitcher’s temperature.
Fortunately, I discovered that a simple trick could keep my milk at the perfect consistency—preventing overheating and saving me a lot of hassle and wasted milk. And now, I want to share this trick with you, so you won’t have to go through the same expensive trial-and-error I did. Whether you’re a seasoned home barista or just starting your journey, avoiding this common pitfall can dramatically improve your coffee game.
Are You Wasting Time and Milk on Overheating?
One of the biggest mistakes I made early on was neglecting the importance of controlling the heat during frothing. I thought more steam meant better microfoam, but I was actually just heating my milk beyond the ideal temperature. According to experts, the perfect milk temperature for lattes and cappuccinos is around 140°F (60°C). Going beyond that not only destroys the delicate microfoam but also risks burning the milk, which could give your coffee an unpleasant burnt flavor. Learning to keep the milk temperature in check transformed my espresso drinks—and I believe it can do the same for you.
Now, I want to show you a simple, effective trick that prevents your milk pitcher from overheating, preserving the perfect froth and flavor. But first, let’s address some common concerns and doubts you might have about this process—because I’ve been there, too.
The Trick That Keeps Your Milk Cool and Frothing Perfectly
Set the Stage for Perfect Frothing
When I first discovered this technique, I was mid-session, and my milk was threatening to overflow from the pitcher. I quickly realized I needed an easy way to monitor temperature without constantly sticking a thermometer in my milk. Think of it like tuning a guitar—small adjustments make all the difference. The key is to develop a tactile and visual cue to stop the steam before overheating occurs, much like how a barista senses microfoam without relying solely on gadgets.
Use Your Hand as a Temperature Sensor
Step One: Position Your Hand Correctly
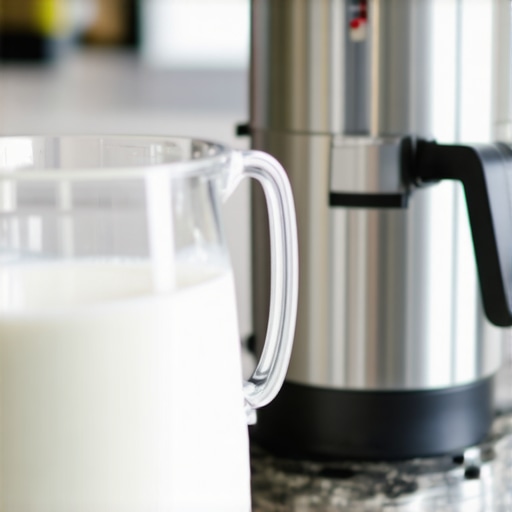
Place your hand on the side of the pitcher, about two inches below the rim, where the heat is most intense. This is similar to gauging water temperature by hand before deciding to brew; it’s about developing a sense of touch. During my first attempt, I kept my hand on the pitcher for about five seconds—enough to feel the warmth building. If it becomes too hot to hold comfortably, pull back immediately. This simple reflex helps prevent the milk from going over 140°F, preserving microfoam quality and flavor.
Step Two: Develop a Consistent Timing
In practice, I found that if I kept my hand on the pitcher for around 5 seconds at the start, I could gauge the heat reliably. The idea isn’t to burn yourself but to sense when the pitcher is approaching the ideal temperature. With experience, I could tell that once the pitcher heated up to about 100°F, my hand would feel comfortably warm. When it approached 140°F—just a light, steady heat—I’d stop steaming. Think of it like tuning a piano—you develop a feel for the right touch over time.
Incorporate Visual Cues for Extra Assurance
To complement the tactile approach, watch for steam expansion and the pitcher’s surface sheen. When the milk starts to look glossy and the temperature rises, small bubbles will form; this indicates the milk is nearing optimal froth. About a year ago, I was frothing in a rush. I kept my hand on the pitcher, and simultaneously, I watched the milk develop a silky shine—an unmistakable sign to stop. When used together, those cues smooth out the process, making overheat a rare event.
Refining Your Technique with Practice
Practice perfects this method, especially if you’re new to home espresso brewing. I recall a messy session where I misjudged the heat, and the milk scalded, ruining my shot. The next time, I carefully placed my hand on the pitcher and timed my stop at just the right moment. The result? Creamy, micro-foamed milk that made my latte art much sharper and the flavor more balanced—the kind of detail that turns a good espresso into a professional-looking drink.
Additional Tips to Keep in Mind
Invest in a quality milk pitcher with an ergonomic handle; it provides better control and feel during steaming. Also, consider a small kitchen timer or a smartphone app that vibrates when the preset time elapses—useful if your hands are busy. For more tips on selecting the best barista gear, visit this guide. Remember, over time, your intuition and tactile senses will become finely tuned, making thermal management second nature and elevating your home barista skills.Many home baristas believe that investing in the latest high-end espresso machine automatically guarantees perfect shots, but often overlook the subtleties that truly influence quality. A common myth is that all coffee grinders are created equal; in reality, grind consistency and burr design significantly affect extraction. For instance, flat burr grinders tend to produce more uniform grounds, which can lead to more consistent espresso shots—something many overlook when choosing gear. Additionally, some assume that milk frothers are all the same, but the microfoam quality depends heavily on the type of frother and the technique used, not just the device itself.
Are You Making the Most of Your Barista Gear or Falling into Advanced Traps?
One advanced mistake many enthusiasts make is relying solely on temperature presets without understanding pressure profiling or flow control, which can drastically alter shot flavor. Studies suggest that manual pressure profiling can lead to superior crema and flavor complexity, but most users stick to preset values, missing out on this nuance. Moreover, the misconception that more power equals better performance can lead to overbuilt machines that are harder to maintain and more prone to issues like temperature swings. Understanding the importance of boiler stability and PID control, as discussed in expert guides, can elevate your home setup beyond the basic “plug and play” mentality.
Another trap to avoid is neglecting regular maintenance; even the most expensive gear underperforms if not properly cleaned and calibrated. For example, inconsistent grind size due to stale burrs can cause off-flavors or shot unevenness, which many fail to troubleshoot because they focus only on brewing variables. I recommend reading detailed guides on maintaining your grinder and machine to ensure longevity and optimal performance—see this resource.
How Can Advanced Users Maximize Their Home Espresso Setup?
To truly master your equipment, experiment with flow control, pre-infusion, and grind adjustment based on ambient humidity—factors often overlooked but essential for precision brewing. Progressively dialing in these variables can dramatically improve shot consistency and flavor profile. For coffee enthusiasts looking to deepen their knowledge, understanding the impact of water quality and temperature stability is crucial; using a water test kit and investing in a PID controller can make a tangible difference. Remember, the most seasoned baristas continually refine their techniques, reflecting that mastery is about attention to detail, not just high-tech gear. For more in-depth tips, check out this comprehensive guide. Have you ever fallen into this trap? Let me know in the comments.
Investing in Reliability: Essential Tools for Longevity
To ensure your espresso machine, grinder, and frothers stay in top shape, I highly recommend integrating specific tools into your routine. A high-quality calibrated coffee grinder with adjustable burrs allows for consistent particle size, which is crucial for espresso quality. I personally use the Baratza Virtuoso+ because of its durable build and precise grind adjustments, making routine calibration straightforward. For your espresso machine, a dependable descaling and cleaning kit helps prevent mineral buildup, extending its lifespan. Regularly cleaning group heads, portafilters, and steam wands with a dedicated cleaning brush is a small investment that significantly reduces maintenance costs.
For frothing, investing in a digital thermometer along with a thermocouple helps manage milk temperature precisely, avoiding overheating or burning. I personally rely on the Thermapen MK4—it’s fast, accurate, and critical for maintaining microfoam consistency over time. Combining these tools with a routine maintenance schedule minimizes breakdowns and ensures each shot is at its best, saving you both time and money.
Planning for the Future: Scaling and Long-Term Care
As you become more passionate, consider software solutions like smart espresso machine controllers. These systems monitor temperature and pressure, providing data to fine-tune your setup and prevent common issues. Prediction of wear and tear is part of the future trend; I foresee more smart diagnostics integrated into home gear, which will alert you before failures occur. As per industry insights, the integration of IoT-enabled devices will revolutionize home espresso maintenance, making it almost autonomous. I encourage you to explore these options now—by doing so, you’re laying a strong foundation for your home barista empire.
How do I maintain my gear over time?
The key to longevity is consistency. Schedule weekly backflushing, descaling, and cleaning with high-quality products tailored for your equipment. Regularly inspect gaskets, seals, and filters for signs of wear, replacing them before they fail. I’ve found that keeping a dedicated maintenance log helps track recurring issues and benchmarks improvements. For detailed guidelines, consider referring to this comprehensive resource. Additionally, avoid neglecting minor leaks or unusual noises, as these often signal underlying problems that could escalate if ignored. Implementing these habits will keep your setup humming for years to come.
To give your gear an extra edge, I recommend trying out a professional-grade calibration tool—it’s a game changer for ensuring shot consistency. Remember, maintenance isn’t just about fixing problems; it’s about proactively optimizing performance. By integrating these tools and routines into your regular schedule, you guarantee long-term results and avoid costly repairs. Don’t wait for an unexpected breakdown—start with one of these suggested tools today and see the difference it makes in your daily espresso ritual.
What I Wish I Knew About Distancing Myself from Gadget Myths
One of the toughest lessons I learned was dropping the illusion that owning premium gear alone guarantees sublime espresso. It’s tempting to believe that an expensive machine makes everything easy, but I discovered that mastery is more about understanding your equipment and less about the price tag. Similarly, I used to think that grind settings were universally applicable; only through personalized tweaking did I unlock consistent shots. The real breakthrough was realizing that every component, from water quality to tamping pressure, interacts in a delicate dance—it’s these nuances that elevate your home coffee experience.
Discovering Gems: Tools and Resources That Transformed My Approach
Over the years, I’ve curated a toolkit that continuously refines my brewing process. The guide to selecting the best barista gear gave me insights into equipment durability and suitability, saving me from costly mistakes. I swear by the precision grinder guide for dialing in grind size, as consistency here is key. Additionally, the temperature tips I found online have been game-changers, ensuring my beans’ full flavor extraction. These resources, combined with everyday tools like a reliable thermometer, form the backbone of my brewing success.
Embracing a Passion That Delivers More Than Just Coffee
Great coffee is more than a morning routine—it’s a journey of continuous learning and patience. Every shot I pull reminds me that even small adjustments, like tweaking grind size or adjusting tamp pressure, ripple out to produce a significant flavor boost. The joy of honing these skills fuels my enthusiasm to experiment with new beans or techniques. I invite you to see your home espresso setup not just as a gadget arsenal but as a personal workshop—a space for discovery and mastery. When you approach it with curiosity and intention, every cup becomes a celebration of your growth. So why not start today? Take that first step towards refining your technique and unlock a richer, more satisfying coffee experience every morning.