Why Your Milk Only Froths When It Is Cold
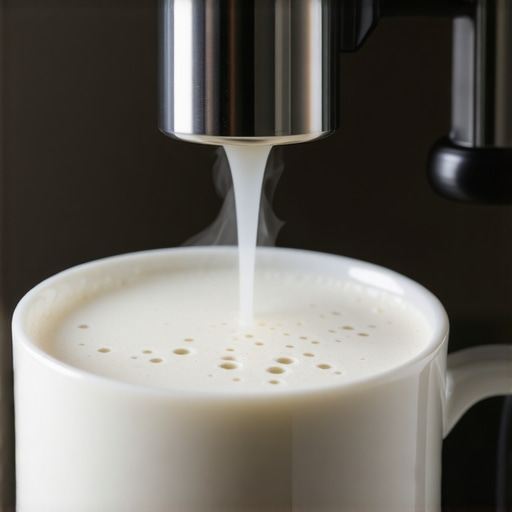
It was a hectic Sunday morning when I finally decided to make my usual latte. I paused, eagerly steaming the milk, only to be met with a frustrating silence—no froth, no hiss, just warm liquid stubbornly refusing to foam. Frustration bubbled up as I stared at the steaming pitcher, wondering what I’d done wrong. Turns out, I’d overlooked a simple truth that many home baristas miss: milk only froths effectively when it’s cold enough. That realization was a lightbulb moment for me, and I bet it’s one you might have experienced too.
Getting Froth Right Starts with Cold Milk
You’ve probably heard the advice to use cold milk for better foam, but do you know why? It’s all about temperature and fat content. Cold milk—ideally straight from the fridge—has a higher chance of achieving that silky microfoam we love on our lattes. When milk warms up, its proteins and fats behave differently, making it harder to create consistent and stable froth. If your milk is already warm or near room temperature, your steam wand might struggle to produce that inviting foam.
Many home baristas make the mistake of pouring warm milk straight into the pitcher from the counter or pre-warming it, thinking it saves time. But this approach often backfires, leaving you with a disappointing lack of foam. Early in my journey, I made that exact mistake—believing that the warmth would somehow improve the texture. Spoiler: It didn’t. Instead, it made my attempts more inconsistent. That’s when I started refrigerating my milk specifically for frothing sessions, and the difference was night and day.
According to research published in the *Journal of Food Science*, milk’s optimal frothing temperature is around 140°F (60°C). Below this, you get better microfoam; above, the proteins break down too much, and the foam diminishes. That’s the sweet spot to aim for.
Even if you’re used to warming your milk in the microwave or on the stove, I recommend sticking with cold milk from the fridge. Keep your milk cold and your steaming technique simple, and you’ll see a drastic improvement in foam quality. Plus, this small step can extend the life of your milk and ensure a consistently better experience for your coffee ritual.
Are you tired of wasting milk or ending up with flat, lifeless froth? I’ve been there, and I know how annoying it can be. But don’t worry—we’re about to dive into the practical steps that’ll help you turn that cold milk into a fluffy cloud on top of your espresso. Stay tuned for the simple, effective techniques that will make frothing a breeze—and, more importantly, enjoyable again.
Prepare Your Milk Correctly
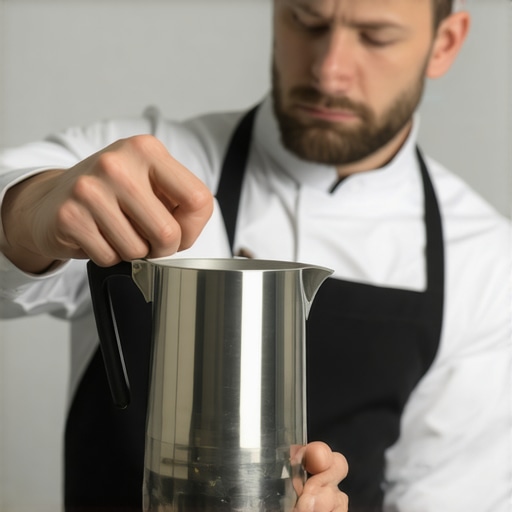
Start with cold, fresh milk straight from the fridge. Use a dedicated milk pitcher—preferably stainless steel—with a capacity proportionate to your steamed milk volume. Fill it only to the bottom of the spout to allow room for expansion and foam. In my experience, using a smaller pitcher helped me focus on controlling the frothing process, leading to better microfoam formation.
Set Up Your Steaming Technique
Position the steam wand just below the milk surface at about a 45-degree angle. Turn on the steam and listen for a consistent hissing sound—this indicates steady, proper airflow. Keep the pitcher at an angle, creating a whirlpool effect that evenly heats and textures the milk. When I first tried this, the milk spun too fast, causing splashing; adjusting the wand height to just below the surface solved this problem and prevented splatters.
Maintain the Right Temperature
Use a thermometer to monitor the milk, aiming for approximately 140°F (60°C). When the pitcher reaches this temperature, lift it slightly to feel the warmth without burning your hand. I found that stopping at the right temperature ensures silky microfoam without scorching the milk, which can create off-flavors and ruin the espresso experience. Avoid rushing the process—patience results in smoother foam and better flavor integration.
Coordinate Frothing and Pulling Shots
While the milk heats, pull your espresso shot. A shot of about 25-30 seconds with 18-20 grams of coffee yields a balanced extraction. Synchronize your actions so you finish steaming just as the shot is ready. This timing prevents the espresso from cooling or overextracting. During my early attempts, rushing either step led to flat espresso or overly foamy milk; timing adjustments greatly improved my results.
Pouring and Latte Art
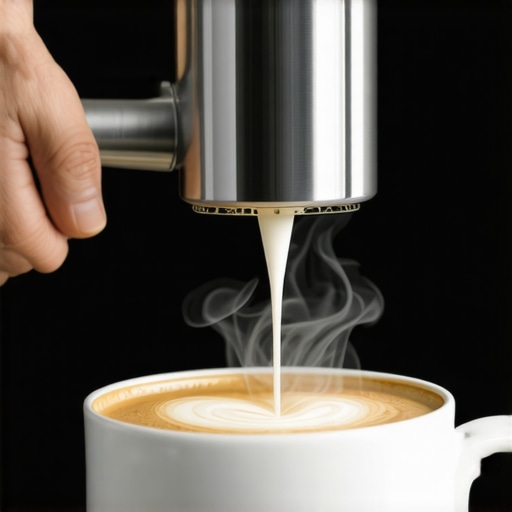
Once the milk reaches temperature and the foam looks glossy and dense, tap the pitcher to remove larger bubbles, then swirl to integrate. Begin pouring into the espresso center from a height of about 1 inch, then lower the pitcher as the cup fills, creating patterns or rosettas. Practice makes perfect—initial attempts can be messy, but focusing on consistent pouring height and flow rate enhanced my latte art skills quickly.
Fine-Tune Your Process
Experiment with small adjustments: vary your milk temperature, pitcher size, and foam consistency until you achieve the desired microfoam and flavor. Use tutorials and [top-rated espresso machines](https://espressotechguide.com/top-rated-espresso-machines-for-coffee-lovers-in-2025) as benchmarks. Remain patient; mastering froth in a home setup involves trial and error, but the effort pays off with richer, creamier coffee every morning.
Many enthusiasts believe that investing in a high-end espresso machine automatically guarantees perfect shots. However, I’ve seen skilled baristas produce inconsistent results even with premium gear, simply because they overlook critical nuances. One of the most common myths is that *more expensive equals better*. While premium machines offer advanced features, mastering the basics—like proper pressure profiling and temperature stability—is often more impactful than gear alone. According to expert barista training courses, precise control over variables such as pre-infusion and shot timing can elevate your espresso regardless of machine cost. Additionally, people often underestimate the importance of grinder consistency. A flawless espresso depends on a grind that matches your machine’s extraction parameters; even a slight deviation can lead to over-extraction or under-extraction, causing bitter or flat flavors. Many home baristas skip regular grinder calibration, risking inconsistent doses and particle sizes. I recommend regularly measuring grind uniformity and adjusting for humidity, as moisture levels influence grind behavior and extraction quality.
What advanced techniques can compensate for equipment limitations?
In more sophisticated setups, temperature surfing—briefly pausing during extraction to stabilize temperature—can improve shot consistency. This requires a thorough understanding of your machine’s thermal behavior, which many overlook. The science-backed practice of pressure profiling, where pressure is deliberately varied during extraction, can unlock deeper flavor nuances but is often misapplied due to a lack of precise measurement tools. If you’re serious about refining your home espresso, investing in tools like a reliable scale, a pressure gauge, or a PID temperature controller can make a significant difference. Sometimes, the real bottleneck isn’t the gear but the technique; failing to pre-wet the coffee puck or tamping unevenly can cause channeling, leading to bitter, over-extracted shots. Remember, even the best equipment can’t fix fundamental flaws in technique. For more advanced tips on optimizing your setup, check out [this detailed guide](https://espressotechguide.com/mastering-the-art-of-home-espresso-tips-for-beginners).
Another underrated factor is maintenance. A neglected group head or scale buildup can subtly alter extraction parameters. Regularly cleaning your brew head and calibrating your grinder ensures consistent tamping pressure and dose, preventing flavor drift over time. Many home baristas are unaware that mineral deposits in the water or oils from coffee beans can produce off-flavors, emphasizing the need for proper descaling and cleaning routines. For a comprehensive maintenance checklist, visit [here](https://espressotechguide.com/how-to-clean-your-steam-wand-tip-when-the-holes-are-completely-clogged).
In conclusion, perfecting home espresso isn’t about gear alone but understanding and mastering the nuances—temperature control, grind consistency, precise technique, and diligent maintenance. Have you ever fallen into this trap? Let me know in the comments. Exploring these hidden factors can transform your morning ritual into a barista-level experience.
Essential Tools to Keep Your Barista Game Sharp
Investing in reliable gear is crucial for consistent espresso quality over time. I personally swear by a high-precision pump pressure gauge—it allows me to monitor extraction pressure precisely, ensuring each shot is within optimal parameters. Additionally, having a digital scale calibrated regularly helps maintain consistent doses, preventing flavor drift and allowing fine-tuning of grind and tamping. For milk frothing, a quality milk frother with adjustable settings can elevate your microfoam, making latte art more achievable and enhancing your overall coffee experience.
Routine Maintenance That Preserves Your Equipment
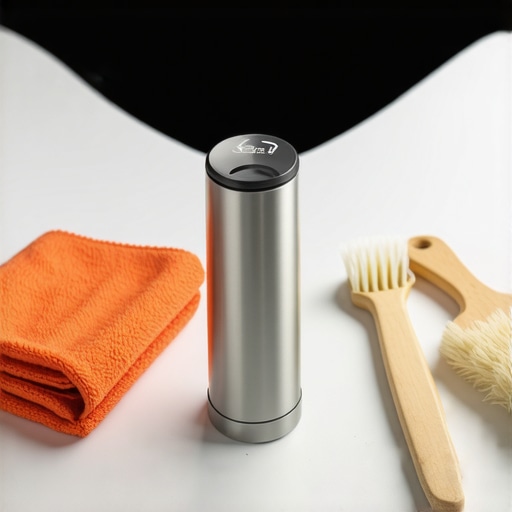
Long-term quality relies heavily on consistent upkeep. Regularly descaling your espresso machine, especially if you use hard water, prevents mineral buildup that can clog pipes and scale heating elements. I recommend following manufacturer-specific descaling routines, and a handy trick is to inspect water tank cleanliness monthly—see this guide for detailed steps. Cleaning group heads after each session with a brush like a dedicated portafilter brush prevents oil and coffee residue from affecting extraction. Over time, replacing worn-out group gaskets and regularly calibrating your grinder with a gasket inspection keeps your setup functioning flawlessly. These simple steps ensure your machine remains reliable and your shots stellar.
Aligning Your Setup for Long-Term Benefits
Maintaining your gear isn’t just about cleaning; it’s about understanding wear points. For example, routine checks of your grinder burrs with a burr alignment method ensure uniform grind particles, which directly impacts shot consistency. As grinders are one of the most overlooked components, prioritizing burr replacement when signs of dullness appear can save you days of inconsistent espresso. Similarly, inspecting and replacing stale seals prevents leaks that diminish pressure and temperature stability, critical for a perfect extraction. Incorporate scheduled checks into your maintenance routine to proactively address potential issues before they impact flavor or equipment lifespan.
Future Trends in Home Barista Tools and Maintenance
The future is heading toward smarter, connected tools. Imagine automation-enabled grinders that sync with coffee profiles, or machine diagnostics that alert you when maintenance is needed. These advancements aim to streamline upkeep, making long-term care more manageable. As technology becomes more accessible, investing in such tools will become essential for aspiring home baristas seeking consistency and convenience.
How do I maintain my espresso setup over time?
Adopt a routine of thorough cleaning after each use, scheduled descaling every 1-3 months depending on your water hardness, and regular inspections of critical parts like gaskets and burrs. Keeping detailed logs can help you spot wear patterns early. Remember, equipment longevity directly correlates with your maintenance diligence, so develop habits that integrate easily into your daily routine. For comprehensive guidance, exploring this resource will equip you with the knowledge to keep your gear in top shape for years to come.
Try aligning your grinder burrs this week using the marker method. It’s a simple, effective way to improve grind consistency—your future self will thank you!
Secrets That Took My Coffee to the Next Level
One of the biggest revelations in my home espresso journey was realizing that precision extends beyond just equipment—small tweaks and insider tips can dramatically change your results. For example, I discovered that adjusting my tamping pressure by just a few grams minimized channelling, leading to a more consistent shot every time. Additionally, I learned that pre-wetting my coffee puck with a quick burst of water before extraction helped balance flavor and prevent bitter notes. Sometimes, these subtle shifts felt insignificant but cumulatively transformed my coffee experience into something professional-tasting.
The Hidden Wisdom from the Pros
After years of trial, I came across some teachings rarely shared in beginner guides. One was the importance of controlling ambient temperature in your brewing space—warmth can subtly influence grind behavior and extraction consistency. Another was the nuanced art of paddle tamping, which, although less common, can be a game-changer when you don’t have a high-end tamper. These insights, found in advanced barista courses and behind-the-scenes tutorials, unlocked a new level of control over my setup, reminding me that mastery often lies in overlooked details.
Curated Gear for Consistent Home Barista Success
Building upon my journey, I rely on certain tools that genuinely elevate my craft. A high-quality pressure gauge keeps my extraction within the ideal range, preventing under or over-extraction. For grinder consistency, a burr alignment tool helps me maintain uniform particle size, which is crucial for flavor balance. Additionally, a precision digital scale allows me to dose accurately, minimizing waste and ensuring each shot is repeatable. These investments have paid off by transforming my daily coffee ritual into a consistently satisfying experience.
Chasing Progress, Not Perfection in Every Cup
The emotional journey of perfecting your home espresso is ongoing. Every time I learn a new technique or fine-tune a setting, I realize there’s always room to grow. Don’t be discouraged by initial setbacks—the path to mastery is paved with patience and curiosity. Remember, the joy lies in the process as much as in the results. Whether you’re experimenting with grind size adjustments, trying different milk textures, or enhancing your pour art, every small step adds to your confidence and skill. Keep pushing your boundaries, stay attentive to the details, and you’ll find that each cup becomes an expression of your personal dedication to craftsmanship. So go ahead—grab your machine, explore new techniques, and make this pursuit a delightful part of your daily life. Your perfect home espresso awaits, and every effort brings you closer to barista-level greatness.